


Add Wifi Credentials
Setup WiFi on a Pi Manually using wpa_supplicant.conf
The wpa_supplicant.conf file is used by wpa_supplicant, a software component that manages wireless network connections on Linux-based systems, including Raspberry Pi OS. This file defines the wireless networks your Raspberry Pi can connect to, including network SSIDs, passwords, and other security settings.
Step 1
First we need to SSH into the pi to see if there is already a wpa_supplicant.conf file
ssh [email protected]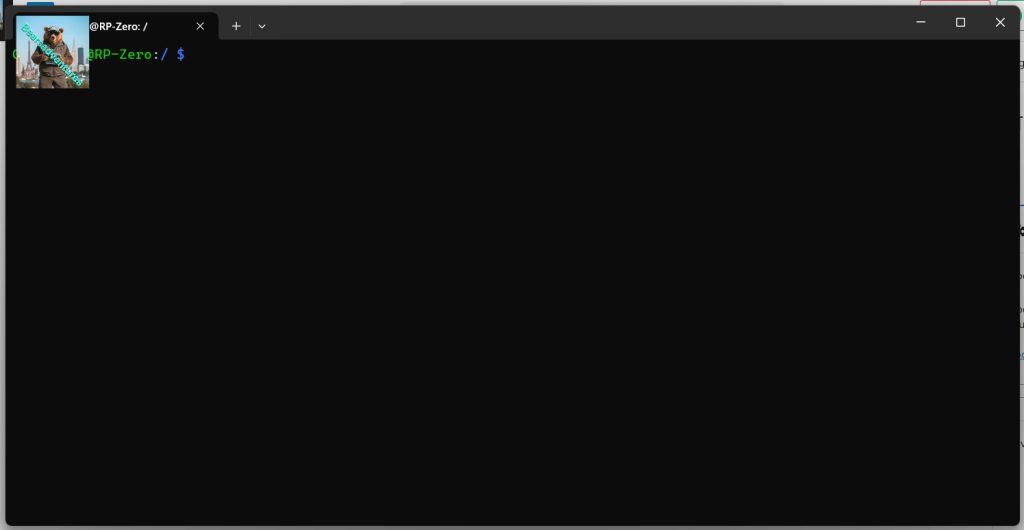
Step 2
Head over to the Directory to see if the wpa_supplicant.conf exists.
cd /etc/wpa_supplicant/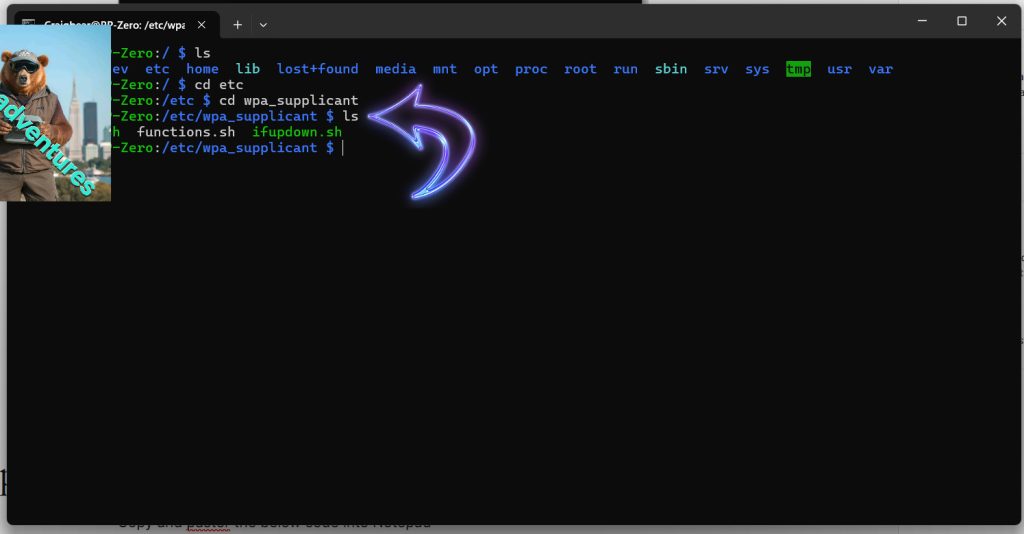
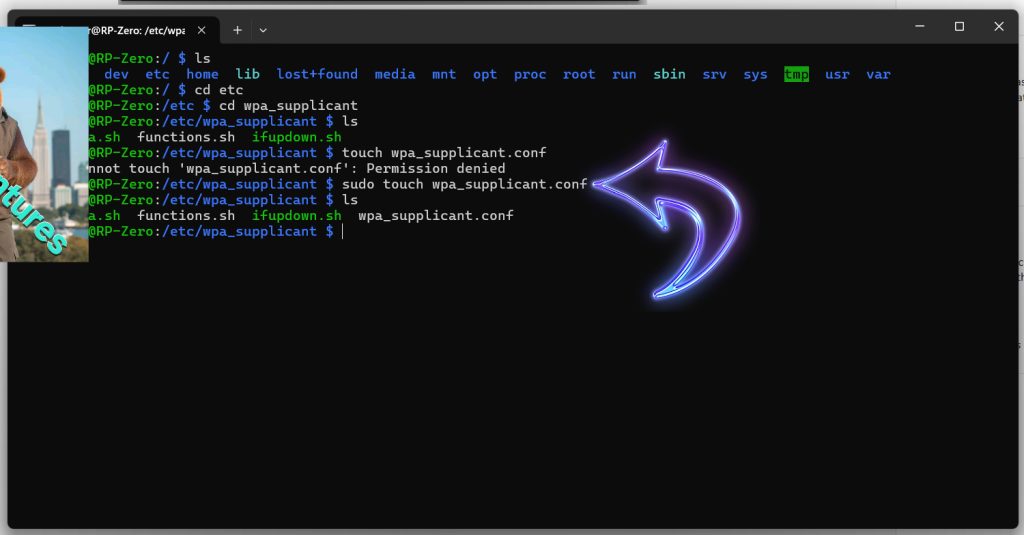
If the File wpa_supplicant.conf is missing use this method to create the file
sudo touch wpa_supplicant.confi had to use sudo to create my file
Step 3
to edit the wpa_supplicant.conf file use the following
sudo nano wpa_supplicant.conf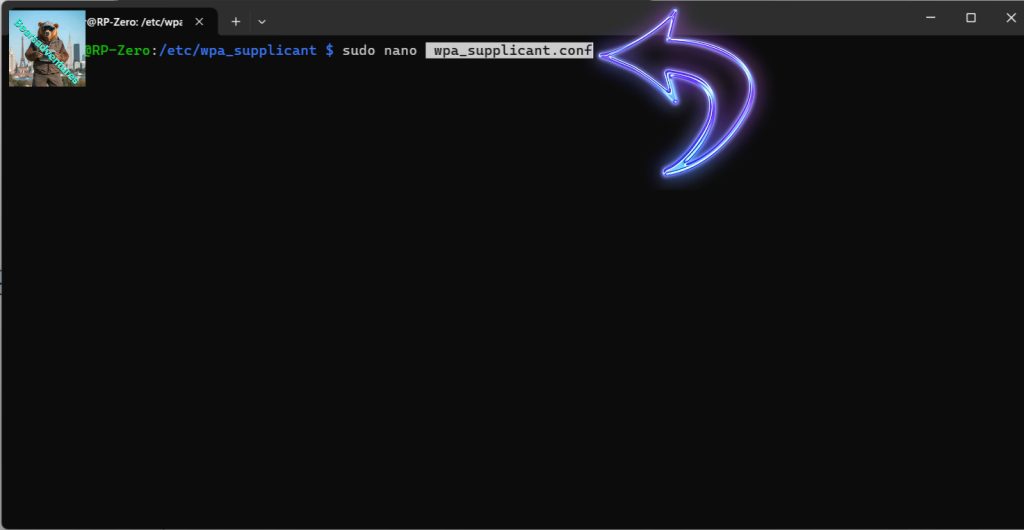
Step 4
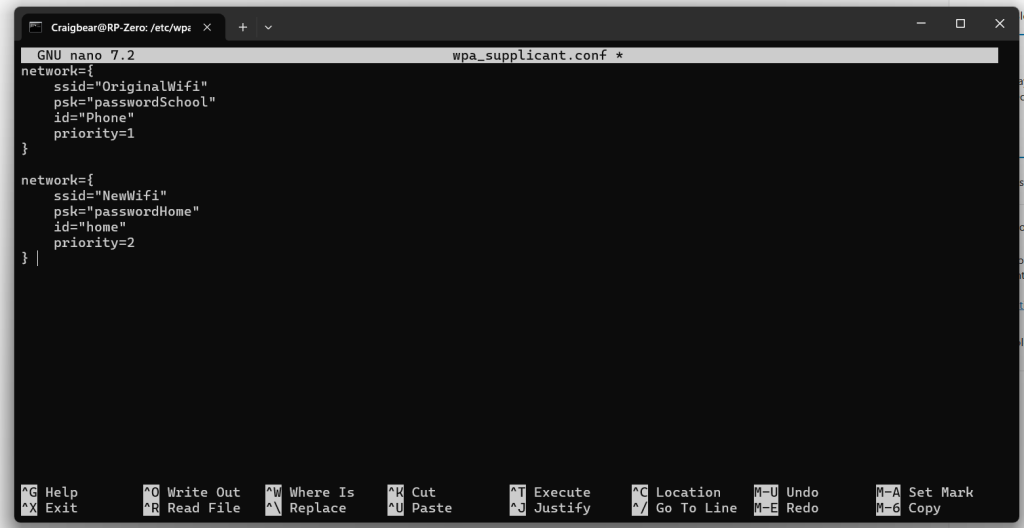
Copy and paster the below code into nano from below
network={
    ssid="OriginalWifi"
    psk="passwordSchool"
    id="Phone"
    priority=1
}

network={
    ssid="NewWifi"
    psk="passwordHome"
    id="home"
    priority=2
}
Should look something like this, edit accordantly.
Step 4
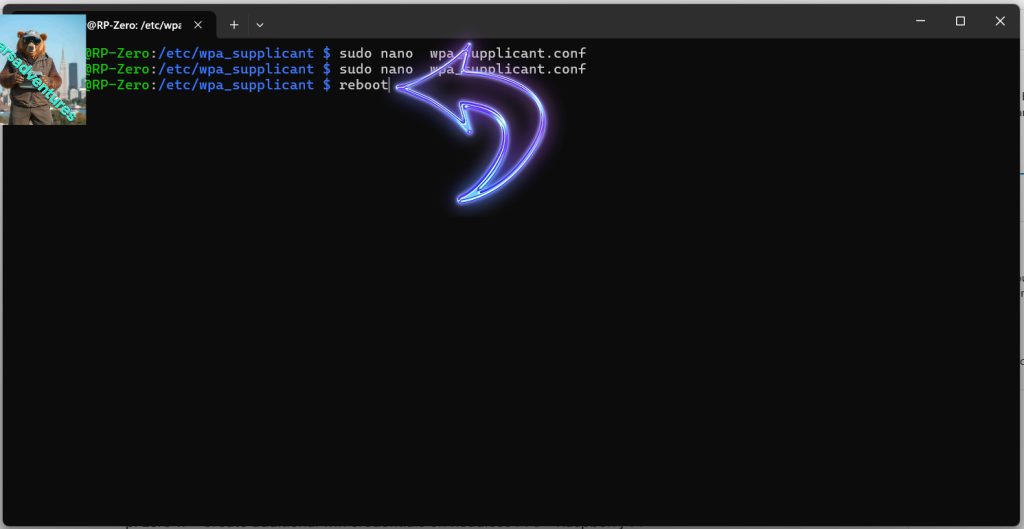
when you are finished, Press control (CTRL) and X together to save and exit. remember to press y to save
now reboot
list your wifi networks
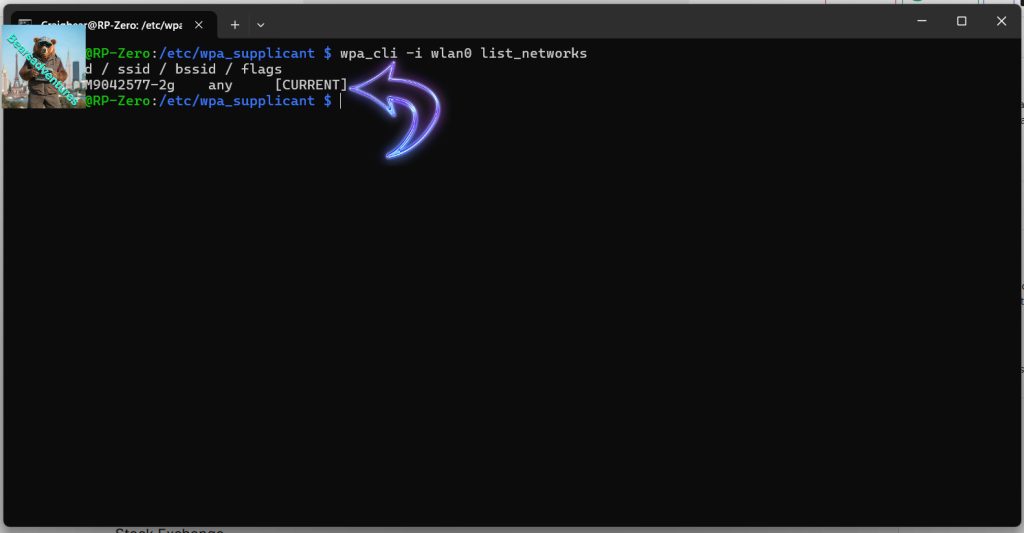
wpa_cli -i wlan0 list_networks
or scan
sudo iwlist wlan0 scan
/etc/wpa_supplicant/wpa_supplicant.conf
Step 1 – Create a fresh SD card using Raspbian image
Create fresh SD card using the latest available Raspbian image from the Official Download page.
NOTE: This method to setup WiFi must be completed before you boot this card for the first time. This is the point at which the system checks for the wpa_supplicant.conf file. If you have already booted the card you will need to re-write with a fresh image and continue.
Step 2 – Create a blank text file
Create a blank text file named “wpa_supplicant.conf”. Use a plain text editor rather than a Word Processor.
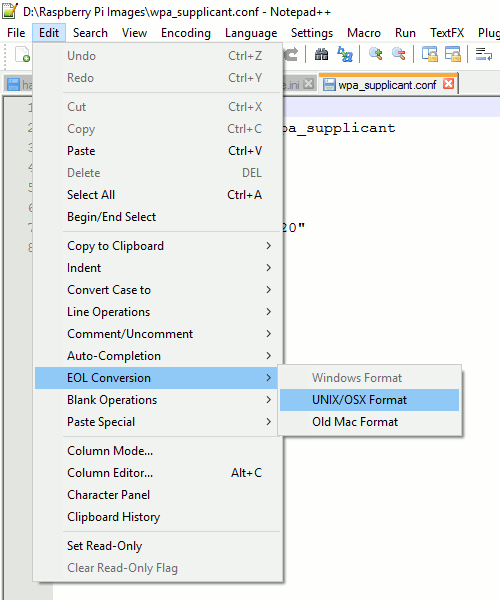
If using Windows you need to make sure the text file uses Linux/Unix style line breaks. I use Notepad++ (it’s free!) and this is easy to do using “Edit” > “EOL Conversion” > “UNIX/OSX Format”. “UNIX” is then shown in the status bar.
Insert the following content into the text file :
country=us
update_config=1
ctrl_interface=/var/run/wpa_supplicant

network={
 scan_ssid=1
 ssid="MyNetworkSSID"
 psk="Pa55w0rd1234"
}
Double check the SSID and password. Both the SSID and password should be surrounded by quotes.
The Country Code should be set the ISO/IEC alpha2 code for the country in which you are using your Pi. Common codes include :
- gb (United Kingdom)
- fr (France)
- de (Germany)
- us (United States)
- se (Sweden)
Step 3 – Copy to SD Card
Copy the file to the boot partition on your SD card. In Windows this is the only partition you will be able to see. It will already contain some of the following files :
- bootcode.bin
- loader.bin
- start.elf
- kernel.img
- cmdline.txt
Step 4 – Eject, Insert and Boot
Safely remove the SD card from your PC and insert into the Pi. Power up the Pi and once it has booted you should be connected to your WiFi network.
You may be able to use your Router admin interface to list connected devices. Your Pi should appear in the list with an assigned IP address.
Troubleshooting
If after waiting a few minutes your Pi is not connected to your WiFi consider the following points :
- Did you complete this method before booting this SD card for the very first time? If not start again from Step 1
- Check wpa_supplicant.conf exists in the boot partition and the filename is correctly spelt
- Check the file contains the text listed above
- Double check every character in the SSID
- Double check every character the password
- Check the SSID and password are correctly surrounded with double quotes “….”
- Ensure your text editor is using Linux style line breaks
share : https://13ear.uk/kx5o