


Access OpenMediaVault Web Interface
- In the beginning, to access the OMV Web Interface we need the IP Address of our Raspberry Pi.
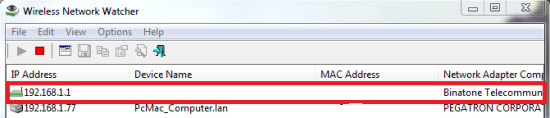
- Followed by Wireless Network Watcher to find the IP Address as shown below.

- After that, use this IP Address to open the login page for OpenMediaVault.
- Now, enter the Username & Password and login to OpenMediaVault.
OpenMediaVault Address = Your Raspberry Pi IP Address In my case 192.168.0.123
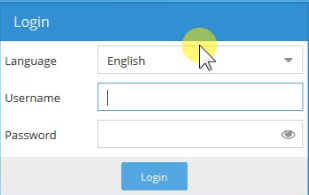
Default Username : admin / Default Password : openmediavault
OpenMediaVault Configuration
- Firstly, you need to change Auto logout to Disabled.
- Secondly, change the Web Administrative Password to a strong password of your choice.
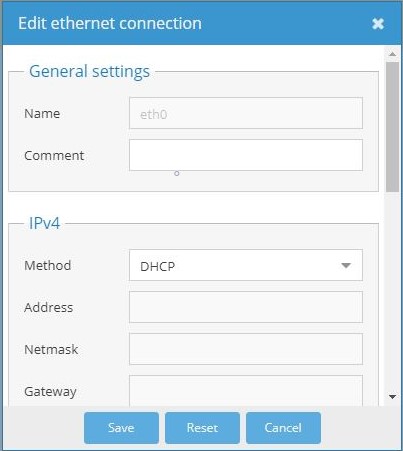
- Thirdly, navigate to System > Network and add an Ethernet interface.
- Under General Settings, we need to select our eth0 Ethernet Interface.
- After that under IPv4, we need to select DHCP and save the configuration
- Finally, we need to navigate to services to SSH enable Permit root login
Accessing SSH Console
- Before start to access the SSH console we require putty and use OpenMediaVault IP Address for Login to SSH.
Default Username : root
Default Password : openmediavault
- After that, on the first login, you need to change the password.
- Once the password is changed you can start using SSH on OpenMediaVault
Creating SSL Certificates
- First of all, we need to navigate to Certificates under System Settings.
- Followed by creating an SSH Certificate under the SSH menu by pressing the ADD button.
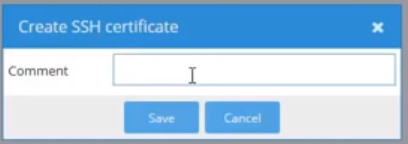
- Then we need to type a Name for the Certificate and press save to save the settings.
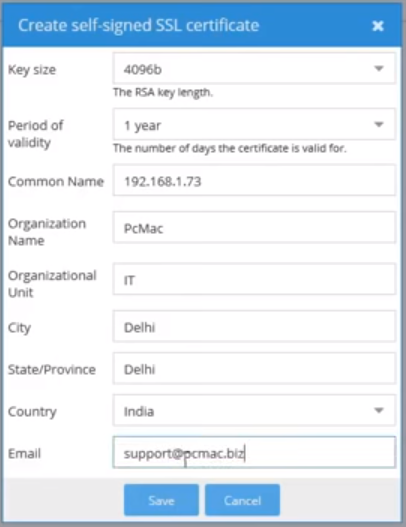
- After that, we need to navigate to SSL and create an SSL certificate by filling up the details to save the settings.
- Finally, we need to navigate to General Settings to select our certificates and Enable SSL/TLS connection
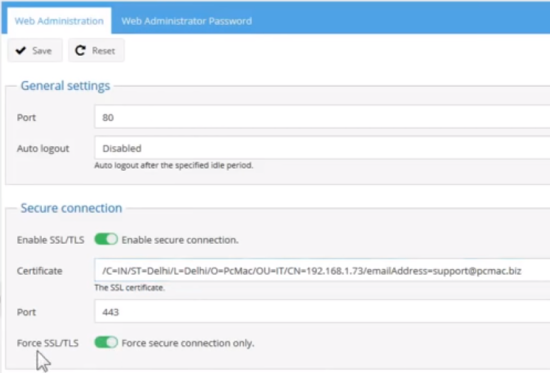
Enable SSL/TLS : "Enable Secure Connection"
Certificate : "Choose the certificate which we have Created"
Port : 443
Force SSL/TLS : "Enable"
Access OpenMediaVault from Internet
- To access the OpenMediaVault from Internet, we need to complete 2 steps.
1. Port Forwarding
2. Setup Dynamic DNS [In case you don’t have a Static Public IP Address]
Setting up Port Forwarding on Router
- Firstly, we need to know the IP Address of our router to forward the ports.
- After that, we can use the Wireless Network Watcher to obtain the router IP Address as shown below
- Secondly, use this IP Address to your browser and it will open the login page for your router.
- Thirdly, you need to enter the username & password and login to your router.
- If you don’t know the username & password of your router you can always ask your ISP.
- For personal routers check online for default username & password.

- Finally, navigate to services and then move to Port Forwarding, Your’s might be different.
- Then you need to forward port 80 and 443, to the Raspberry Pi IP Address.
Setting up Dynamic DNS
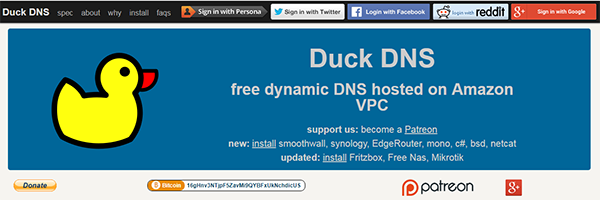
- Initially, we need to visit the DUCKDNS website to create a Free Dynamic DNS Domain.
- After that, login into DUCKDNS from the above methods and create a sub-domain.
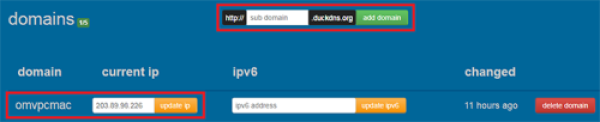
- For example, I have created omvpcmac as my subdomain, i.e. omvpcmac.duckdns.org
- You can create 5 subdomains on the Duck DNS account for free.
- Finally, we are all set to access OMV from the Internet by using the sub-domain that we have created.
In Conclusion
- Now you can access OpenMediaVault from outside your network.
- Enjoy using OpenMediaVault on Raspberry Pi.
- If you have any suggestions, please mention them in the comment section.