Step 1: Install and Update Raspbian
Enable hotspot
To create a hosted wireless network on the command line, run the following command, replacing the <example-network-name> and <example-password> placeholders with your own values:
sudo nmcli device wifi hotspot ssid myhotspot password mypassword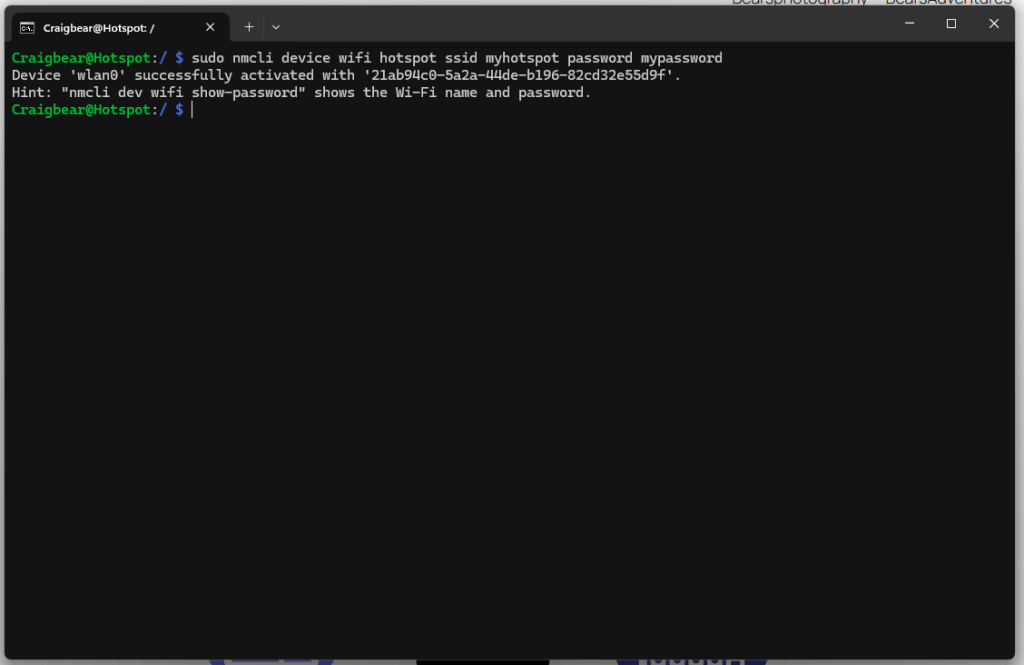
hotspot working
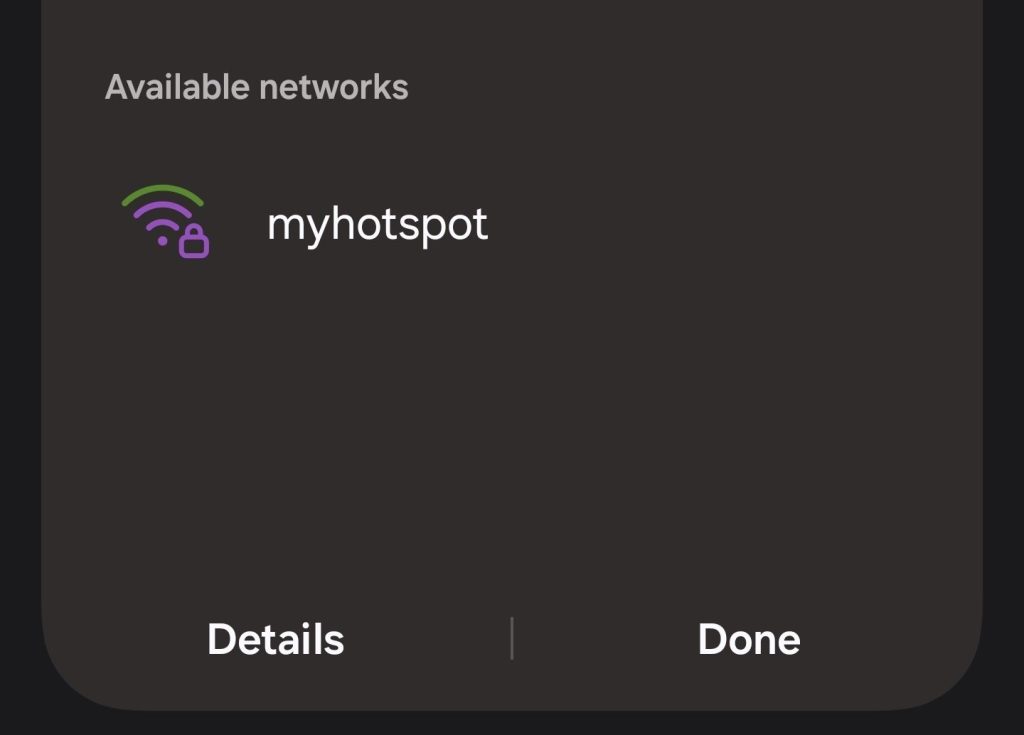
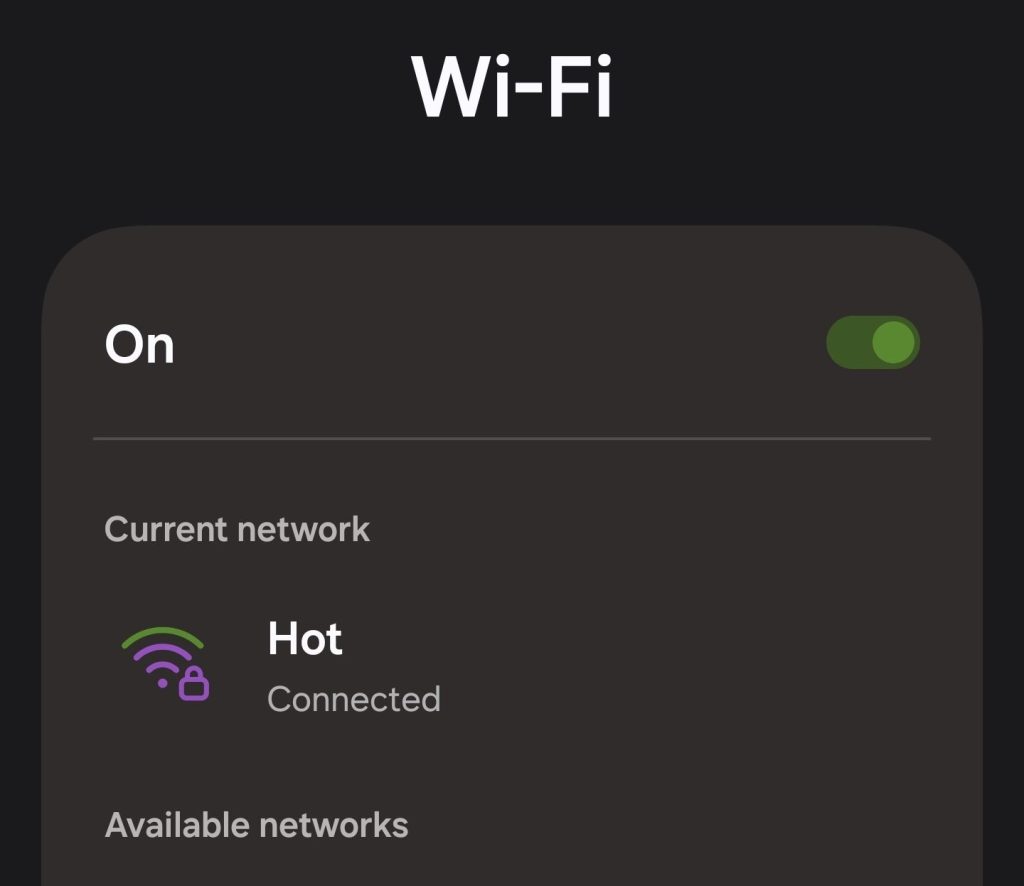
sudo nmcli device wifi hotspot ssid <example-network-name> password <example-password>Use another wireless client, such as a laptop or smartphone, to connect to the network. Look for a network with a SSID matching <example-network-name>. Enter your network password, and you should connect successfully to the network. If your Raspberry Pi has internet access via an Ethernet connection or a second wireless adapter, you should be able to access the internet.
Disable hotspot
To disable the hotspot network and resume use of your Pi as a wireless client, run the following command:
sudo nmcli device disconnect wlan0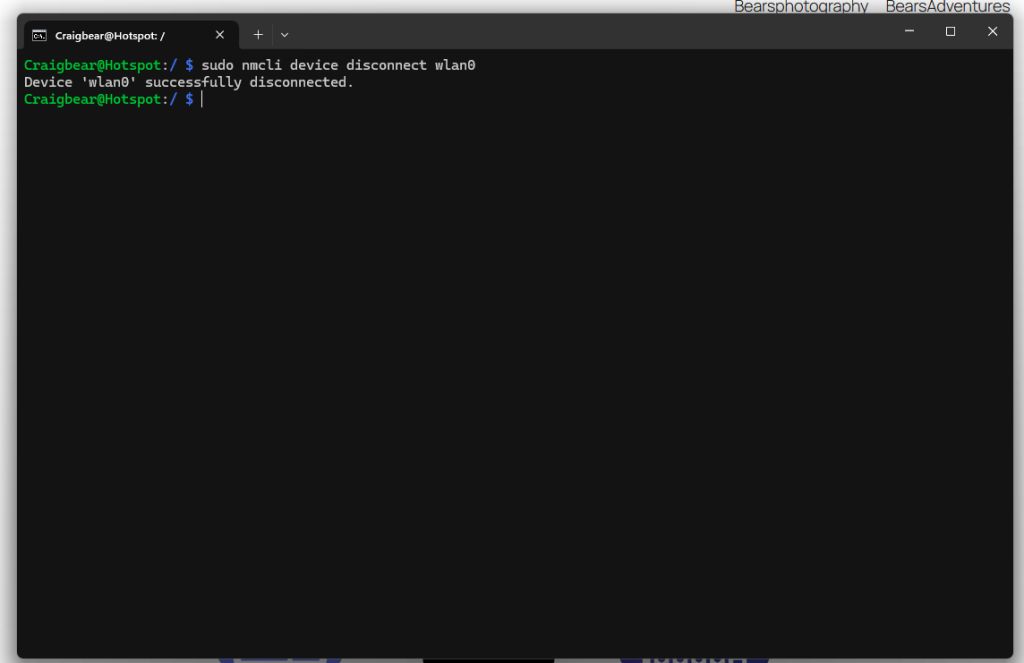
After disabling the network, run the following command to reconnect to another Wi-Fi network:
sudo nmcli device up wlan0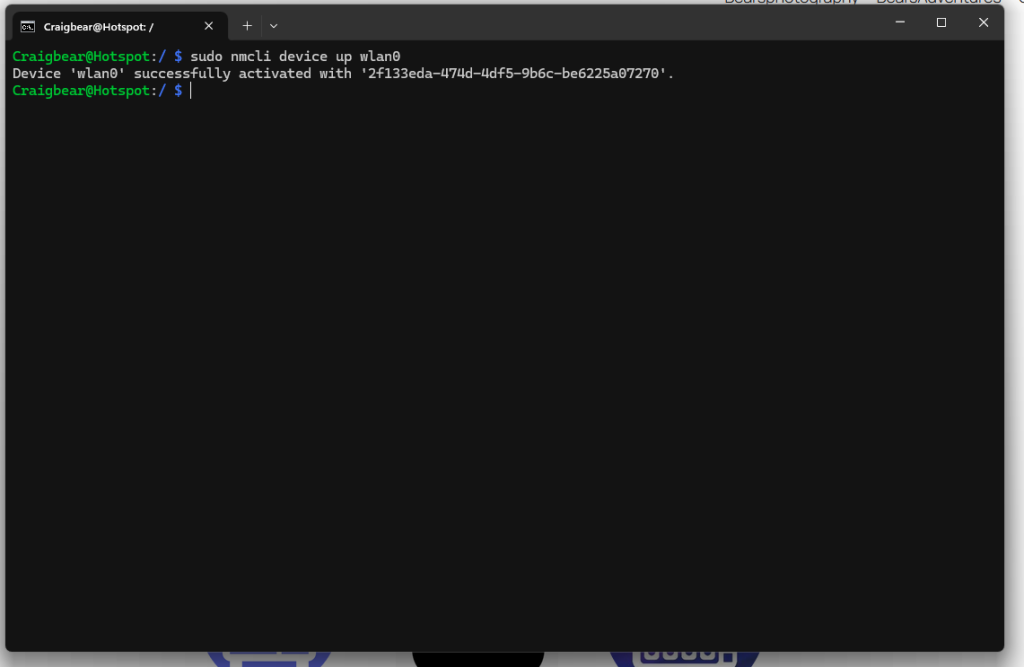
To change your hotspot
first stop the hotspot
sudo nmcli device disconnect wlan0then use the same code that you used to setup the hotspot but change the name
sudo nmcli device wifi hotspot ssid myhotspot password mypasswordAuto run hotspot
use this code
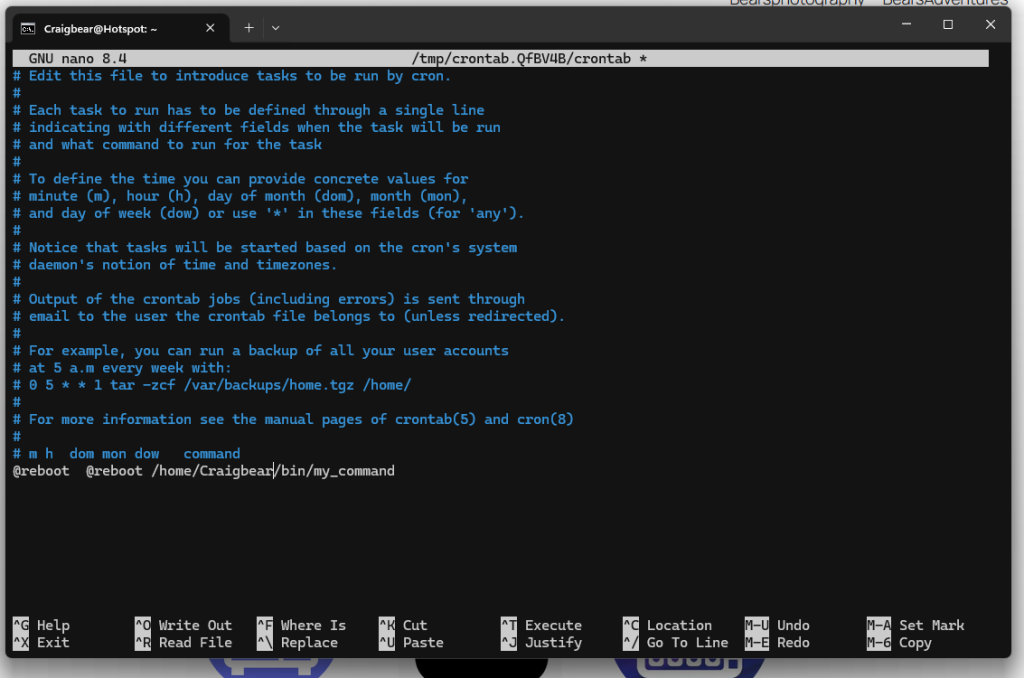
crontab -e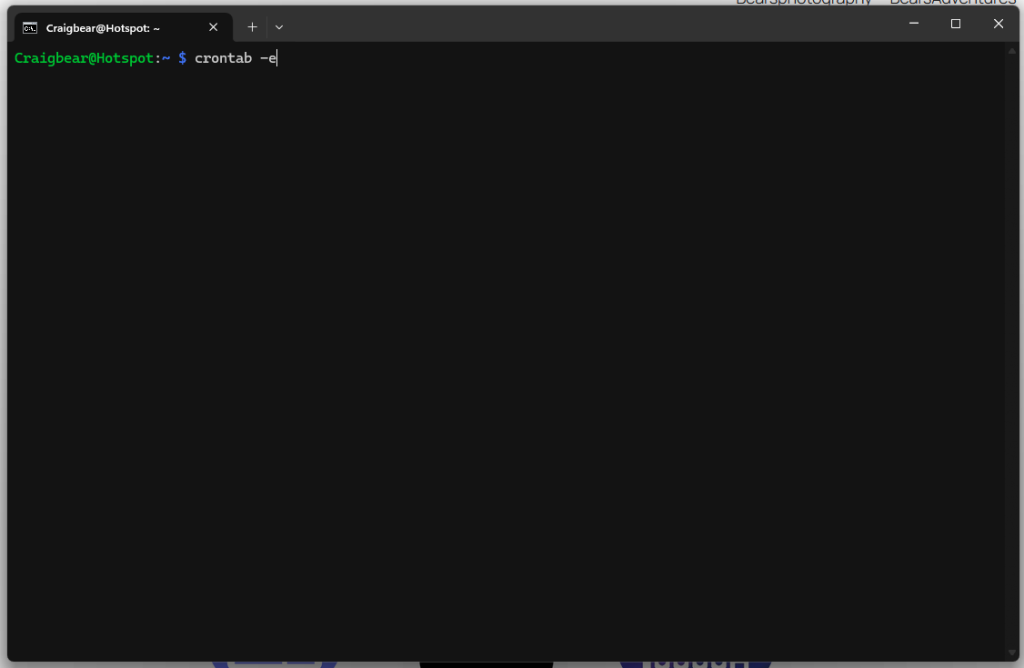
@reboot sudo nmcli device wifi hotspot ssid myhotspot password mypassword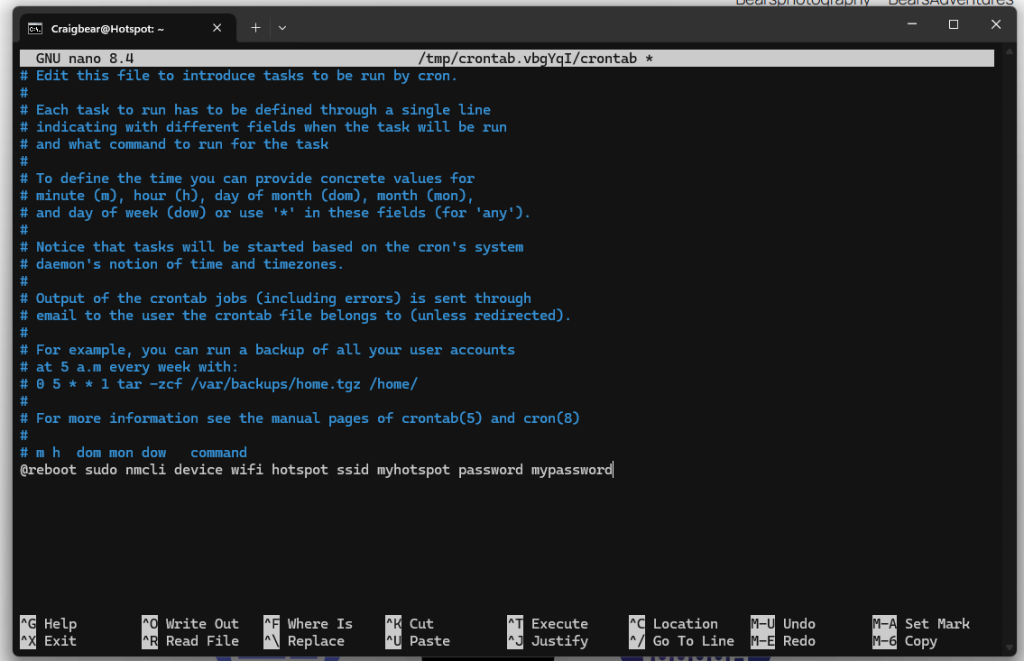
sudo nano /home/Craigbear/Startup.shsave and now time to create the Startup.sh file
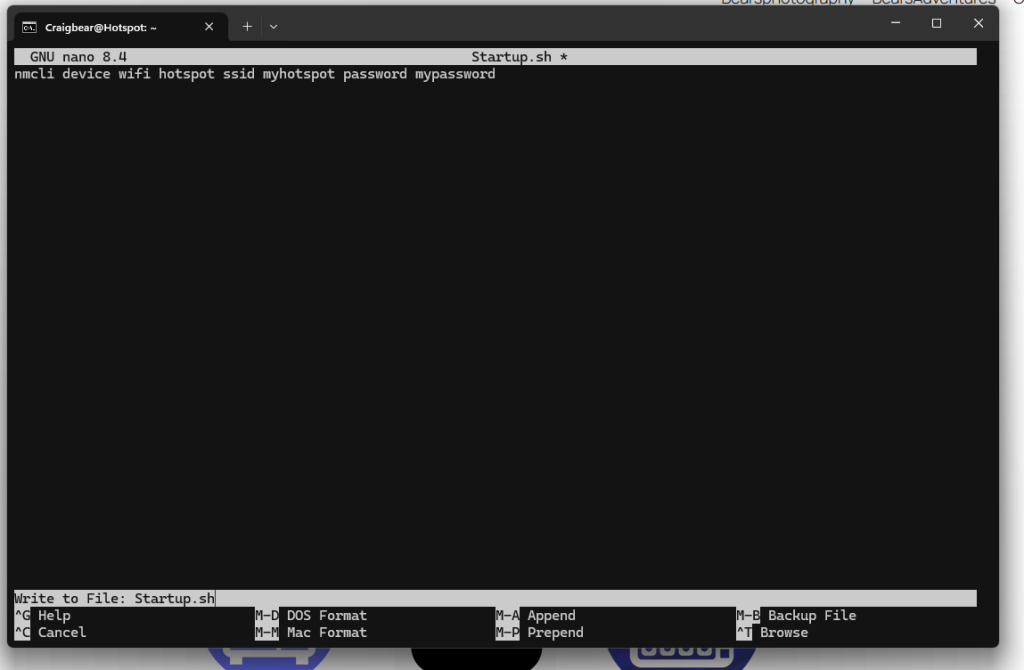
Time to test it