




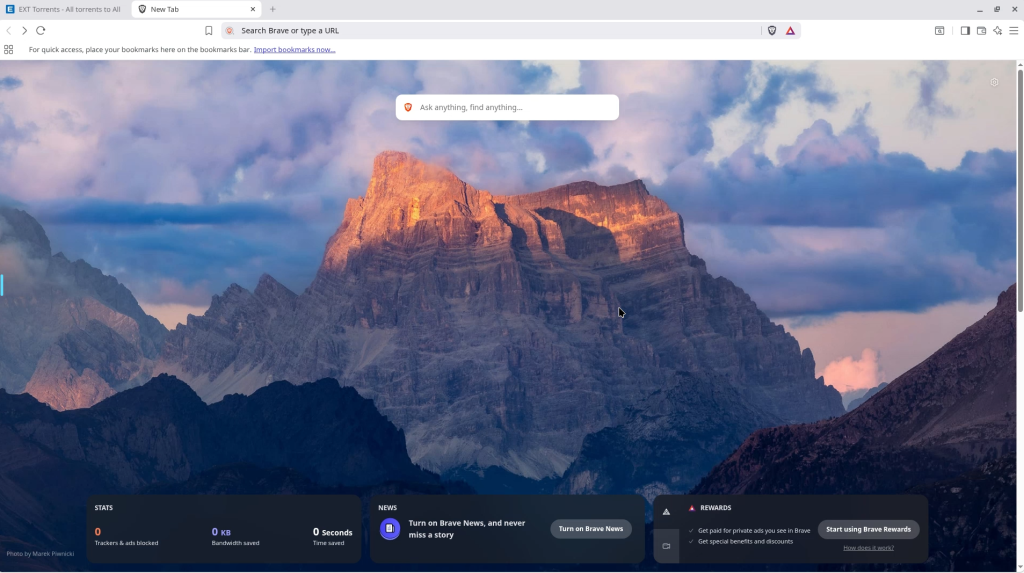
Brave Running on Synology Container manager
Brave is a privacy-centric web browser designed for speed, security, and an ad-free experience. Built on the Chromium engine, it supports Chrome extensions while automatically blocking intrusive ads, trackers, and third-party cookies to protect user anonymity. By eliminating these elements, Brave delivers web pages up to three times faster than conventional browsers. The browser introduces Brave Rewards, an optional system where users can view privacy-respecting ads to earn Basic Attention Tokens (BAT), which can be used to tip or support content creators. Brave enhances security with features like HTTPS Everywhere, fingerprinting protection, and script blocking, ensuring a safer online experience. Brave offers seamless synchronization across devices. With its clean interface and robust privacy tools, Brave is an excellent choice for users prioritizing a secure and efficient browsing experience. In this step by step guide I will show you how to install Brave on your Synology NAS using Container manager
Step 1
Install container manager, If you have already installed the manager jump to step 3
Link here
Select Main menu or the Package Centre shortcut

Step 2
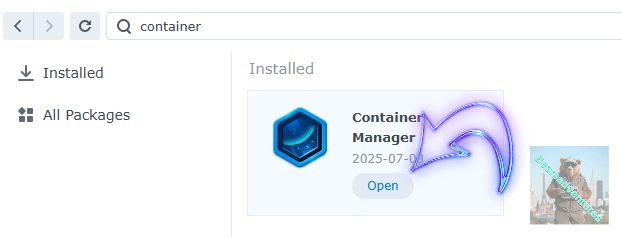
Type in Container in the Search bar and Press enter on your keyboard. Then you will See Container manager like below. in my case i have installed the Container manager already. Select install, wait a few second and then select open.
Step 3
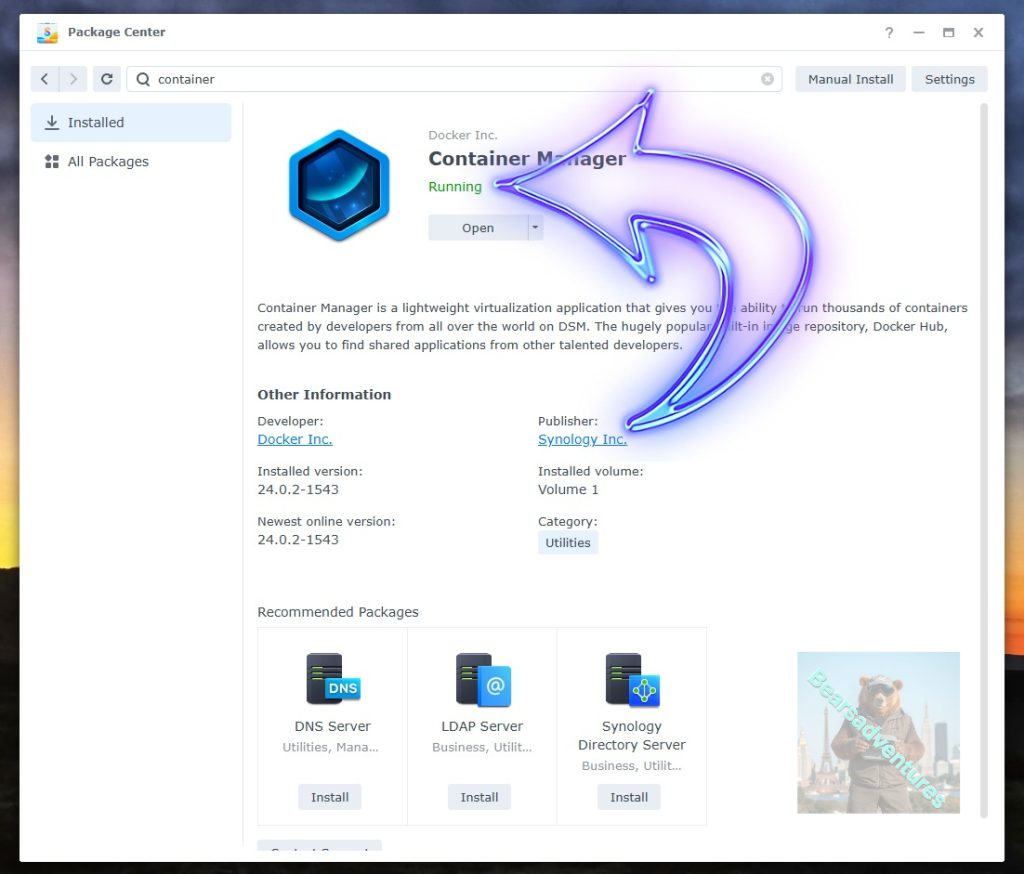
Now you have selected open you should see a screen like below and The Manager will say Running in green. Select open and move on to the next step.
Step 4
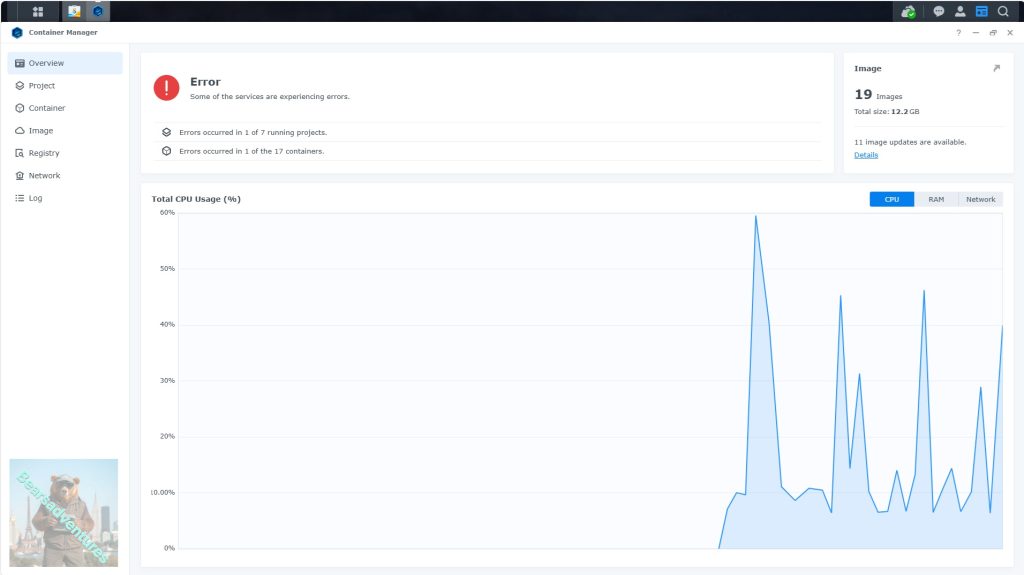
Now you will be Presented with the below. This is the Container manager over view of all your Containers and what’s happening in real time.
Step 5
Now We need to Create a Project for wordpress.
This project will do a number of things. download the image and setup the Project to Run all in one go.
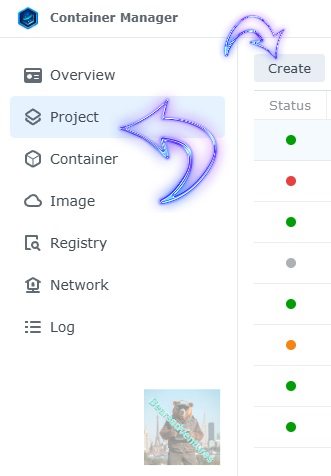
Select project from the menu down the side and then select Create button
Step 6
before we go any thuther we need to ensure we have our folders setup ready for the project.
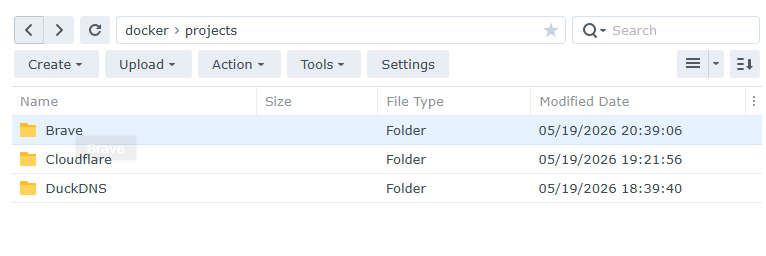
Docker / Projects and create a folder in here called Brave
Step 7
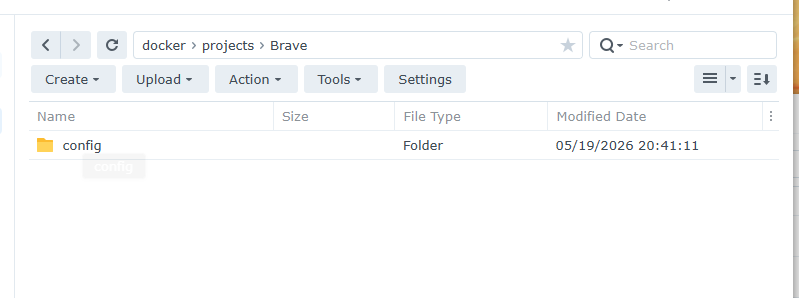
create a folder called config within the Brave folder
Step 8
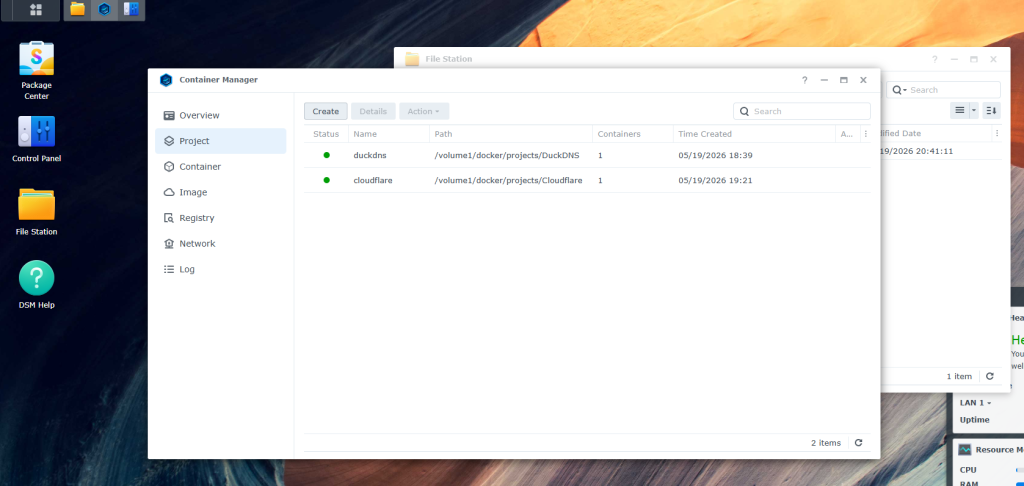
Head over to container manager
Step 9
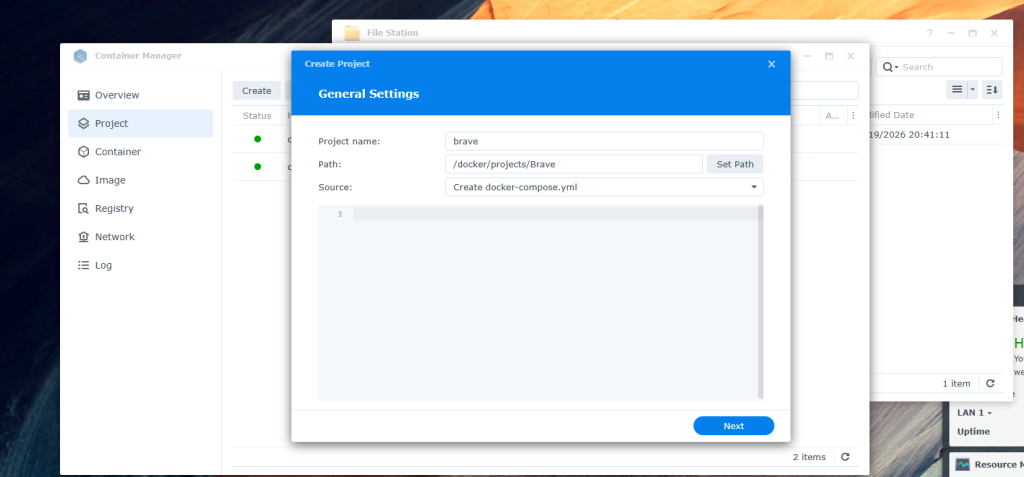
create project Add The name of the project brave( No capitals), also change the source to Create docker-compose.yml. this will create a txt file stored in the brave folder we have created before .
Step 10
Copy this code into the box.
services:
  brave:
    container_name: Brave
    image: ghcr.io/linuxserver/brave:latest
    healthcheck:
      test: timeout 10s bash -c ':> /dev/tcp/127.0.0.1/3000' || exit 1
      interval: 10s
      timeout: 5s
      retries: 3
      start_period: 90s
    security_opt:
      - no-new-privileges:true
      - seccomp:unconfined
    shm_size: "2gb"
    ports:
      - 3934:3001
      - 3982:3000
    volumes:
      - /volume1/docker/projects/Brave/config:/config:rw
    environment:
     CUSTOM_USER: admin
     PASSWORD: password
     TZ: Europe/London
     PUID: 1024
     PGID: 100
    restart: on-failure:5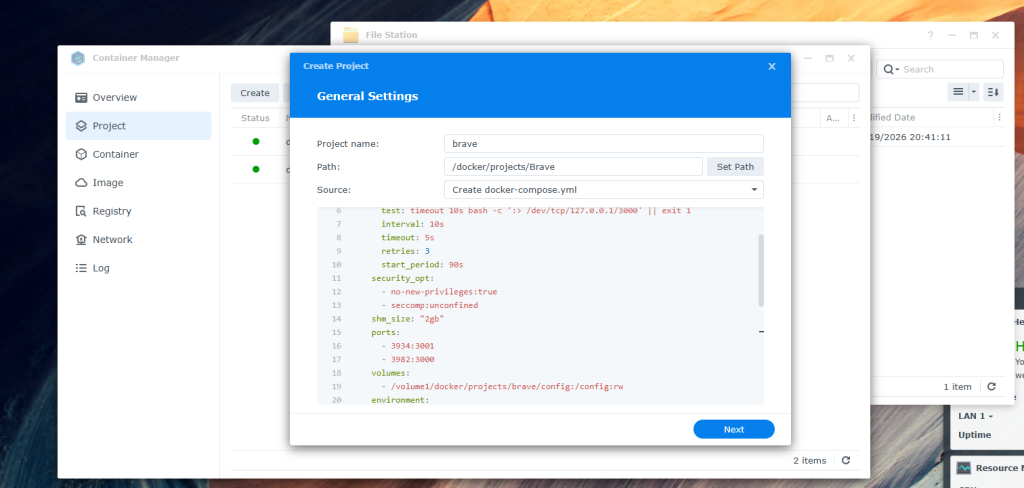
You should have somthing that look like this.
Step 11
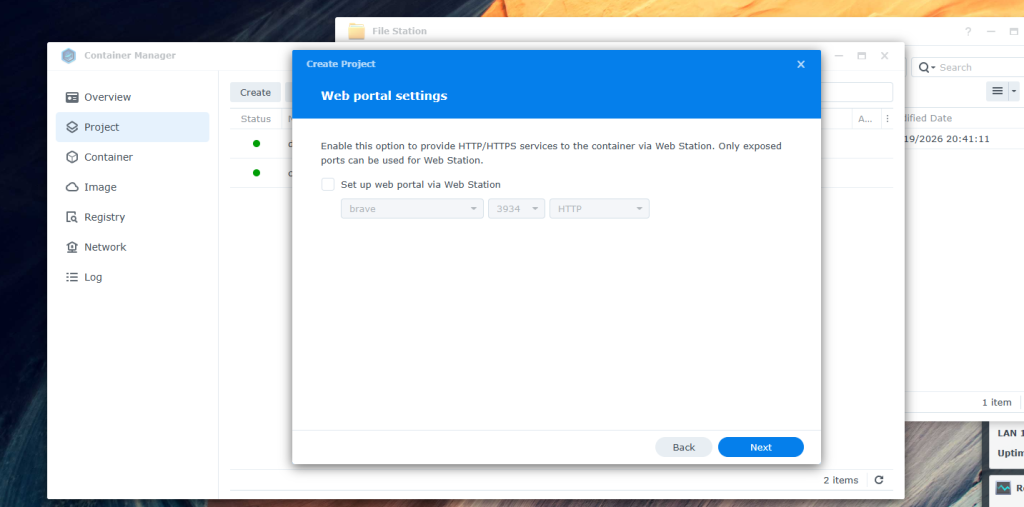
Select next, portal settings is you can change this but we set this up in the YML file. so just select next
Step 12
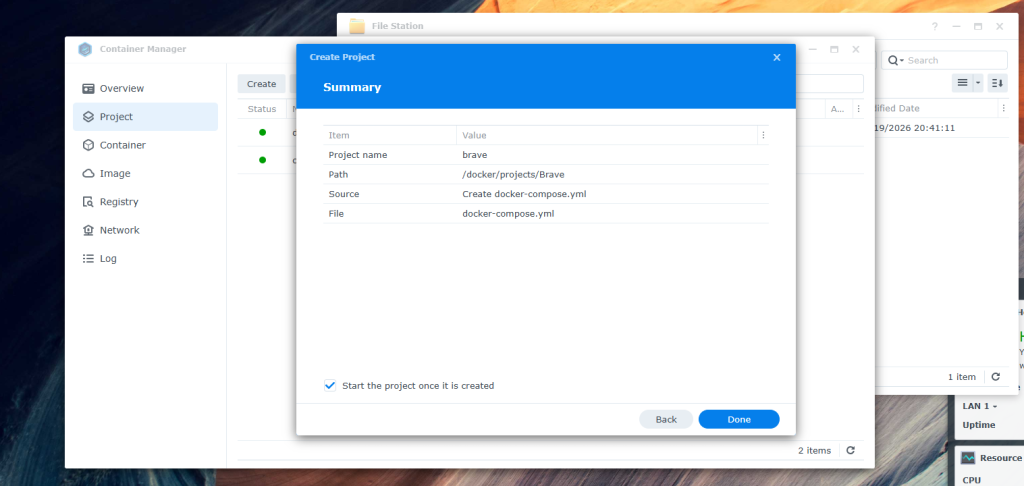
Summary of what we have done. Select done when you are happy with the Details. or back to edit.
Step 13
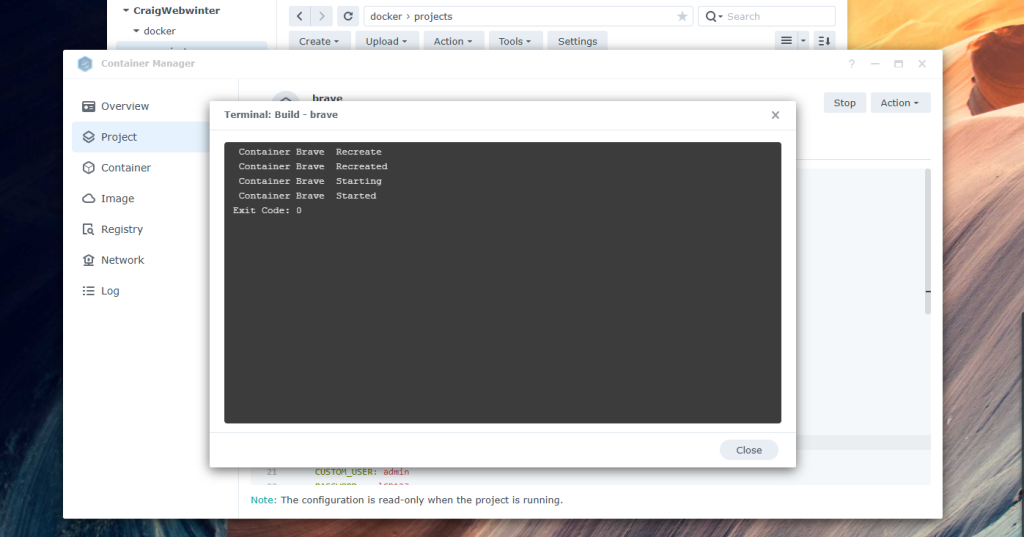
Terminal Build should have now errors in the Window like above
Step 14
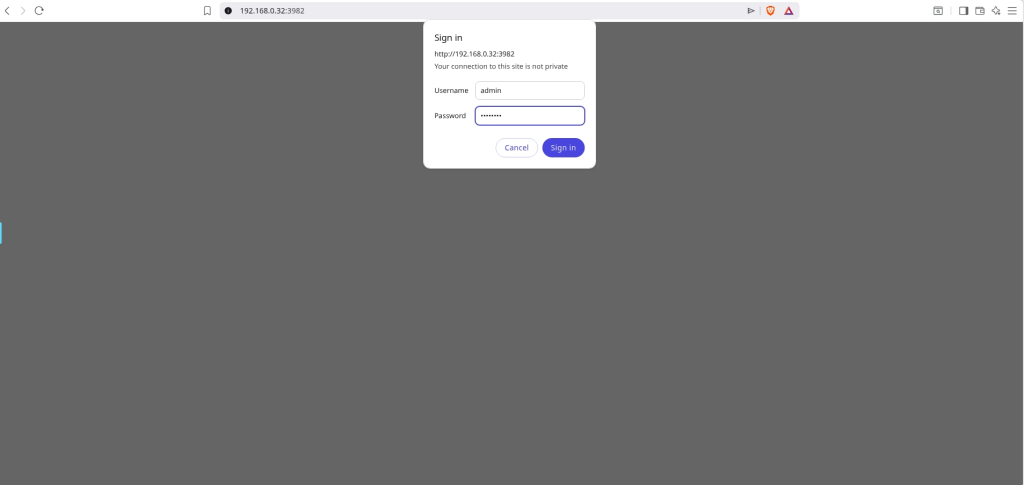
Test the Project works. we have access to the Project. So success. happy Surfing.