





OnlyOffice Document Server is an online office suite comprising viewers and editors for texts, spreadsheets and presentations, fully compatible with Office Open XML formats: .docx, .xlsx, .pptx etc. In this step by step guide I will show you how to install OnlyOffice on your Synology NAS using Container manager.
Step 1
Install container manager, If you have already installed the manager jump to step 3
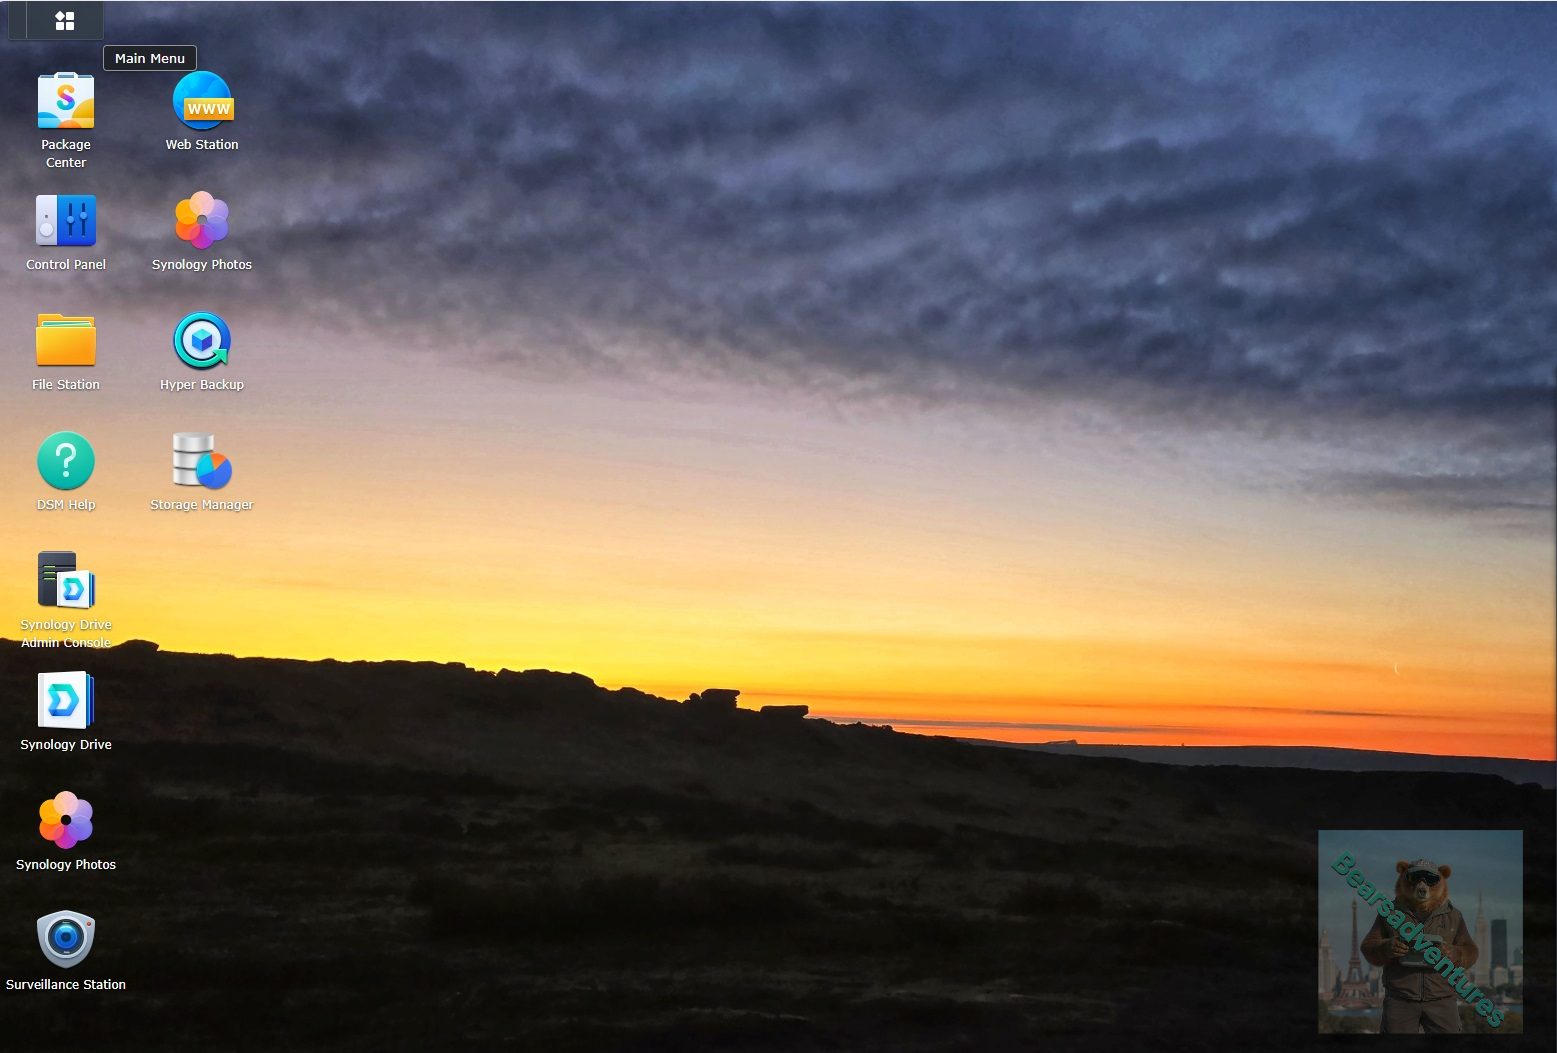
Select Main menu or the Package Center shortcut
Step 2
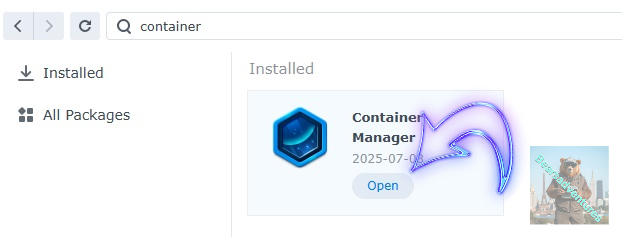
Type in Container in the Search bar and Press enter on your keyboard. Then you will See Container manager like below. in my case i have installed the Container manager already. Select install, wait a few second and then select open.
Step 3
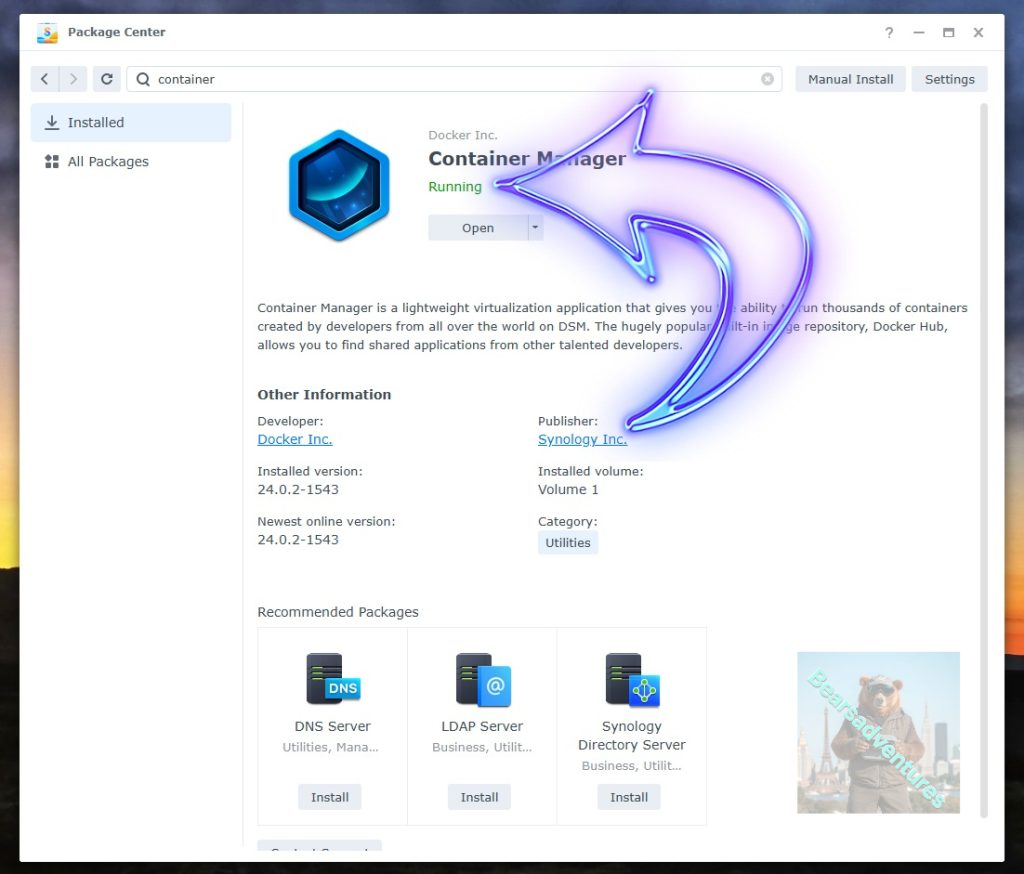
Now you have selected open you should see a screen like below and The Manager will say Running in green. Select open and move on to the next step.
Step 4
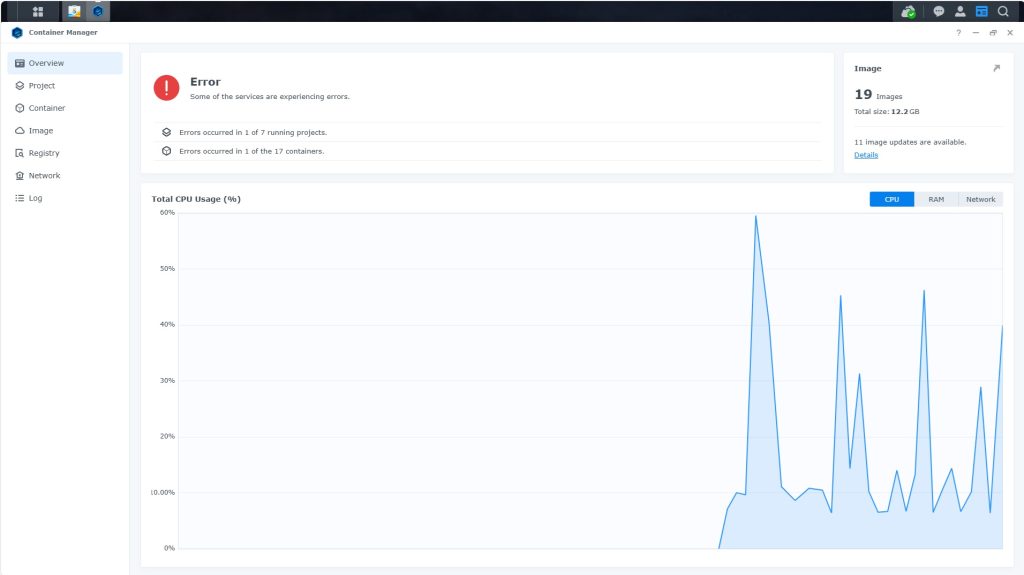
Now you will be Presented with the below. This is the Container manager over view of all your Containers and what’s happening in real time.
Step 5
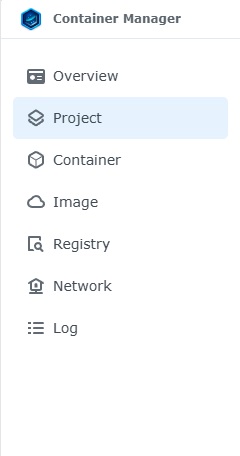
Now We need to Create a Project for OnlyOffice.
This project will do a number of things. download the image and setup the Project to Run all in one go.
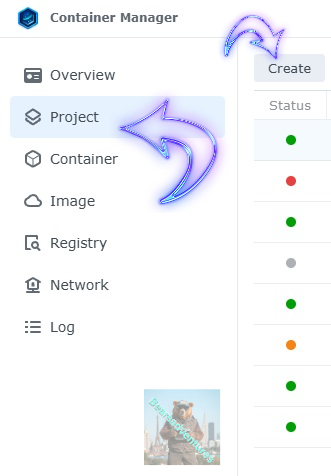
Select project from the menu down the side and then select Create button
Step 6
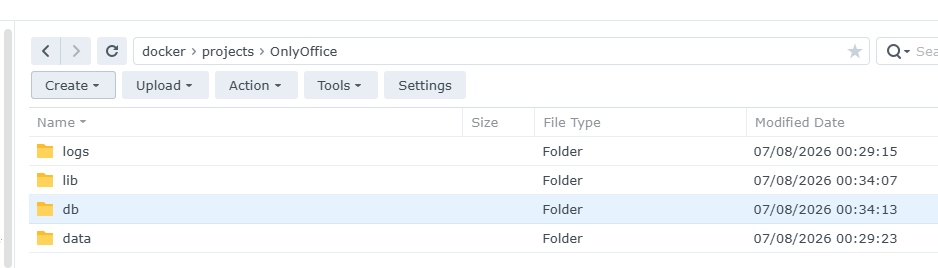
before we go any thurther we need to ensure we have our folders setup ready for the project.
I have a main folder on the Synology system just for docker projects. create the following folders using filestation in the config folder
- OnlyOffice
- logs
- data
- lib
- db
Step 7
Now we have created the folders needed for the project we can go ahead and create the project in Container manager
Give the project a name, change source to Create docker-compose.yml and add the path. Project name is all lower case.
See below for before and after the code you will need is below also.
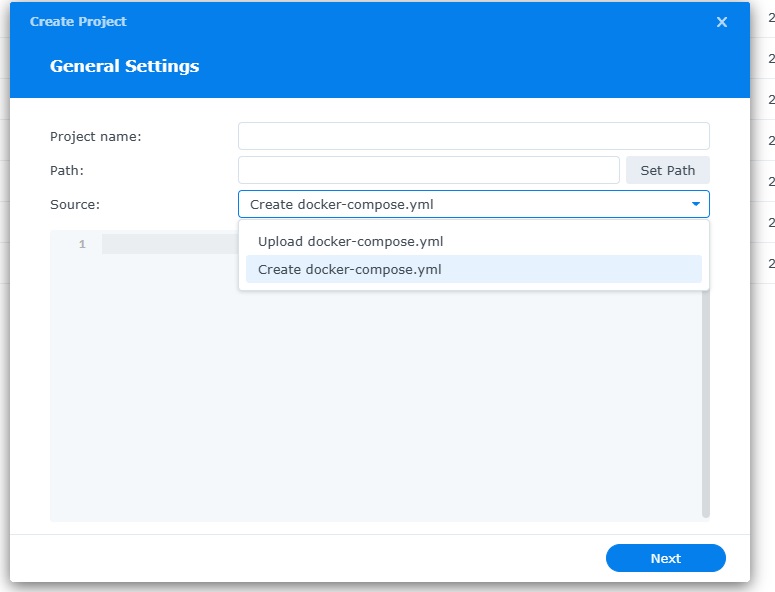
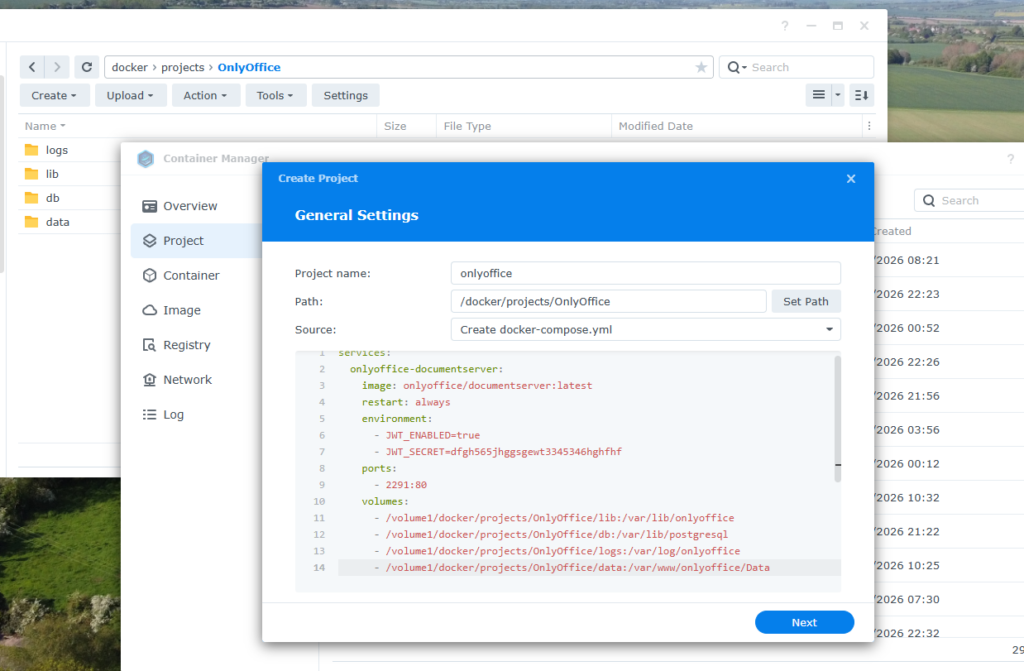
the volume path needs tobe exact or the project will return a fail.
services:
  onlyoffice-documentserver:
    image: onlyoffice/documentserver:latest
    restart: always
    environment:
      - JWT_ENABLED=true
      - JWT_SECRET=dfgh565jhggsgewt3345346hghfhf
    ports:
      - 2291:80
    volumes:
      - /volume1/docker/projects/OnlyOffice/lib:/var/lib/onlyoffice
      - /volume1/docker/projects/OnlyOffice/db:/var/lib/postgresql
      - /volume1/docker/projects/OnlyOffice/logs:/var/log/onlyoffice
      - /volume1/docker/projects/OnlyOffice/data:/var/www/onlyoffice/Data
press next when you are happy with the code. Before you go to the next step make a note of the JWT_SECRET and port 2291 you will need this information in a few steps time.
Side note i like to add DB folder so if the container crashes i still have the DB in a folder, so i dont need to restore the DB.
Step 8
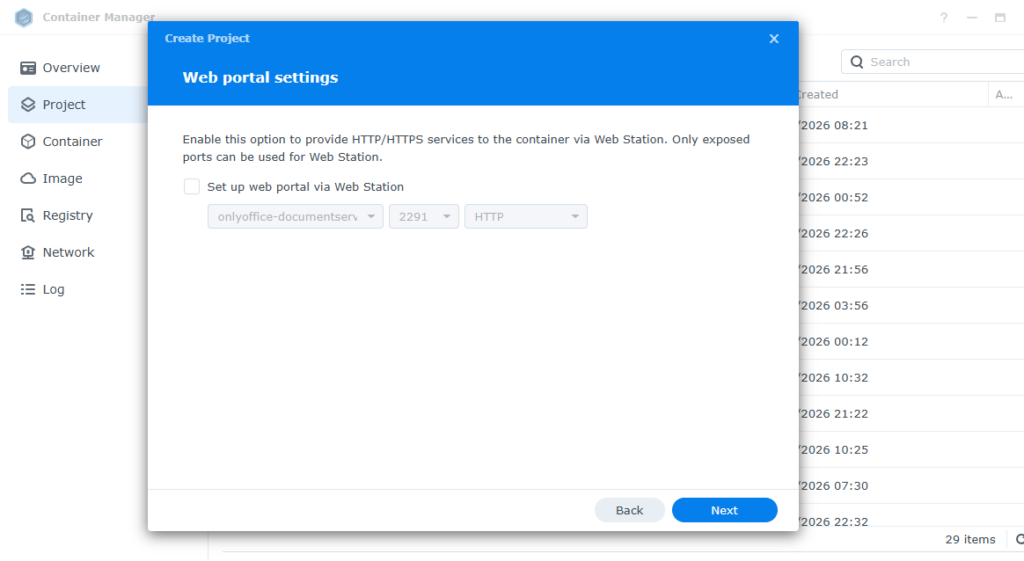
setup a web portal if you like . I would not advise it. and press next
Step 9
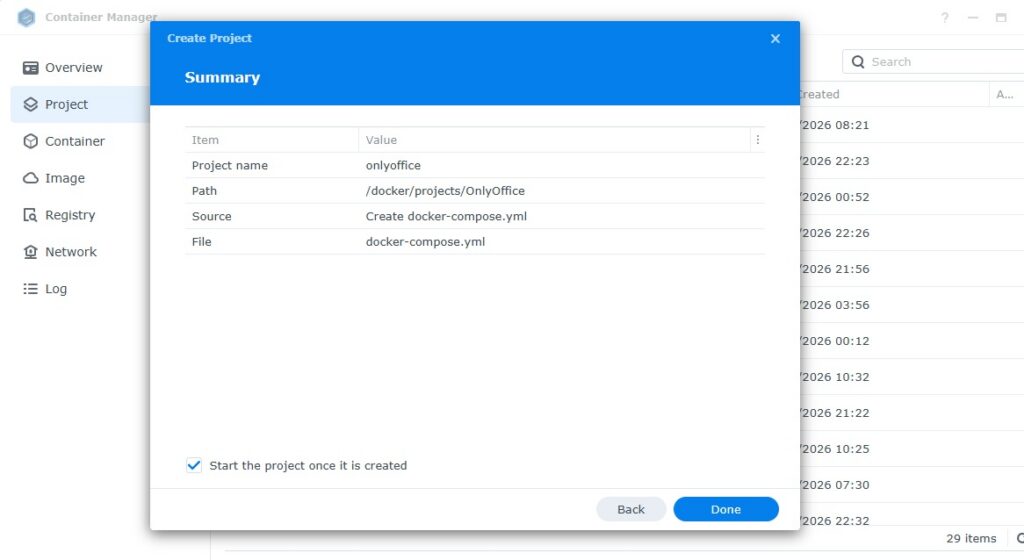
Thats it for this section, time to create the project.
Select Done
Step 10
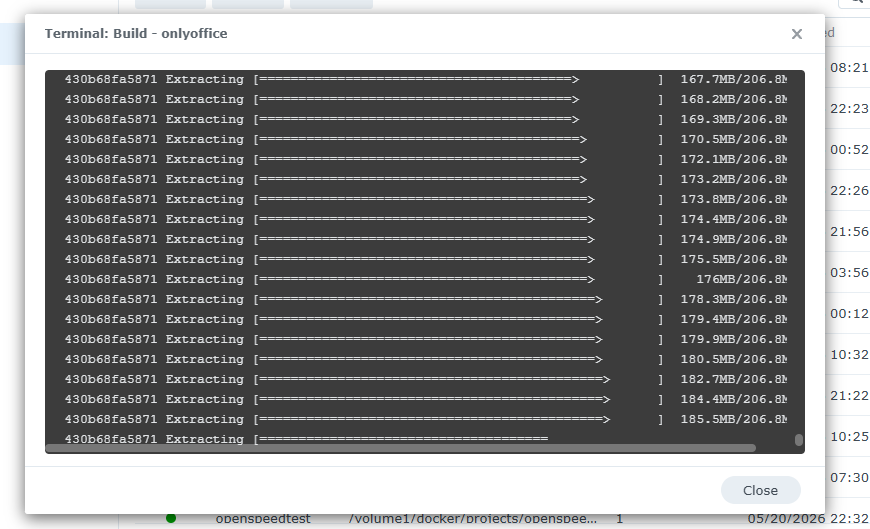
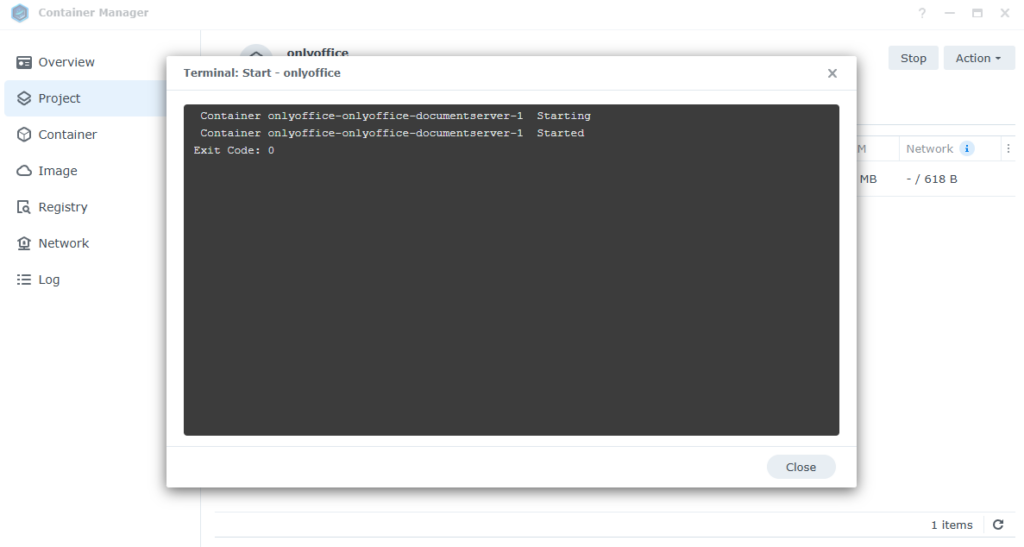
If you have a Exit Code of 0 like i have below then you are done. project created. if you have a Exit code 1 you have a error and need to visit the code again and trouble shoot.
Step 11
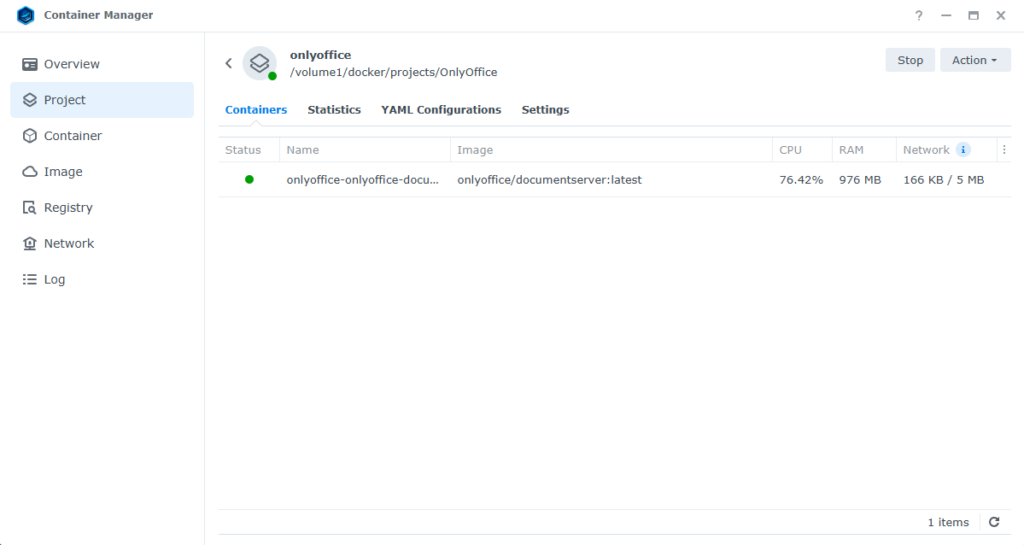
One last thing you can check to see if the docker is Green and showing no Errors, todo that just goto Container manager and on the left select Projects and duckdns will be there Status Colum should be green if not you will need to trouble shoot.
You can test to see if the Container is accessible by using your local computer https://server -ip-number:2291
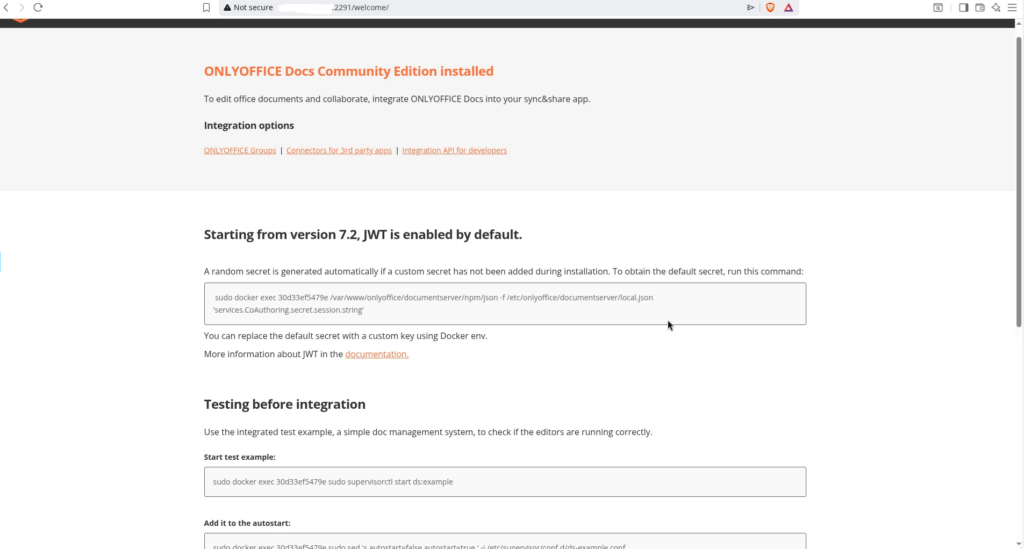
we are up and running and ready to use.
Step 12
before you leave think of adding a tunnel to your nextcloud project. If you dont want to create a tunnel jump to Step 13.
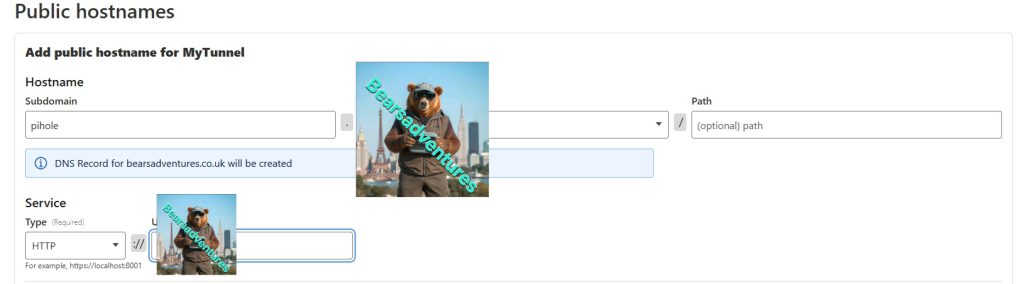
We can now use this in NextCloud aswell.
Step 13
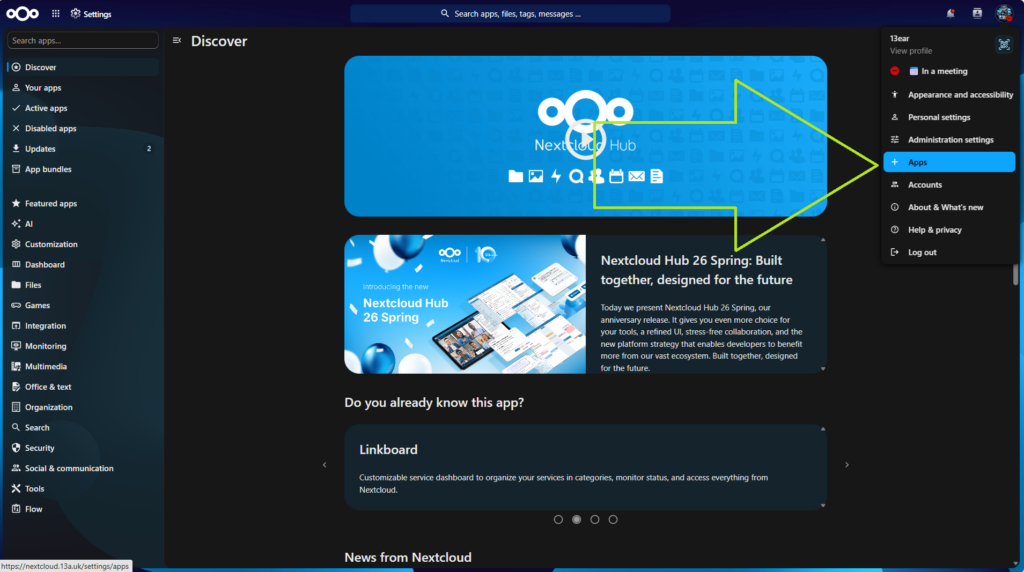
Now login to NextCloud account. At the top right of the page click on your profile, then + Apps. Check to see if you have a Nextcloud Office App installed
Step 14
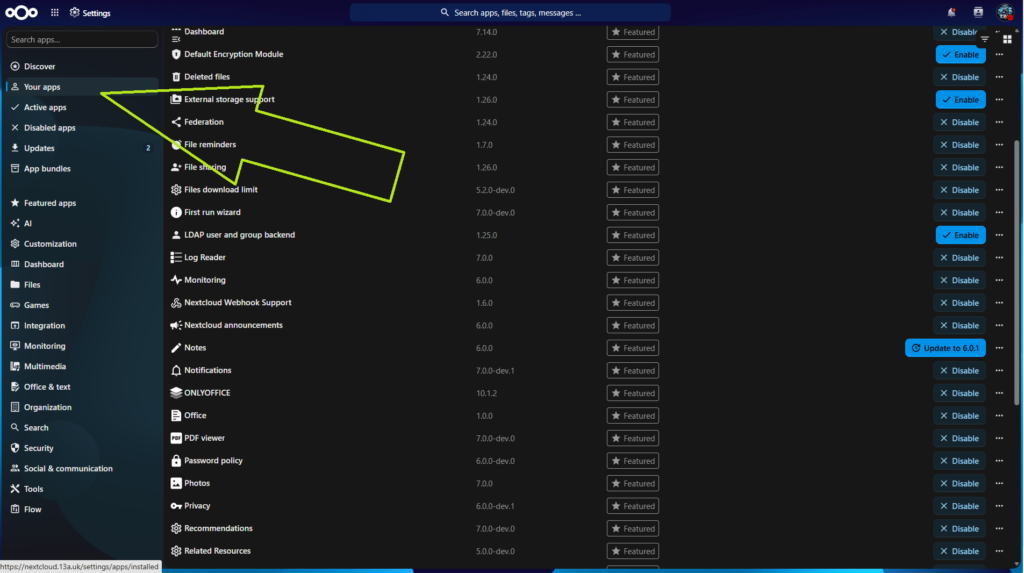
Now Select your apps
Step 15
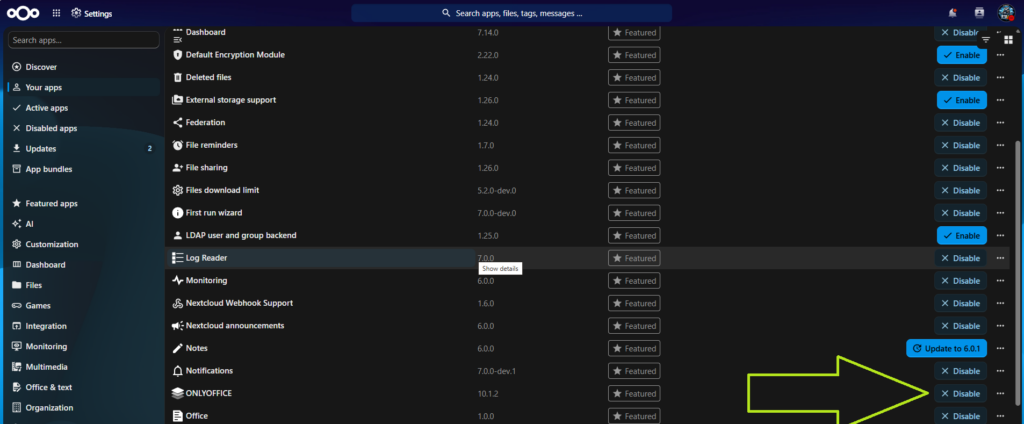
scroll down to onlyoffice if it is installed.
Step 16
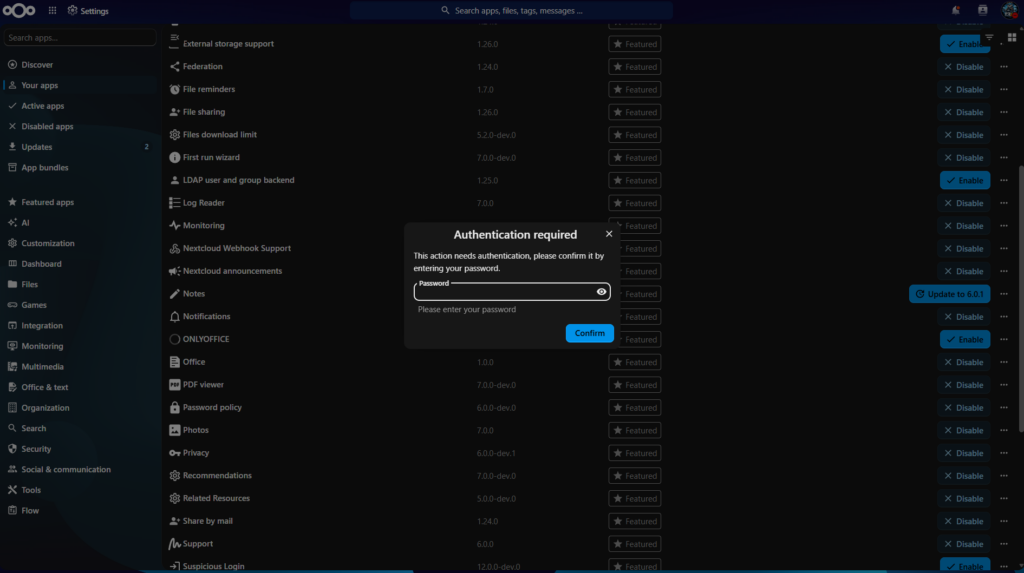
Now Search onlyoffice and enable, You will be prompted to add your password to enable.
Step 17
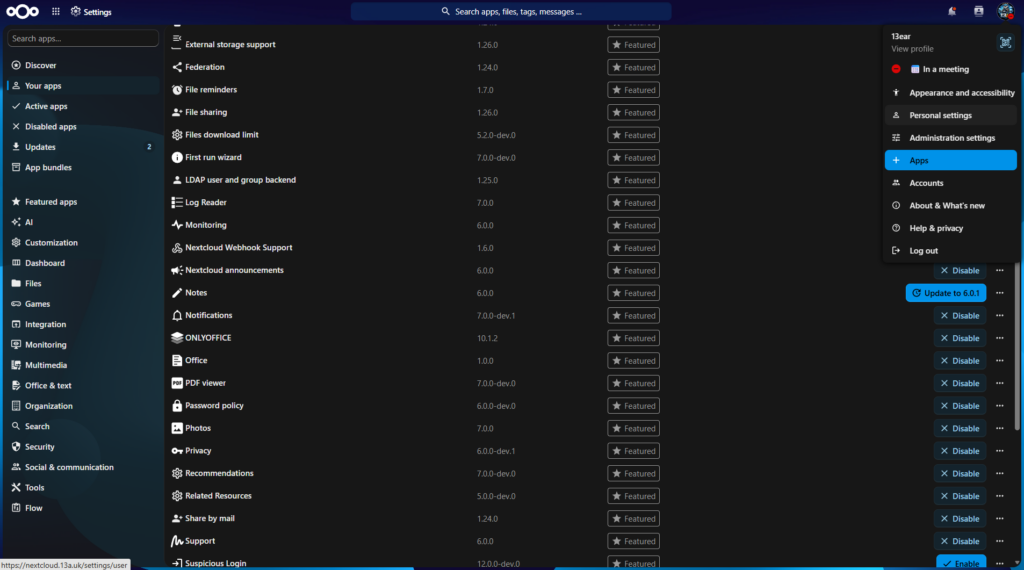
now select top right user button and select Personal Settings
Step 18
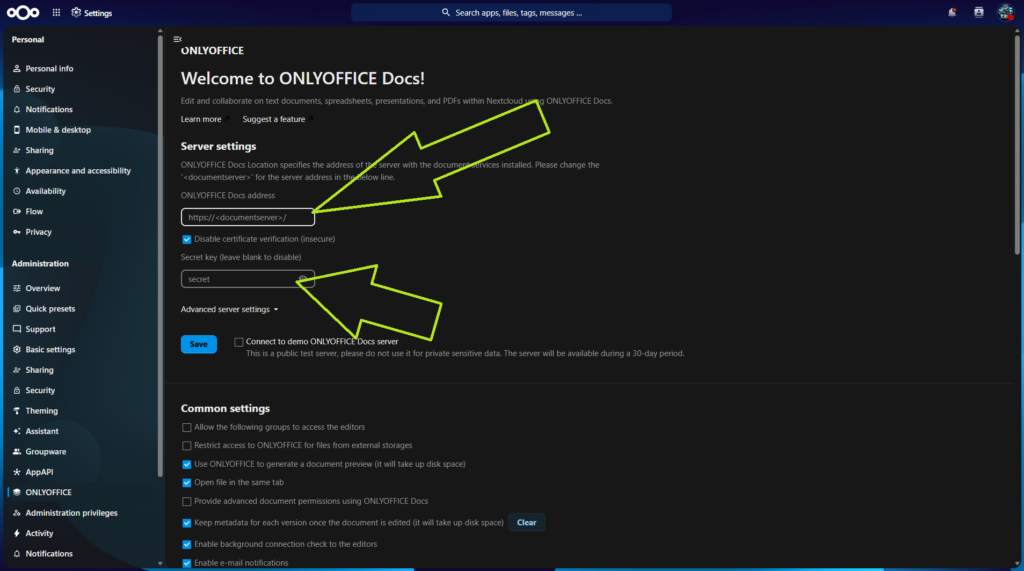
You will find the ONLYOFFICE app in the menu on the left sidebar, just under Administration; click on it
Step 19
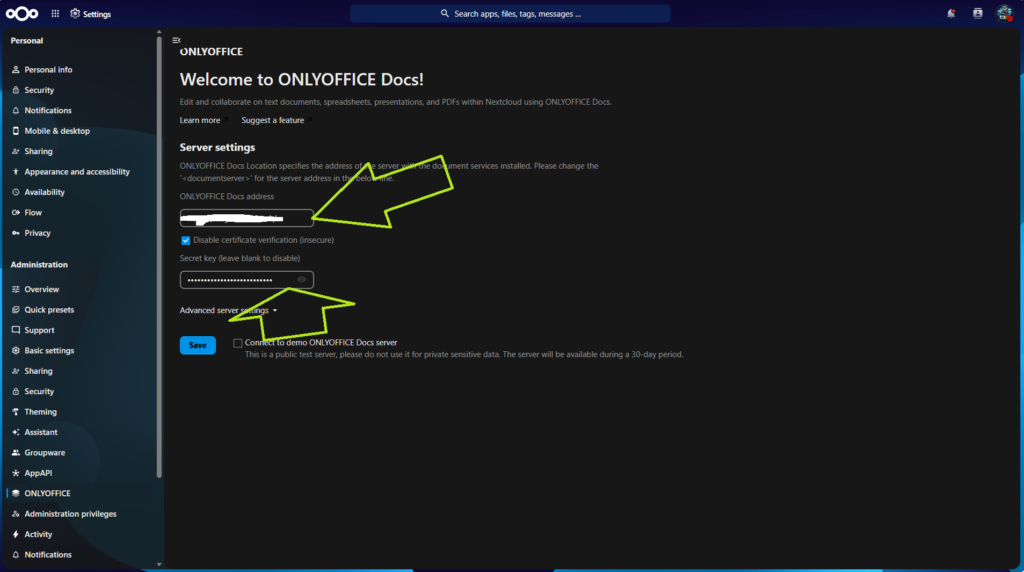
In the ONLYOFFICE Docs address field type in your own Server address(https://192.168.0.222) DDNS address with https at the beginning that you have previously created at STEP 6. In the Secret key field type in your own JWT_SECRET password that you have previously created at STEP 7. Click Save. Follow the instructions in the image below.
Step 20
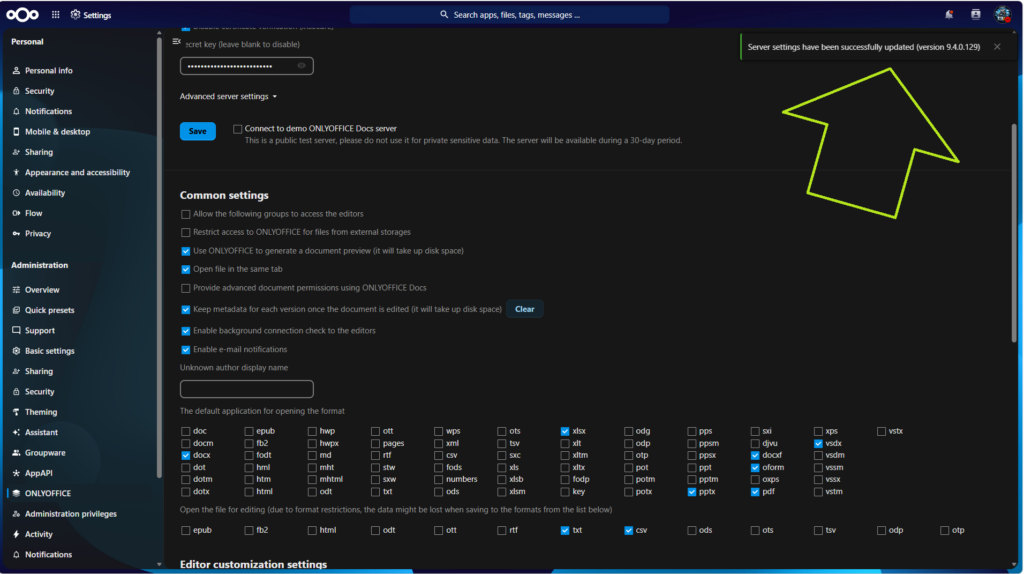
When you save you will get a Save Message top right corner. then thats Nextcloud and Onlyoffice working together.
Step 23
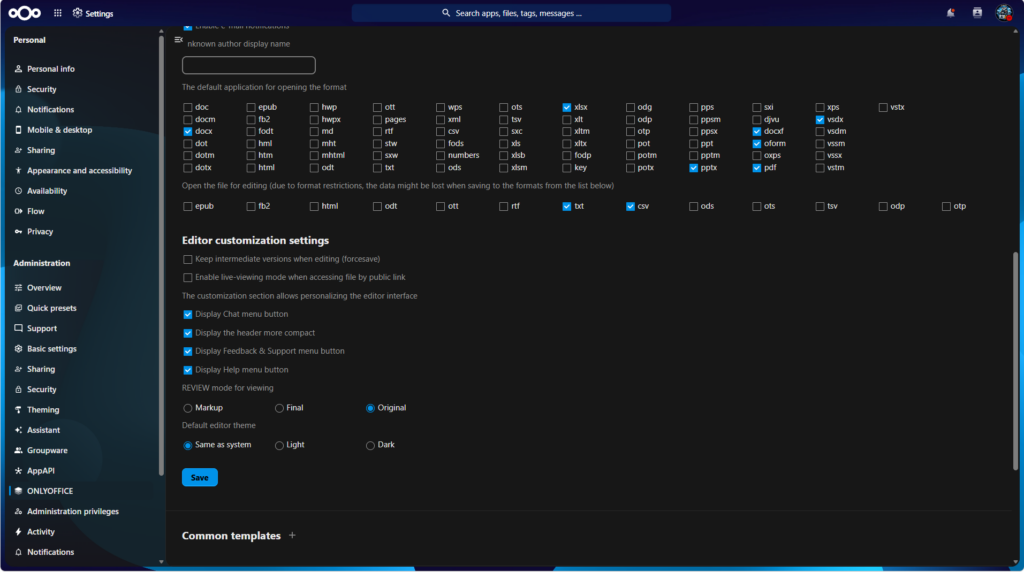
Select the Files you want to open. using the Extensions tabs. and then select Save. Now if you have followed all the steps correctly your will get Onlyoffice in your Nextcloud
Step 24
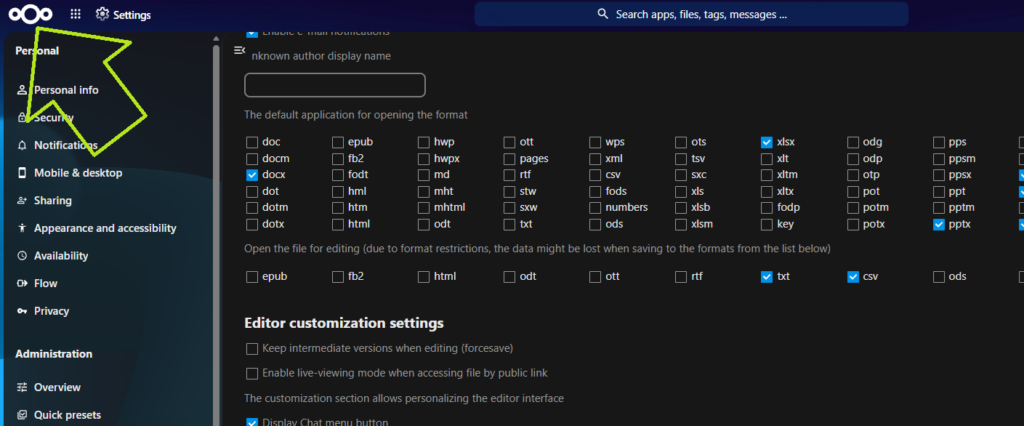
Now Select the 3 Circles top left
Step 25
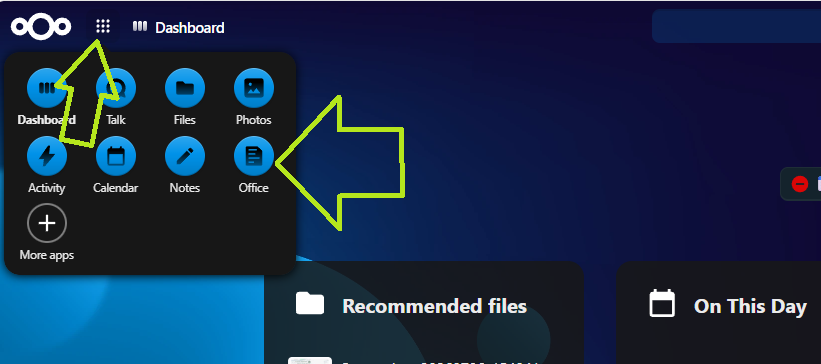
Select the square with all the dots in it, And then Office Button.
Step 26
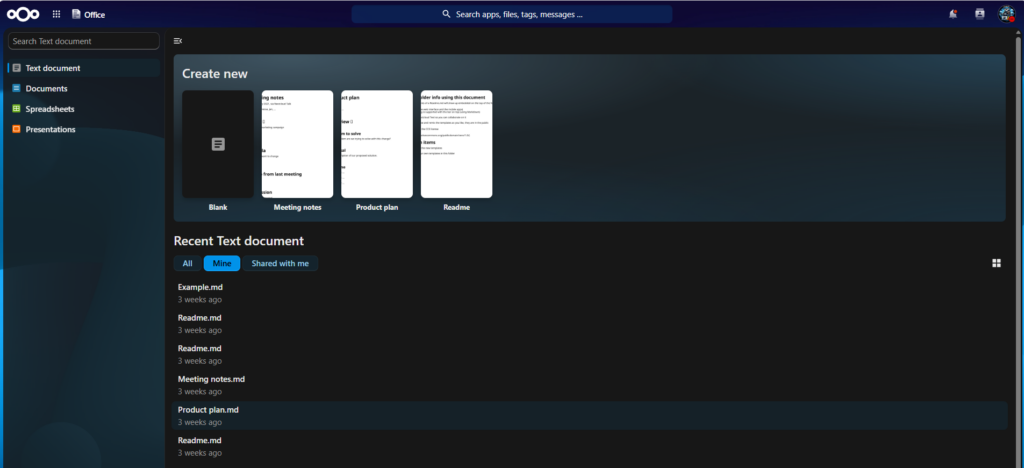
Your Should now Have 4 Items.
- Text Document
- Document
- Spreadsheets
- Presentation
Lets create a spreadsheets
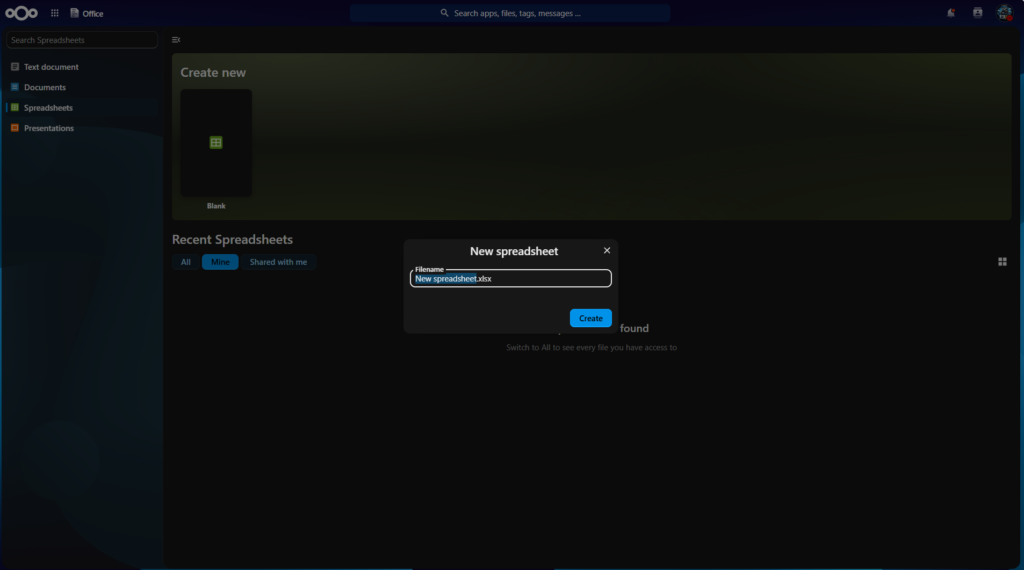
Select Spreadsheet and give the file a name
Step 27
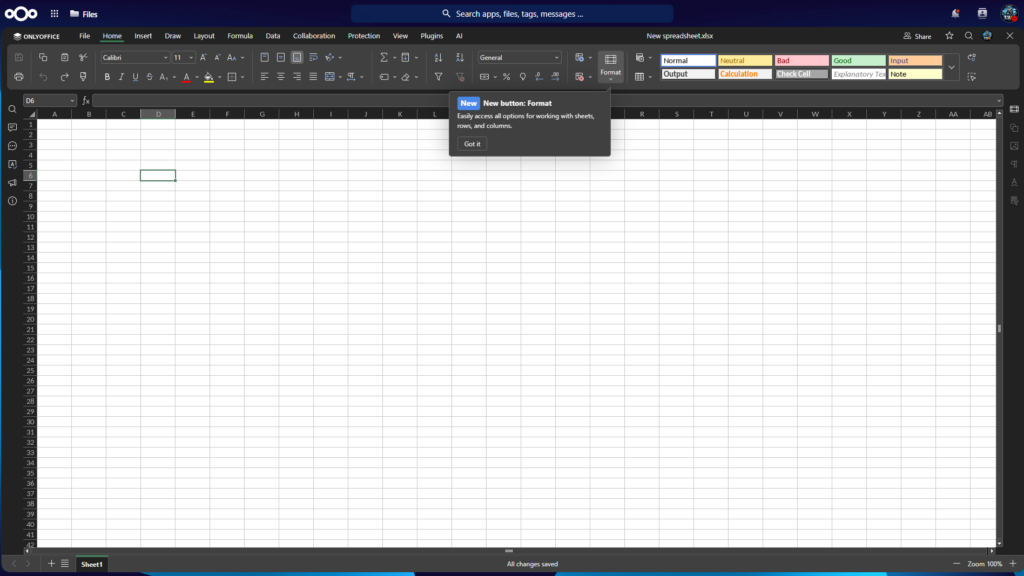
Now the Spreadsheet is created.
Step 28
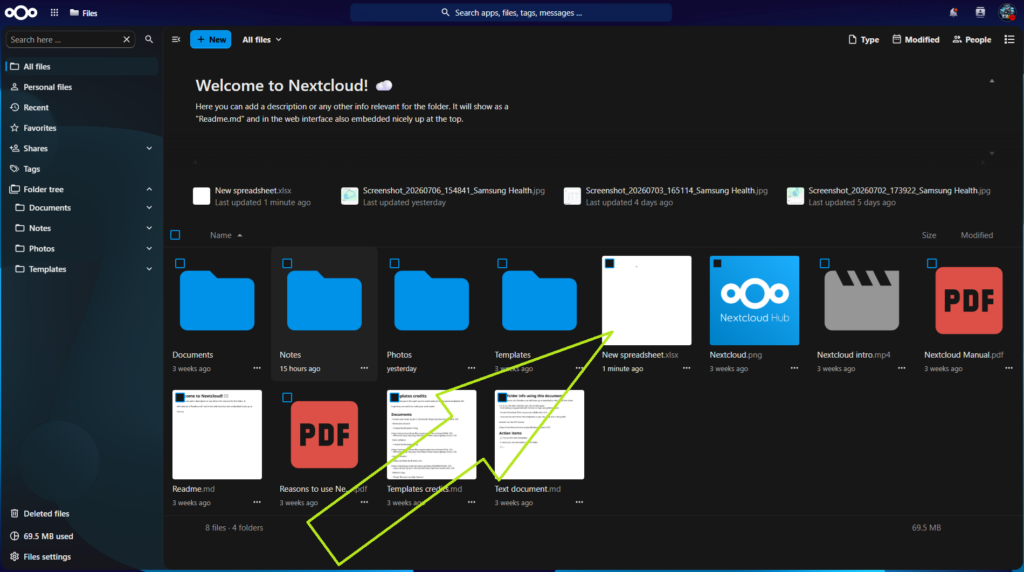
Lets see if it has saved to NextCloud, I Nextcloud your file will be in there.
Conclusion
There is alot of steps to create Onlyoffice and also have Next Cloud also installed before you start with Onlyoffice. but over all this was a good project and another step closer to moving away from google drive and keeping my Data Safe. There is a Few Reason for doing this But mainly it is unlimited drive space that is free to me.
Here is a Few Links that i think you will be interested in .