




What is PortNote?
PortNote is a self-hosted service dashboard designed for people who run services in Docker but want a simpler, smarter way to keep track of what’s running. It doesn’t try to be another full-fledged dashboard like Portainer or Dashy. Nor does it give you granular information on things like uptime. Instead, it focuses on one thing — letting you assign notes, icons, categories, and metadata to every internal port or service on your network — and does it extremely well. It’s lightweight, clean, and doesn’t overwhelm you with information you don’t need.
tep 1
Install container manager, If you have already installed the manager jump to step 3
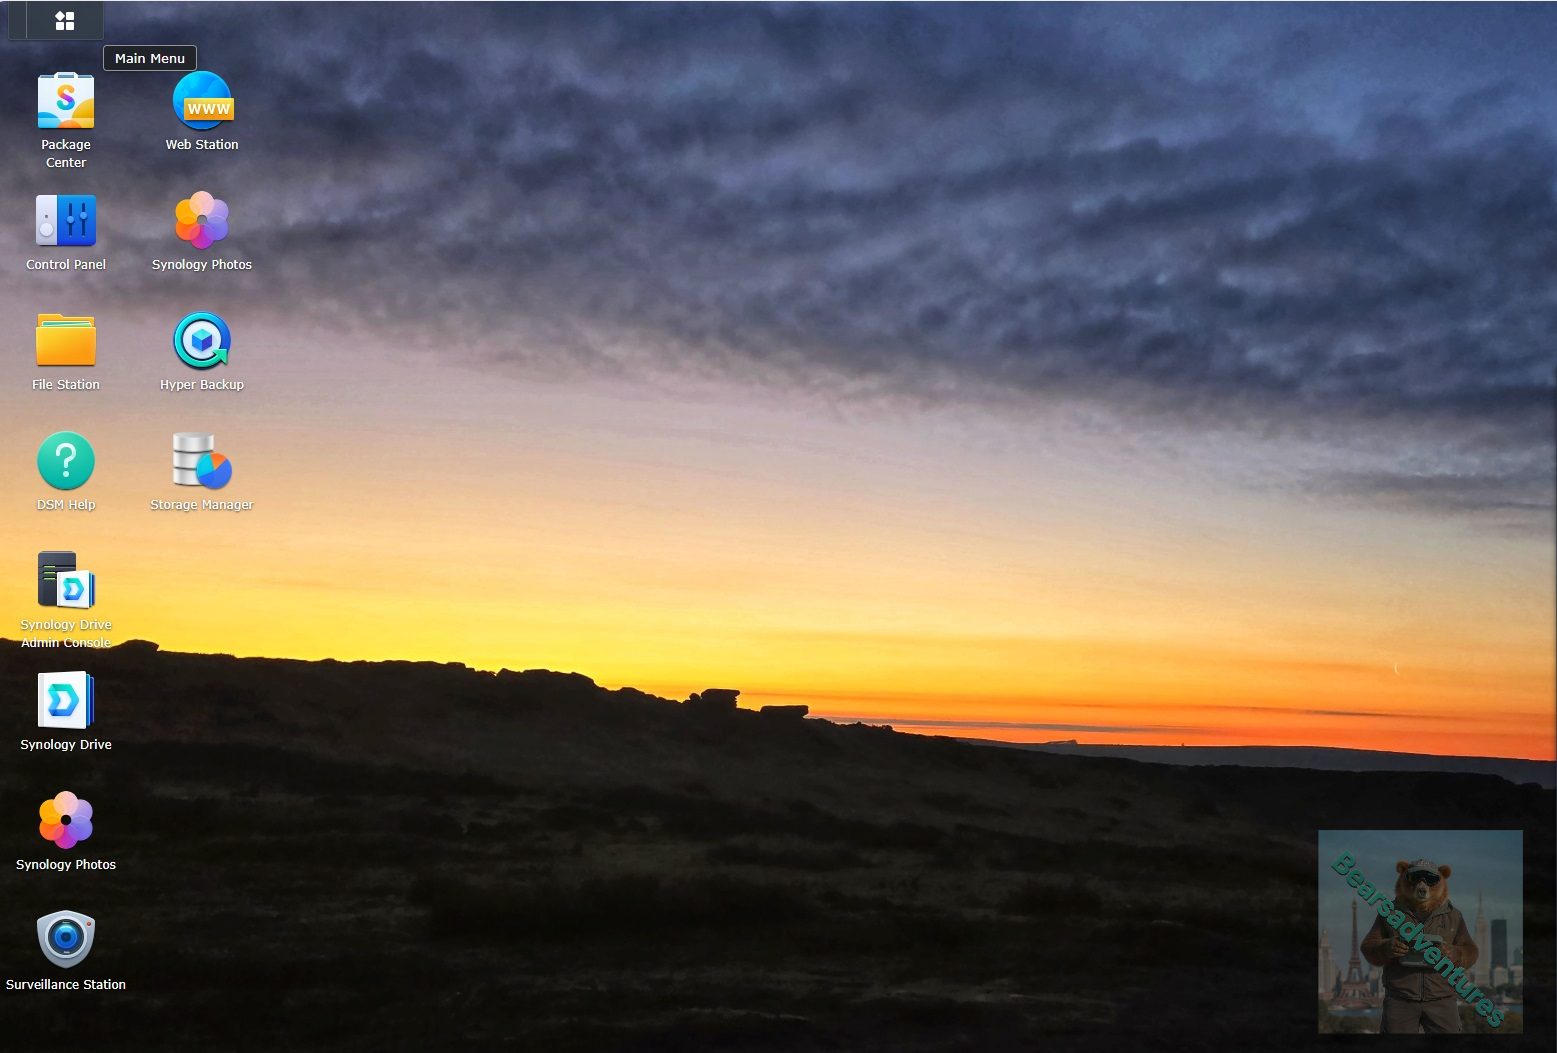
Select Main menu or the Package Center shortcut
Step 2
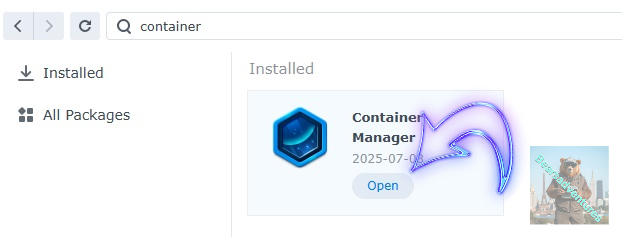
Type in Container in the Search bar and Press enter on your keyboard. Then you will See Container manager like below. in my case i have installed the Container manager already. Select install, wait a few second and then select open.
Step 3
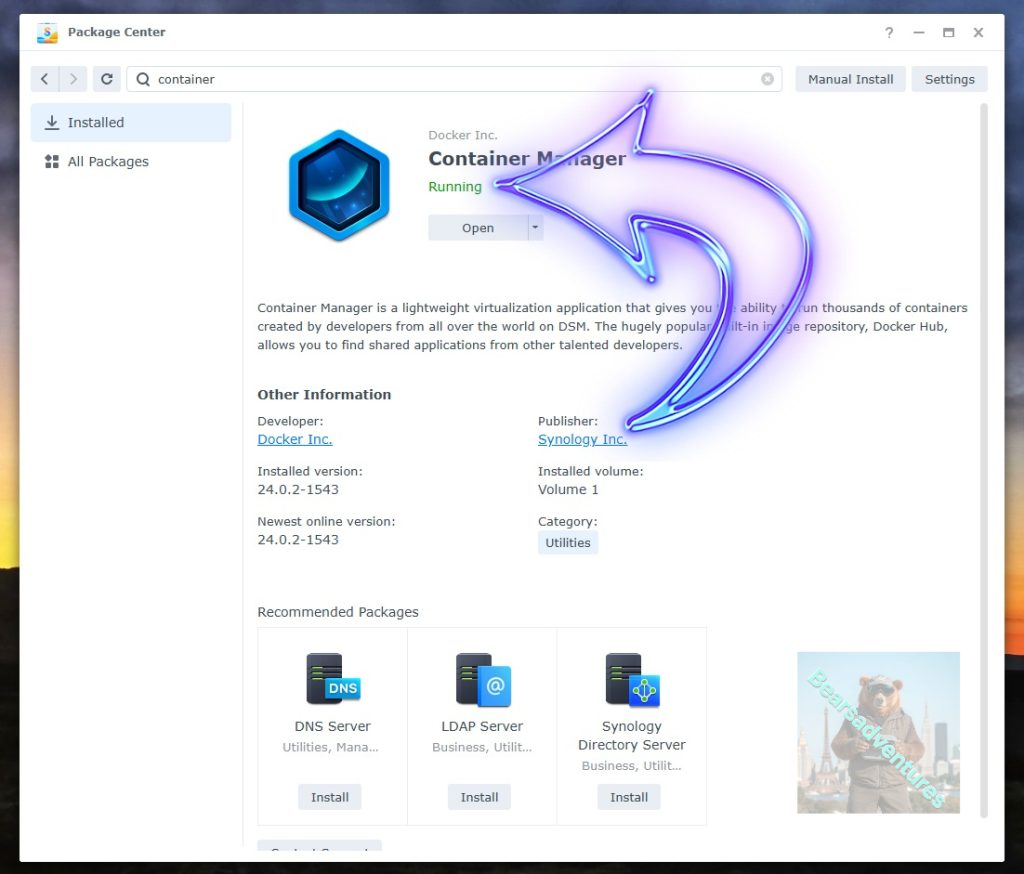
Now you have selected open you should see a screen like below and The Manager will say Running in green. Select open and move on to the next step.
Step 4
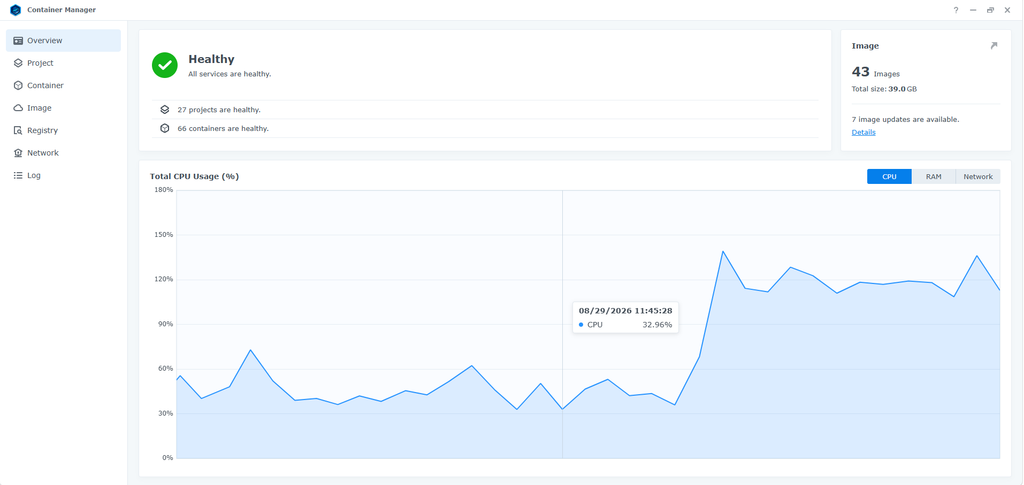
Now you will be Presented with the below. This is the Container manager over view of all your Containers and what’s happening in real time.
Step 5
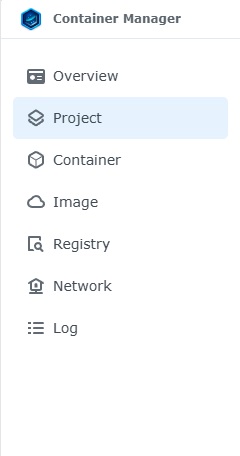
Now We need to Create a Project for Portracker.
This project will do a number of things. download the image and setup the Project to Run all in one go.
Select project from the menu down the side and then select Create button
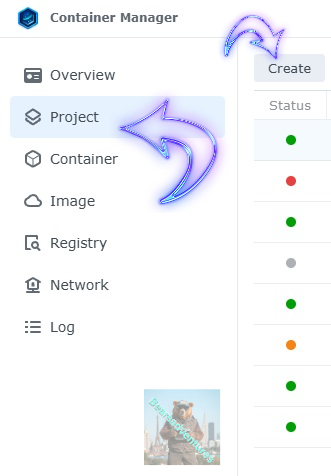
Step 6
before we go any further we need to ensure we have our folders setup ready for the project.
I have a main folder on the Synology system just for docker projects. create the following folders using filestation so my path for Portracker will look like this
Portracker
Portracker/Data
Portracker/Portracker
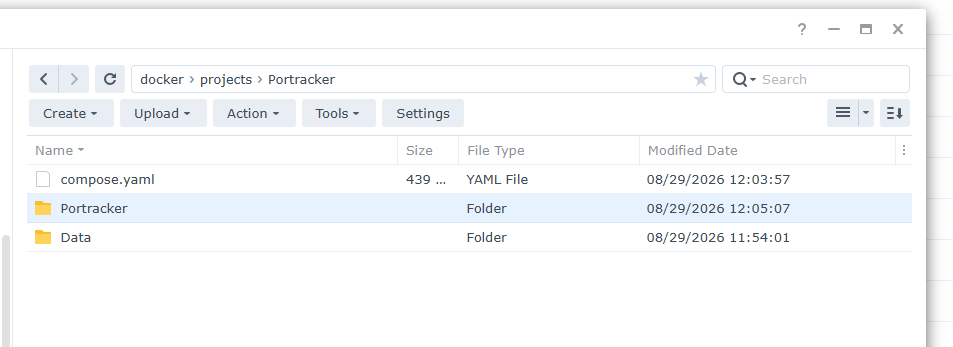
Step 7
now we have created the folders needed for the project we can go ahead and create the project in Container manager
Give the project a name, change source to Create docker-compose.yml and add the path. Project name is all lower case.
See below for before and after the code you will need is below also.
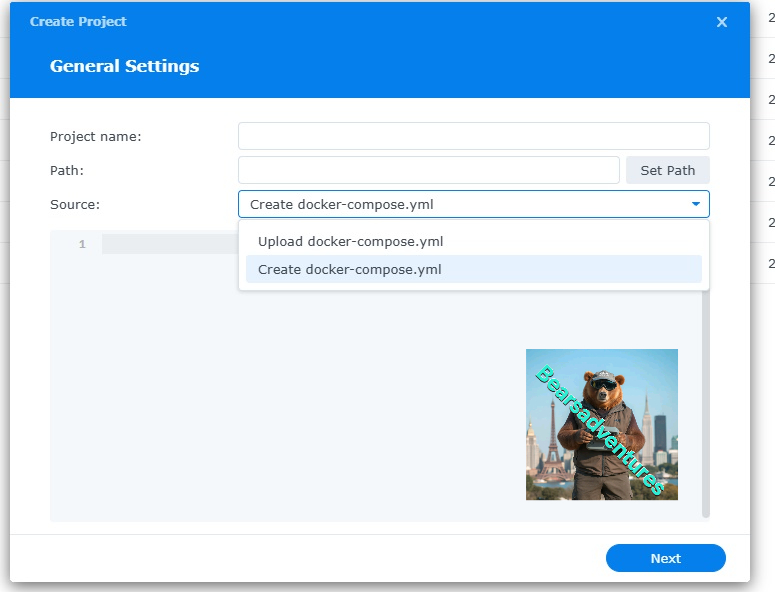
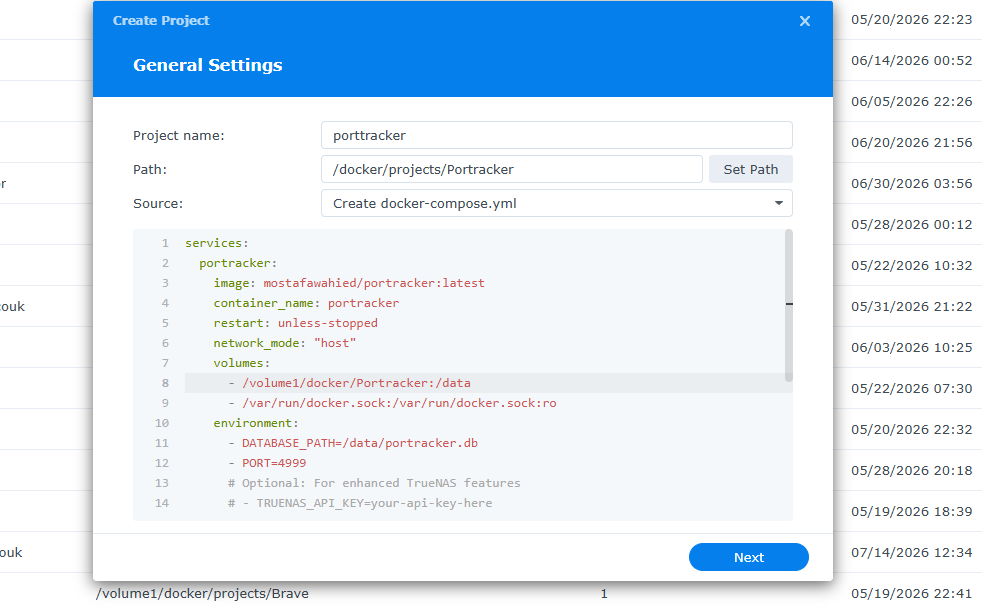
the volume path needs tobe exact or the project will return a fail. like above i missed out projects folder so i got a error and had to trouble shoot.