




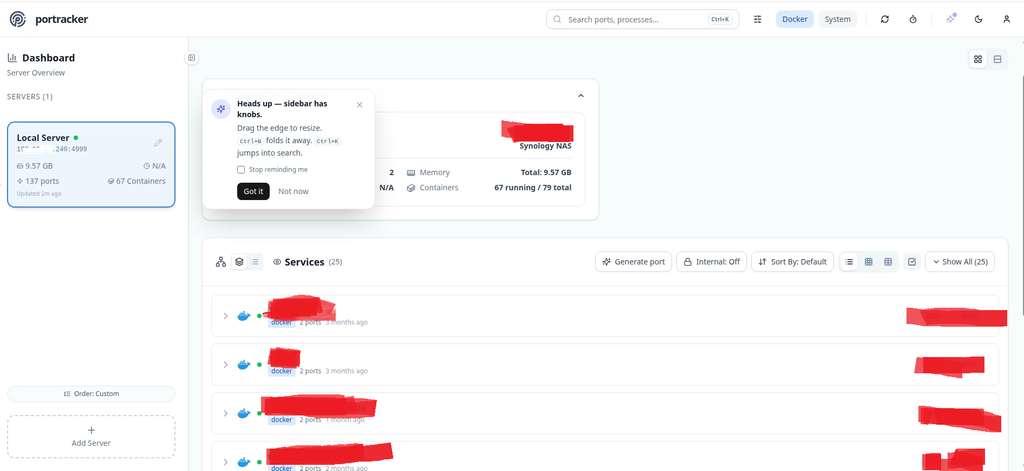
PortTracker on your Synology Container manager
Portracker is a self-hosted, open-source tool for real-time port monitoring and network service discovery. It automatically scans systems to detect services and ports, preventing deployment failures due to conflicts. With a lightweight, single-process design and embedded SQLite database, it supports Docker, offers peer-to-peer monitoring, hierarchical server grouping, and a modern, responsive UI. Deployable via Docker and licensed under MIT, it’s ideal for streamlined network visibility and port management. In this step by step guide I will show you how to install Portracker on your Synology NAS using Container manager.
Step 1
Install container manager, If you have already installed the manager jump to step 3
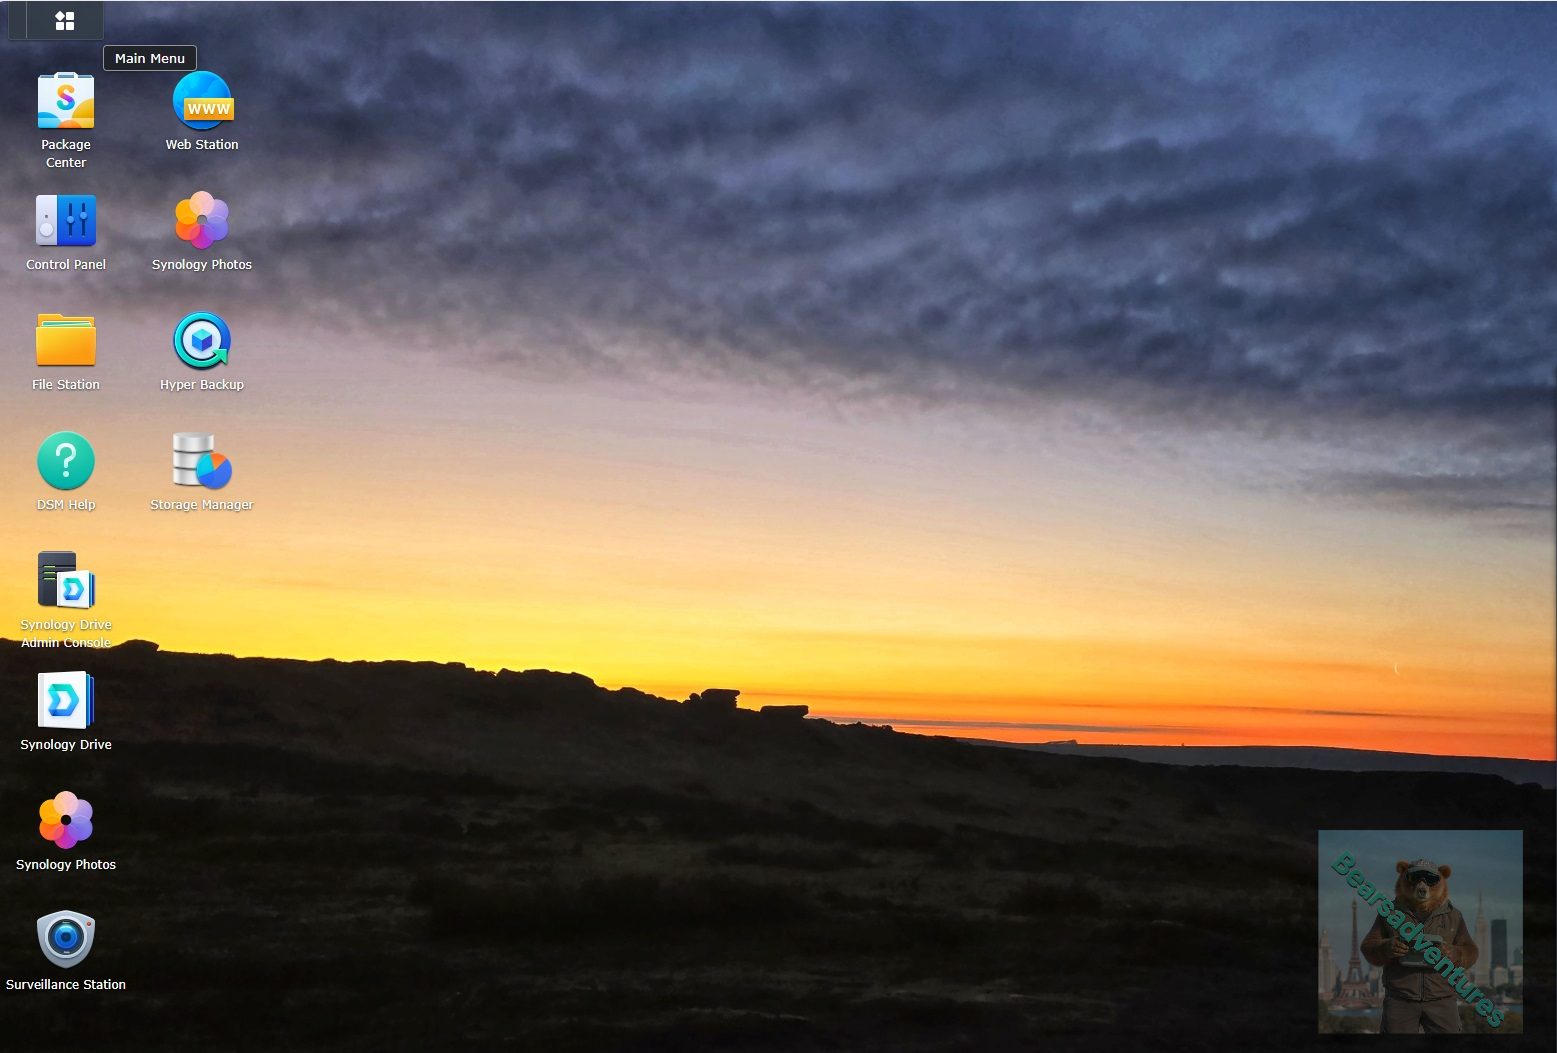
Select Main menu or the Package Center shortcut
Step 2
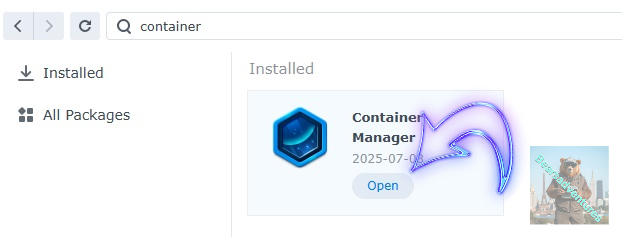
Type in Container in the Search bar and Press enter on your keyboard. Then you will See Container manager like below. in my case i have installed the Container manager already. Select install, wait a few second and then select open.
Step 3
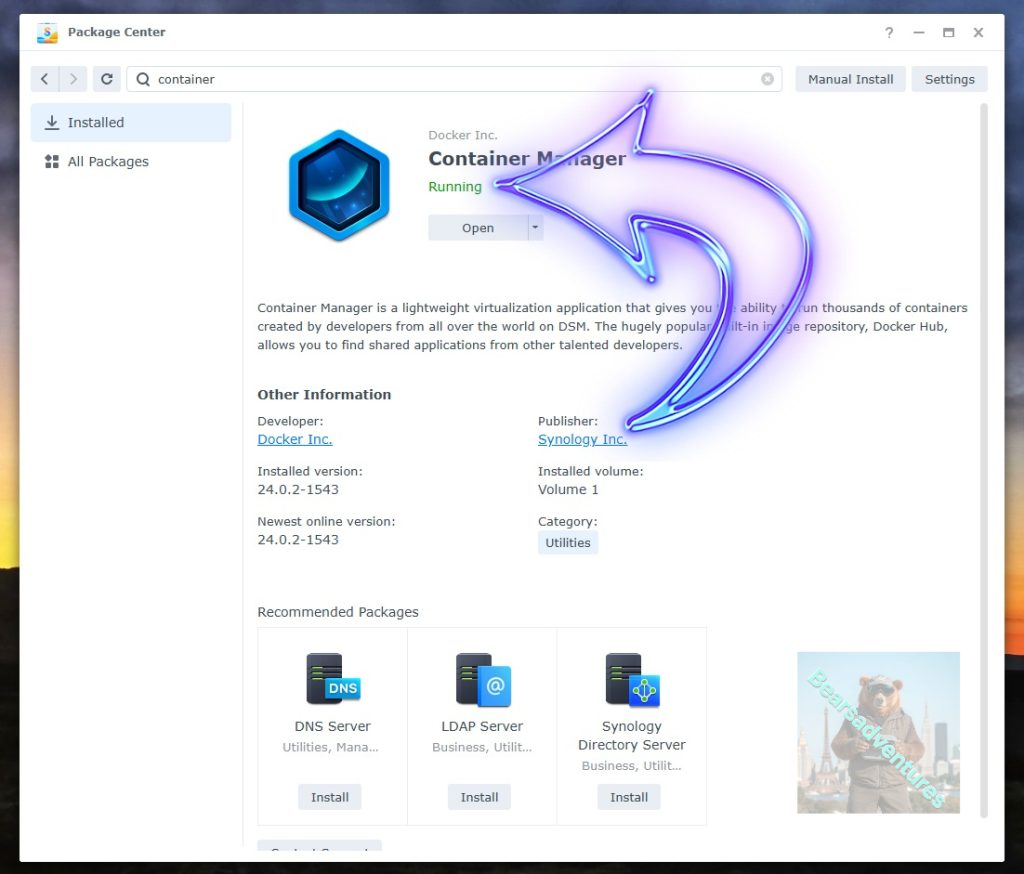
Now you have selected open you should see a screen like below and The Manager will say Running in green. Select open and move on to the next step.
Step 4
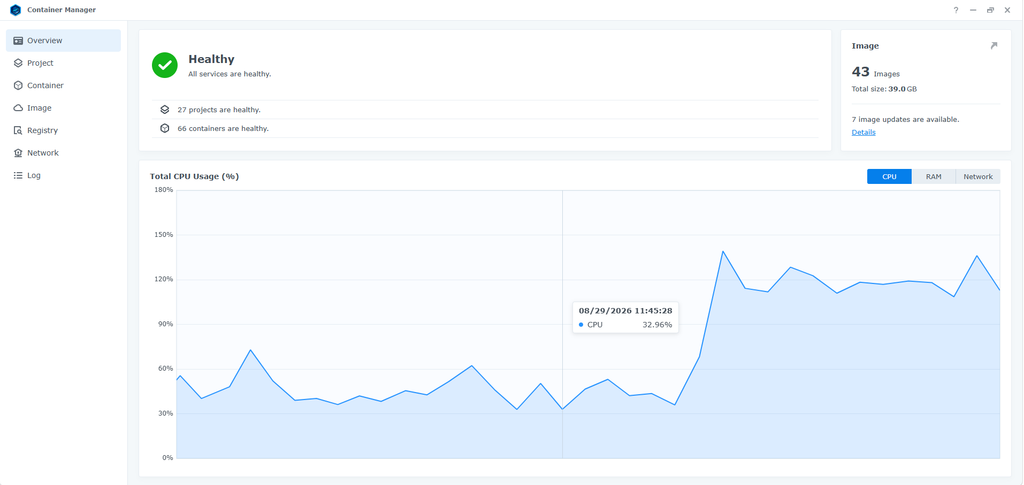
Now you will be Presented with the below. This is the Container manager over view of all your Containers and what’s happening in real time.
Step 5
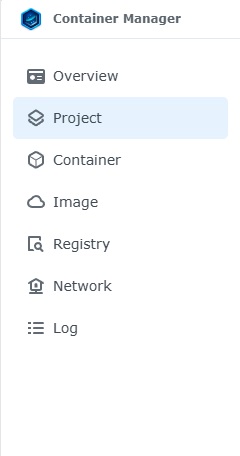
Now We need to Create a Project for Portracker.
This project will do a number of things. download the image and setup the Project to Run all in one go.
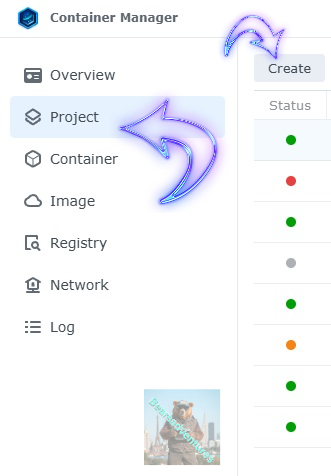
Select project from the menu down the side and then select Create button
Step 6
before we go any further we need to ensure we have our folders setup ready for the project.
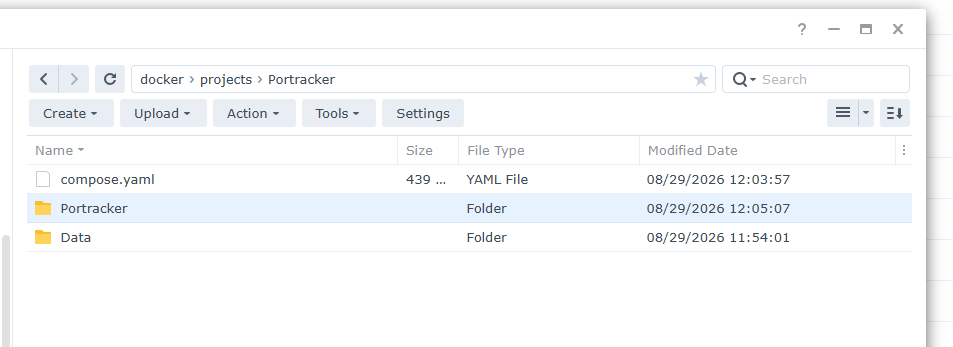
I have a main folder on the Synology system just for docker projects. create the following folders using filestation so my path for Portracker will look like this
Portracker
Portracker/Data
Portracker/Portracker
Step 7
now we have created the folders needed for the project we can go ahead and create the project in Container manager
Give the project a name, change source to Create docker-compose.yml and add the path. Project name is all lower case.
See below for before and after the code you will need is below also.
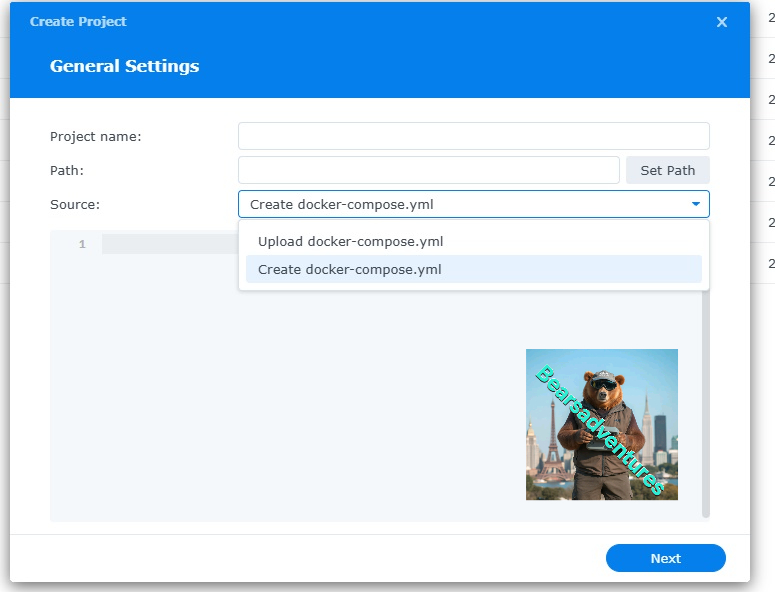
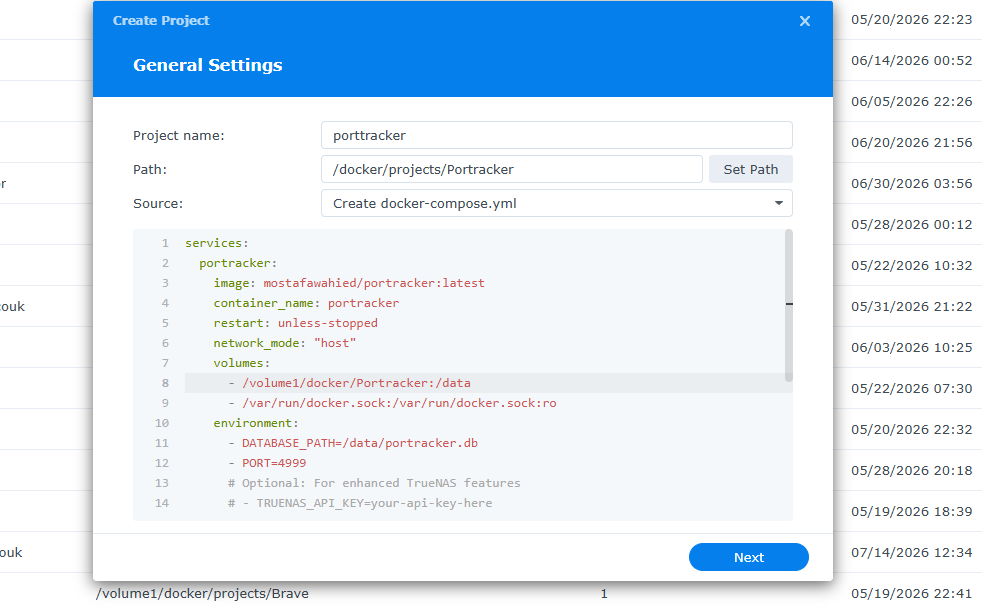
the volume path needs tobe exact or the project will return a fail. like above i missed out projects folder so i got a error and had to trouble shoot.
services:
  portracker:
    image: mostafawahied/portracker:latest
    container_name: portracker
    restart: unless-stopped
    network_mode: "host"
    volumes:
      - /volume1/docker/projects/Portracker:/data
      - /var/run/docker.sock:/var/run/docker.sock:ro
    environment:
      - DATABASE_PATH=/data/portracker.db
      - PORT=4999
      # Optional: For enhanced TrueNAS features
      # - TRUENAS_API_KEY=your-api-key-here
Step 8
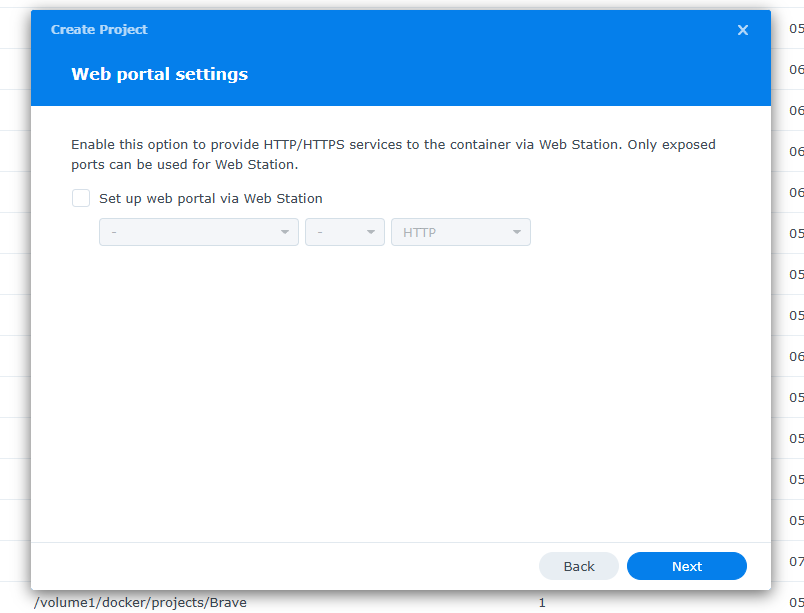
Select Next, You can setup a webport here but we did it in the YAML file / Code
Step 9
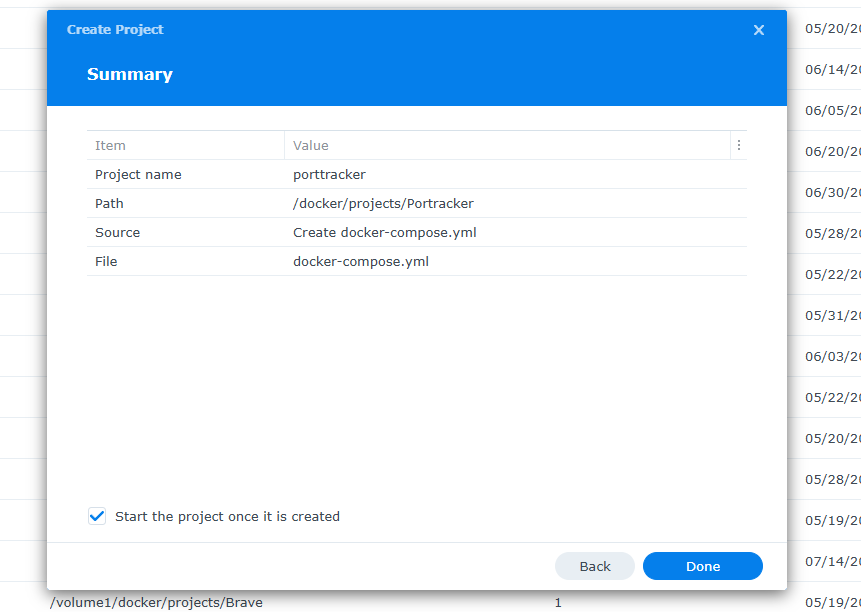
Summary page
Step 10
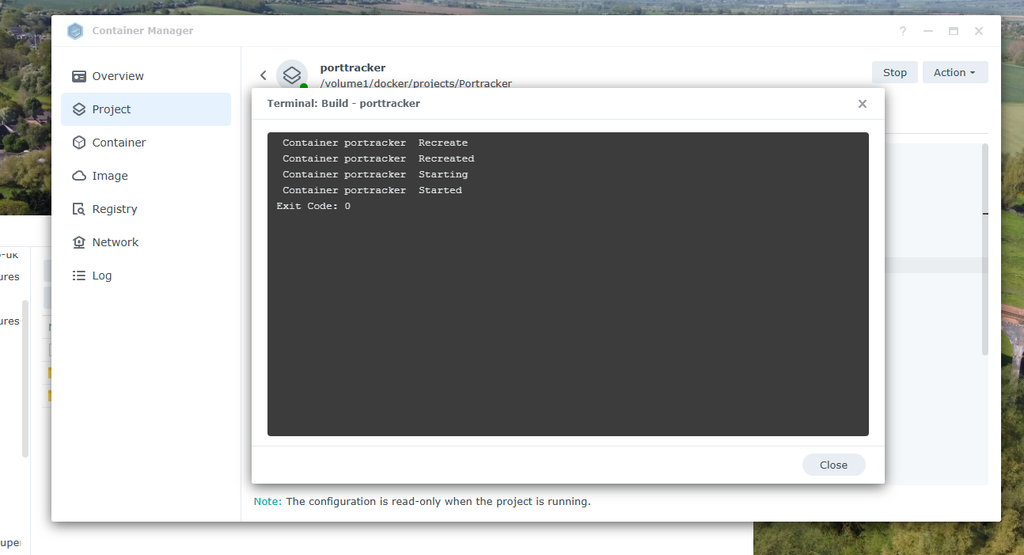
Pull the project and create your project Containers
step 11
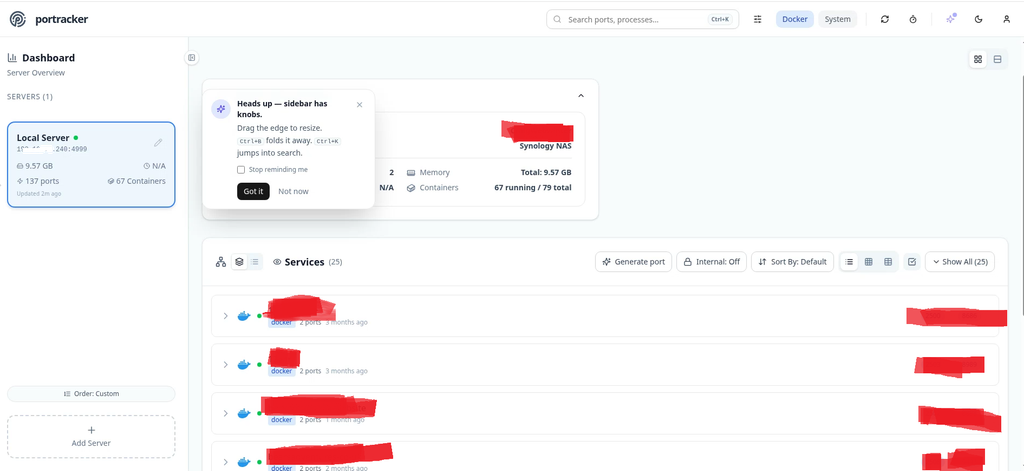
Now its time to load the webpage up for the first time.
if you rememeber the port number 4999 and your local server https://192.999.9.999:4999
Step 12
Now we have setup the port tracker we need to setup login details so the system is locked down.
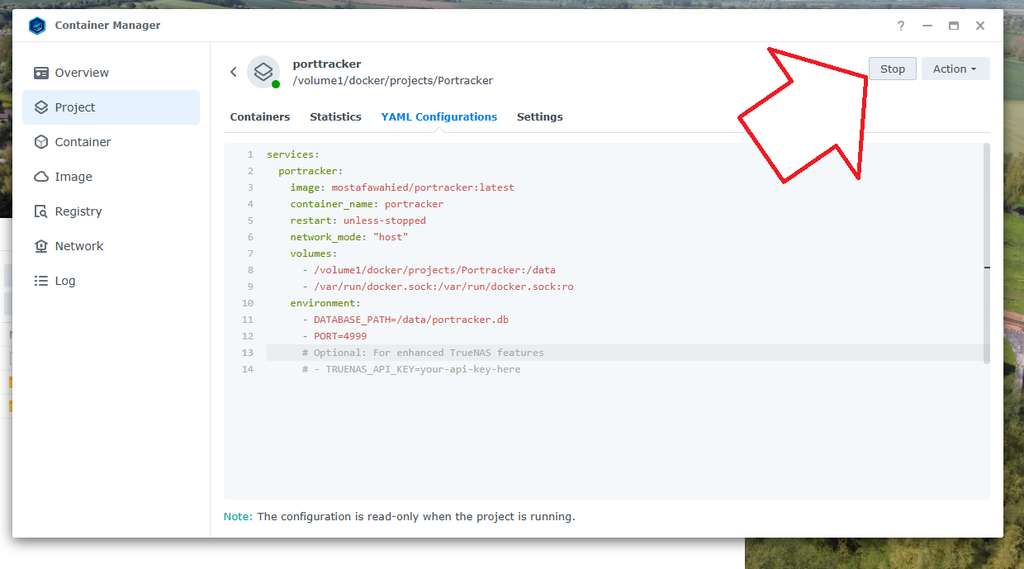
Select stop, Top right corner
Step 13
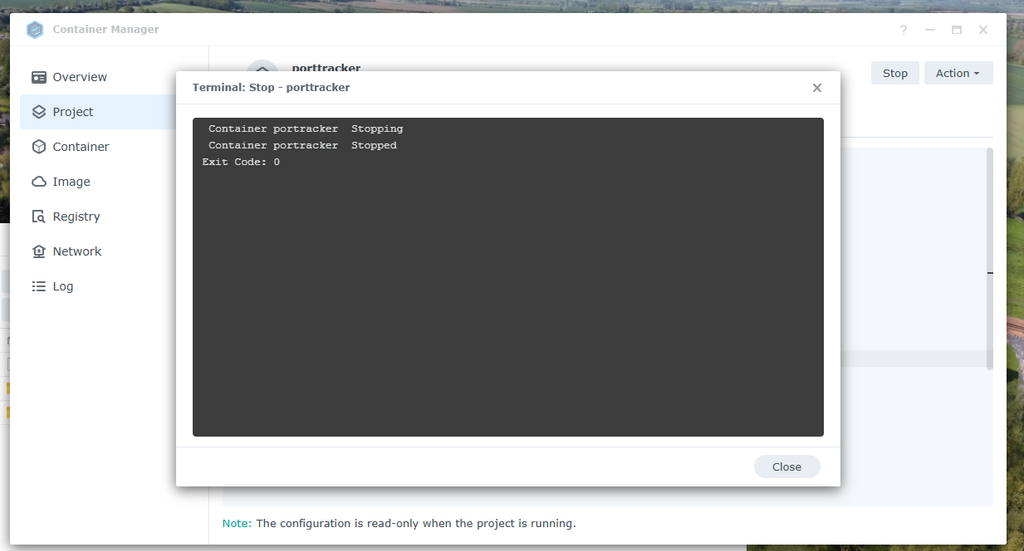
Now we have stopped the project.
Head over to the YAML configuration
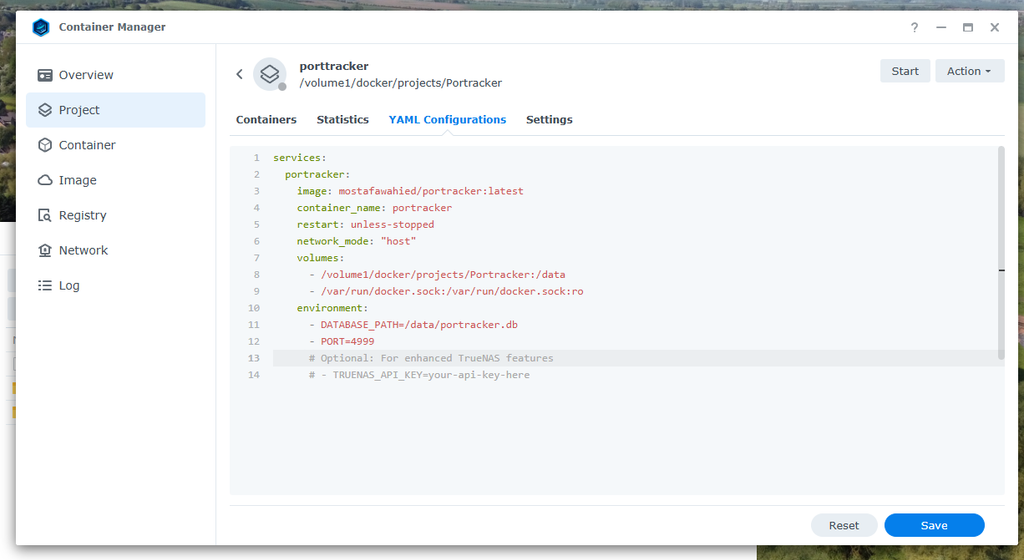
Step 14
Add the following code into line 13in my case.
- ENABLE_AUTH=trueYour code / YAML file should now look like this.
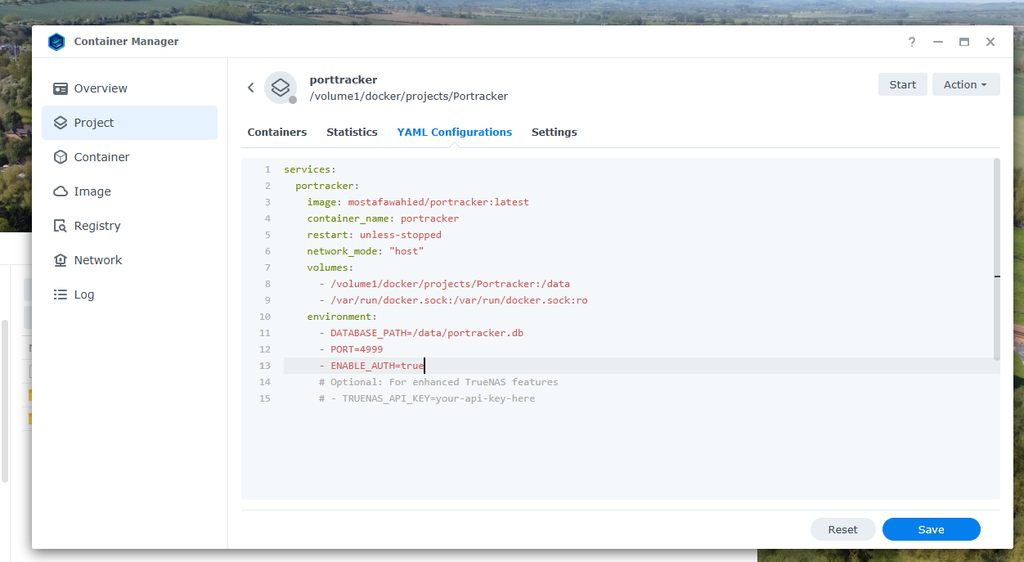
Step 15
Select Save, bottom right
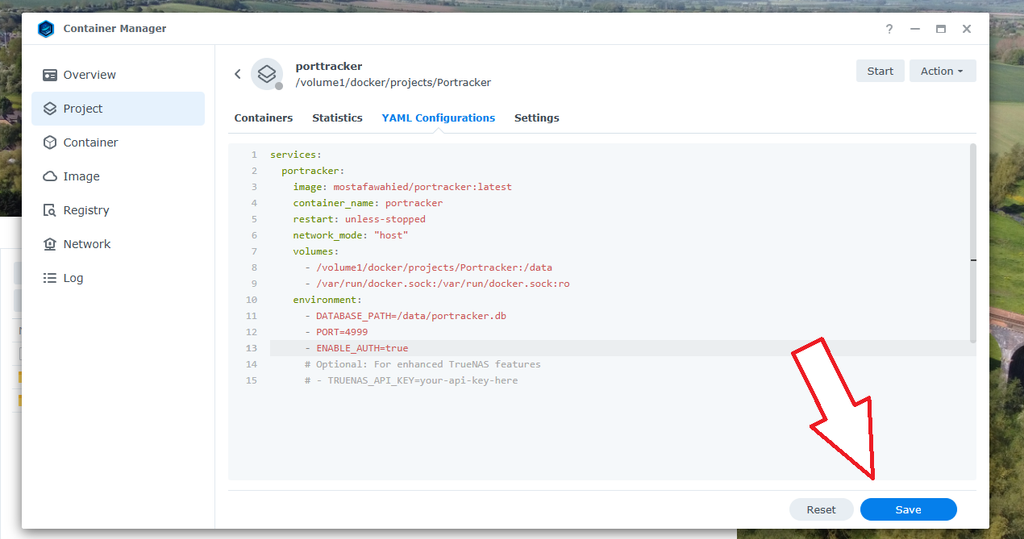
This dialog will apare, Select ok. This will also Rebuild our project.
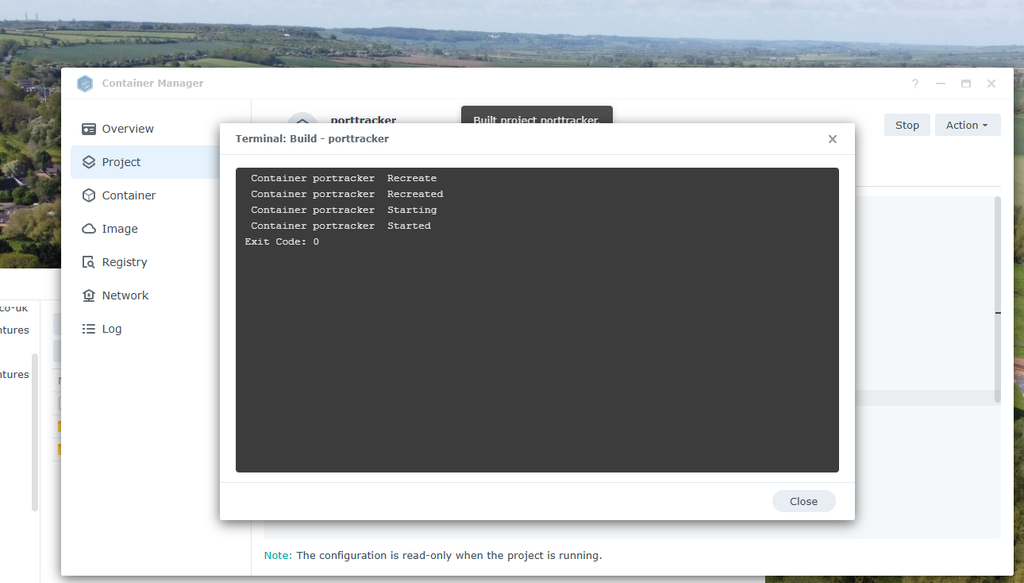
No errors we are good to try the next step.
Step 16
Imput your Server ip and portnumber (192.182.6.122:4999). You will now need to create a User and password to access porttracker.
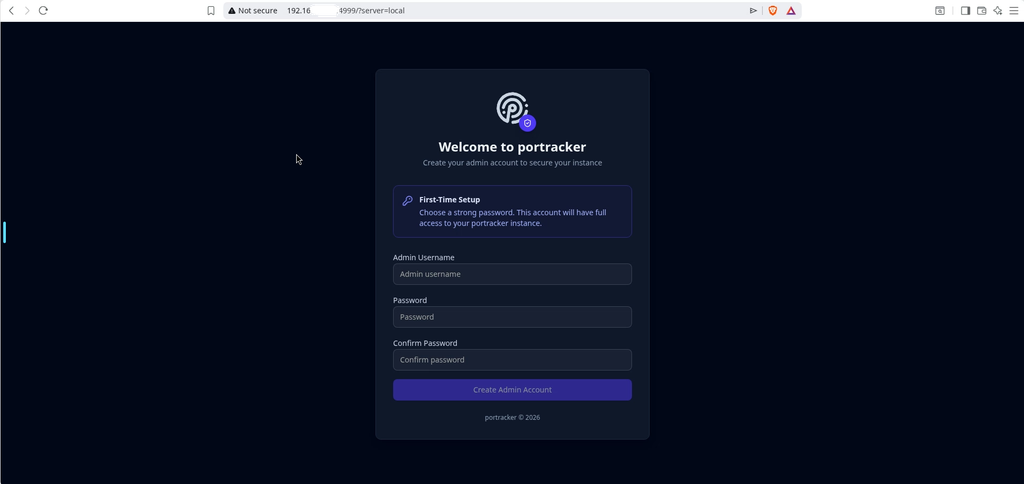
Enter your details for new user and password.
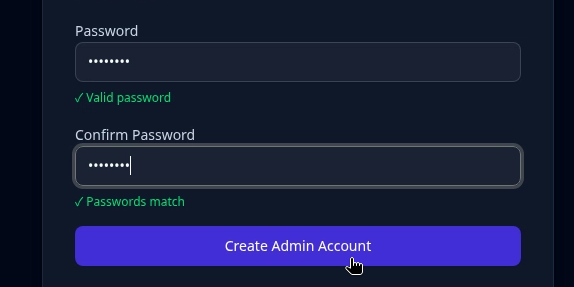
Then select create account.
Step 17
Logout and try your details again. Top right hand corner and select Logout

Step 18
Login again.
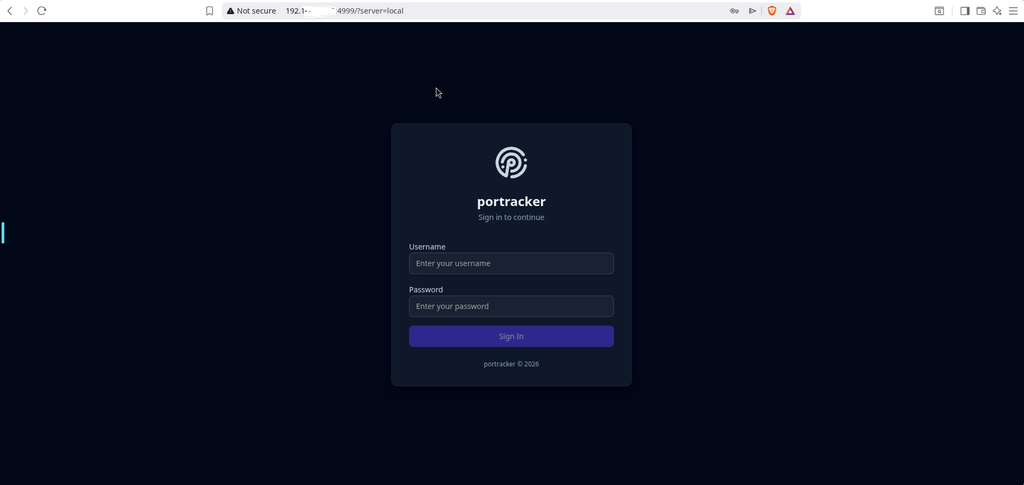
You ask why login again. better to fix the issue now and later when you have everything running perfectly.
Creating a Tunnel to access your Portracker
Now lets create a tunnel for the container so we can use this outside the network. I use Cloudflare for my hosting portal.
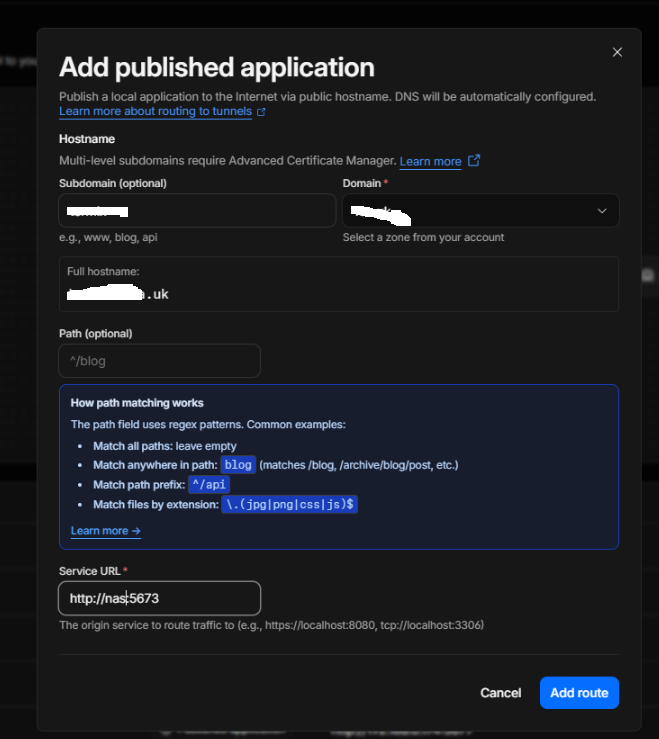
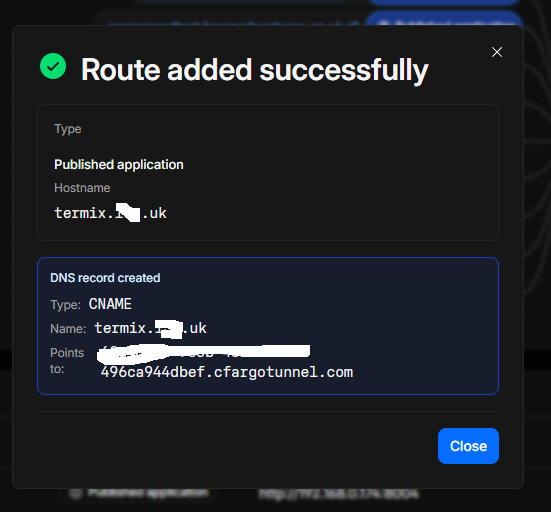
Try the tunnel to see if the container is working outside our network.
conclusion
A really easy to setup project. I already like how this looks,