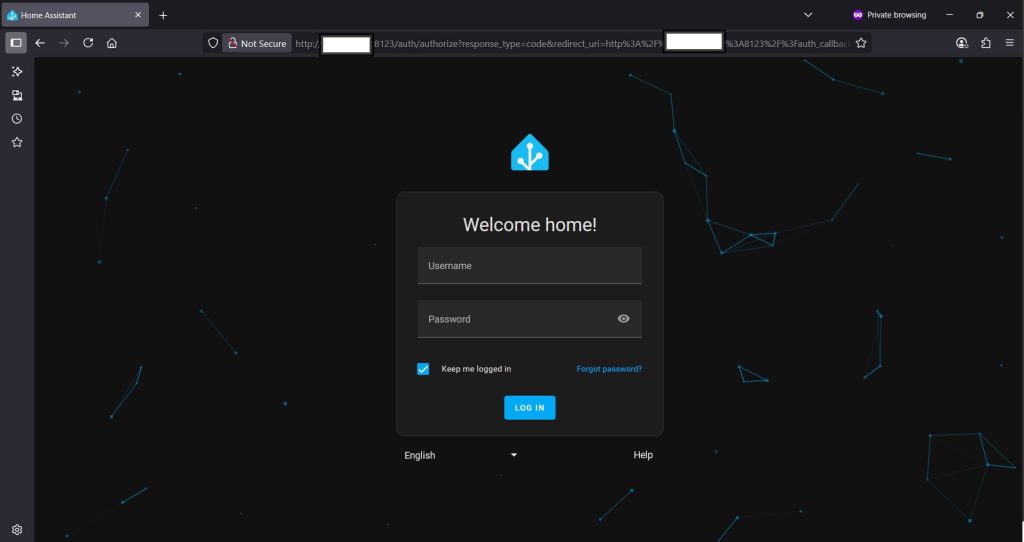
HomeAssistant
How to Install Home Assistant on Your Synology NAS
Home Assistant is a free and open-source home automation software written in Python with a focus on local-control and privacy. It has a very wide range of device support, and, as of July 2025, it features support for over 3000 modular plugins or add-ons with system integrations to different IoT technologies; systems and services are available as “integration components”. Actions, such as switching ON/OFF lights, are triggered by automation, voice commands, mobile apps, or controls on the Home Assistant web-based front-end user-interface. In this step by step guide I will show you how to install Home Assistant on your Synology NAS using Docker.
Step 1
Install container manager, If you have already installed the manager jump to step 3
Select Main menu or the Package Center shortcut

Step 2
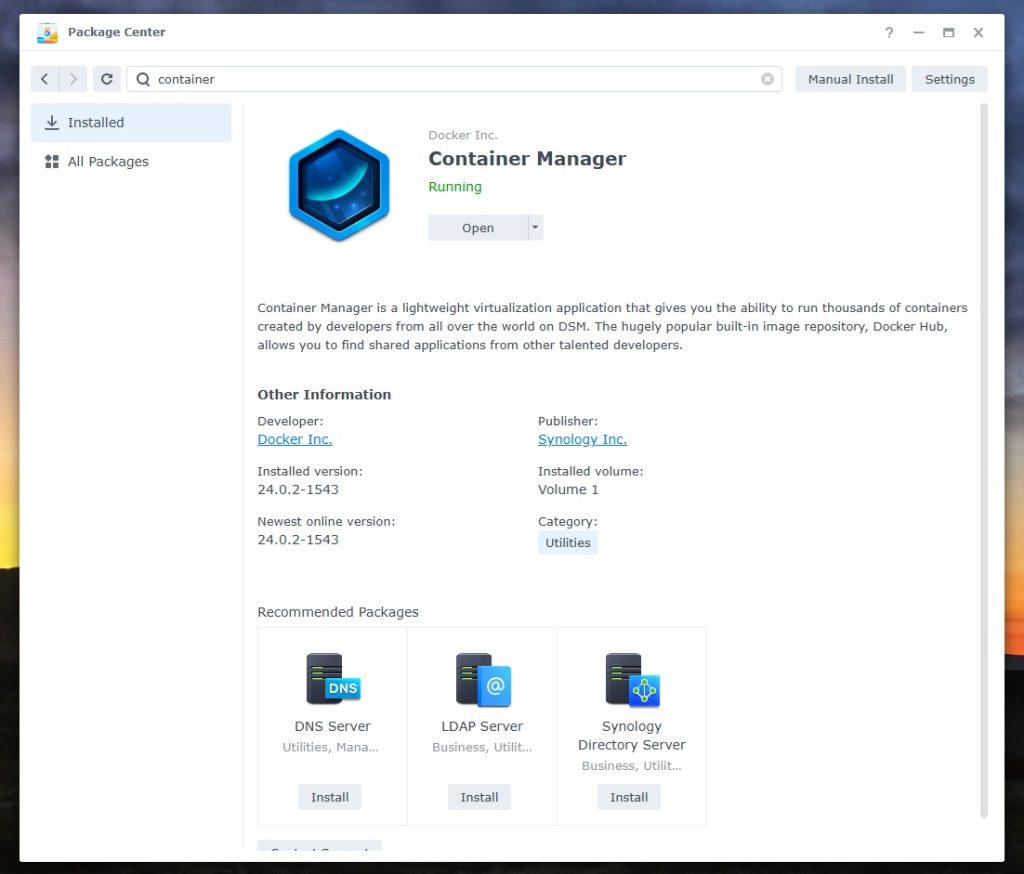
Type in Container in the Search bar and Press enter on your keyboard. Then you will See Container manager like below. in my case i have installed the Container manager already. Select install, wait a few second and then select open.

Step 3
Now you have selected open you should see a screen like below and The Manager will say Running in green. Select open and move on to the next step.
Step 4
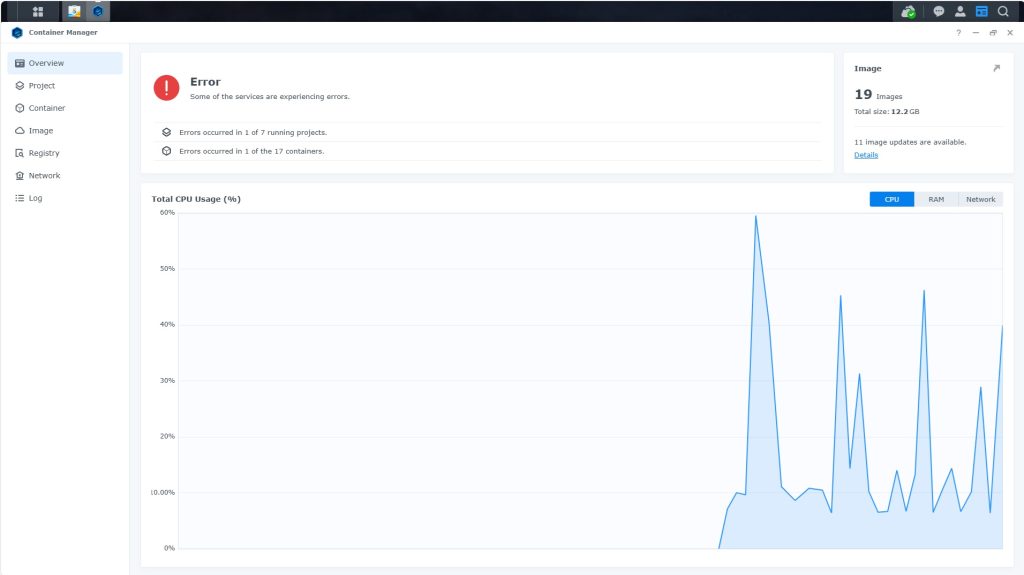
Now you will be Presented with the below. This is the Container manager over view of all your Containers and what’s happening in real time.
Step 5
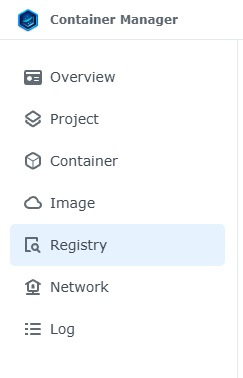
Now We need to download Homeassistant from the Registry.
Select Registry from the left hand side menus. We will need these menus more later.
Step 6
Now we Need to Search for Homeassistant, Use the Search Bar in the top right corner, As you type Home-assistant will appear at the Top. Select the top one.
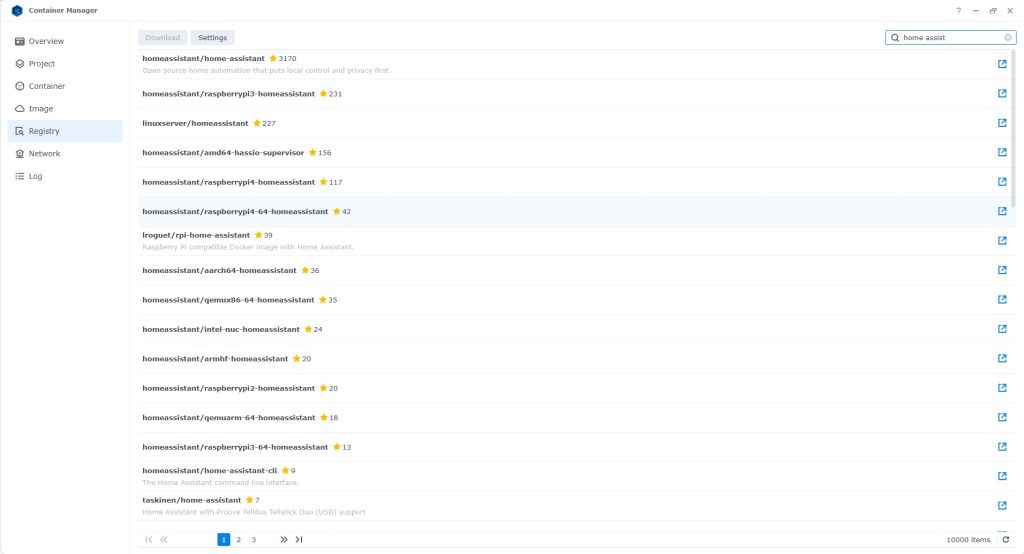
Step 7
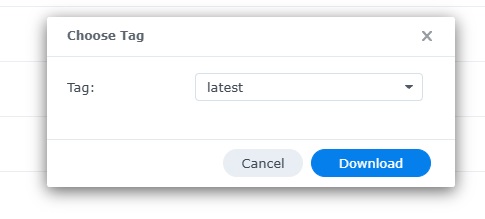
After you have selected the top one like in the picture to the right, select download. you will get a dialog asking what tag: Select Latest if it is not selected already.
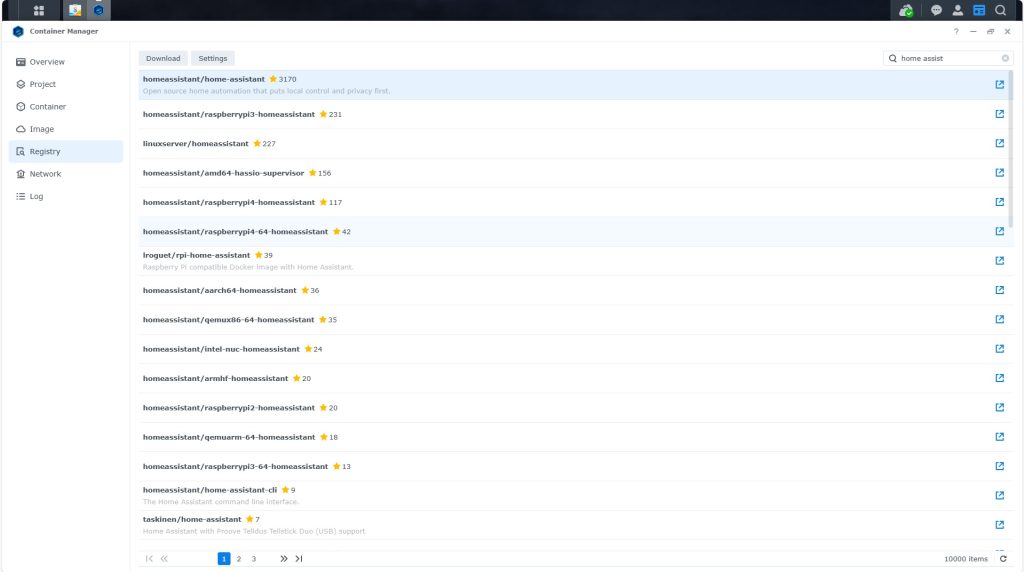
You will see Homeassistant download at the bottom of the image menu

Step 8
Now Homeassistant image has downloaded, goto image, select image on the left in menus like i mentioned on step 5 and select Homeassistant you should have a view like below by now. ready to run the image.
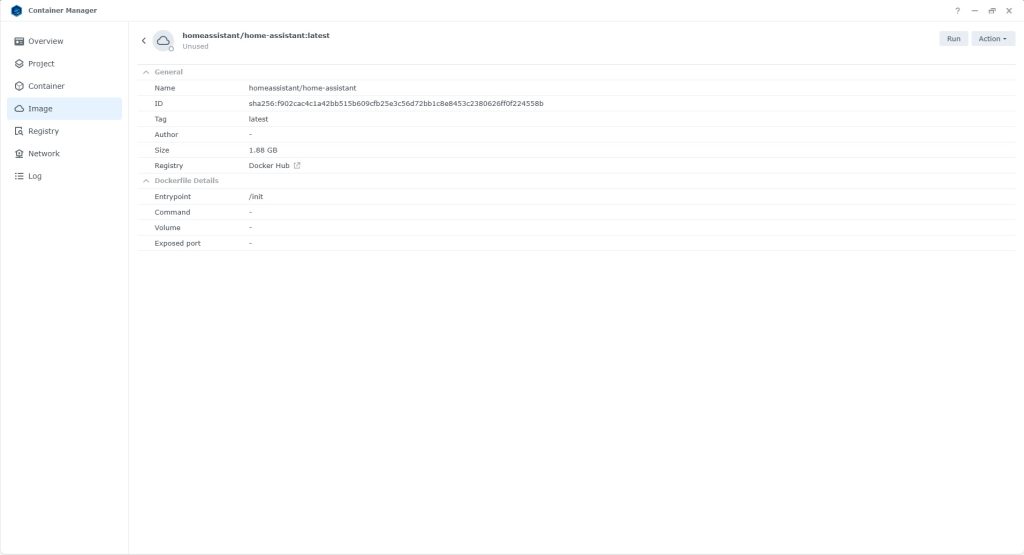
Step 9
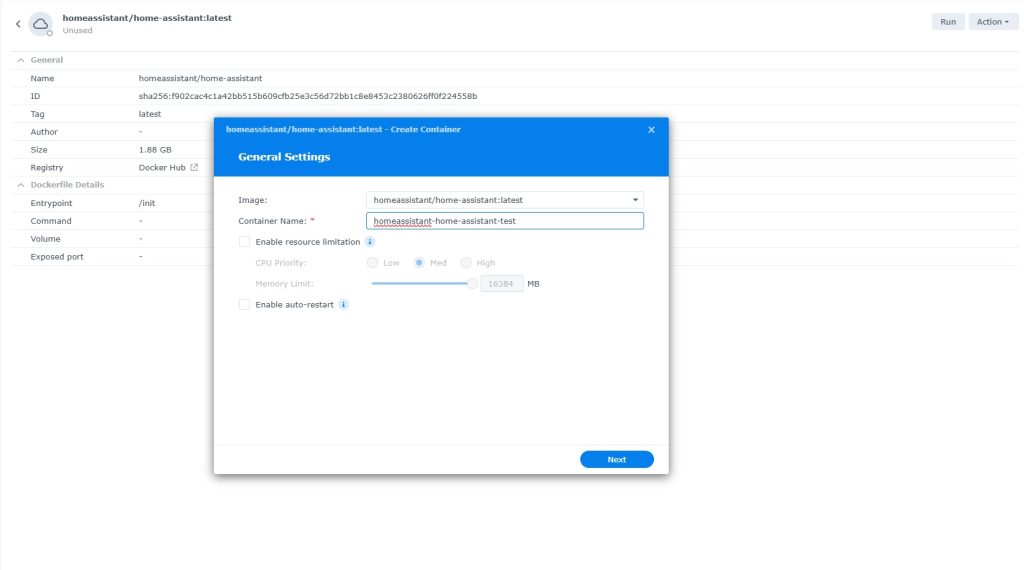
Select run top right hand corner.
There is a Few settings you will need to set here before you select next
Enable auto-start
Give your new Homeassistant a name i have just added test at the end for this tutorial
Then select next
Step 10
This is advanced settings, you do not have todo anything in here just press next.
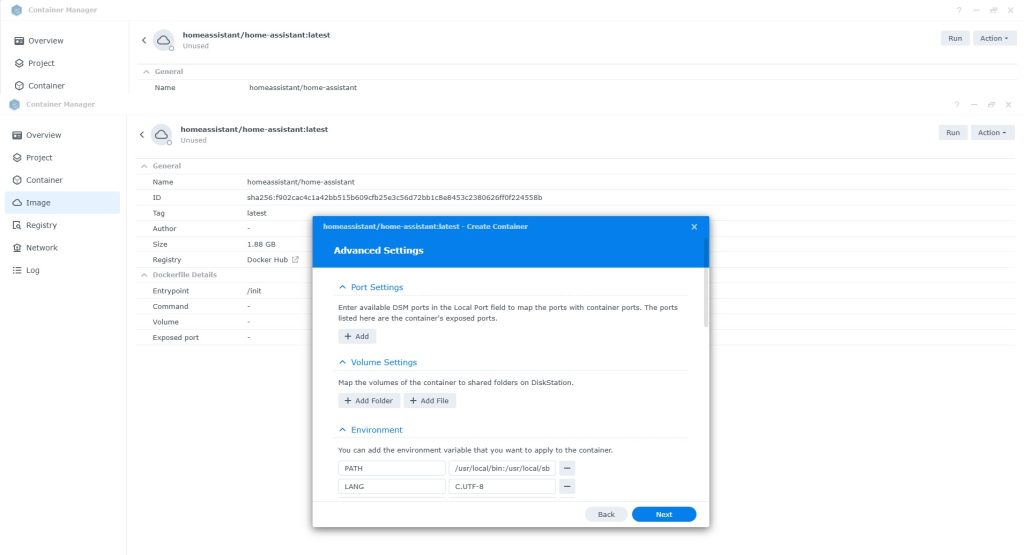
Step 11
This dialog box is just a summary of what we have just done.
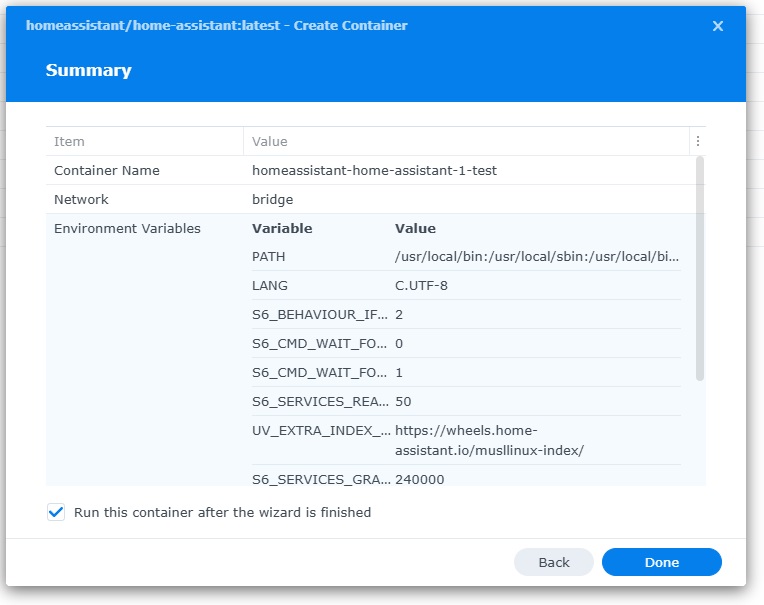
Step 12
Now we need to check the Container we have just created is Running ok. Select Container from the left hand menu and you should see Homeassistant at the top with a Green Dot next to it. indicating it is Running.
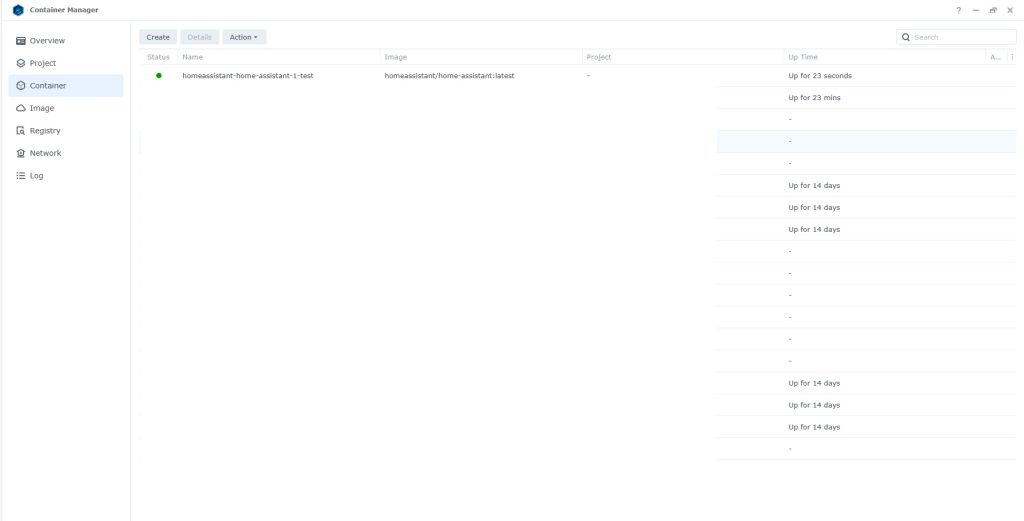
Run as a project
You can also create a project to run the project.
services:
  homeassistant:
    image: homeassistant/home-assistant
    container_name: Home-Assistant
    mem_limit: 8g
    cpu_shares: 768
    security_opt:
      - no-new-privileges:true
    healthcheck:
     test: curl -f http://localhost:8123/ || exit 1
    restart: on-failure:5
    network_mode: host
    volumes:
      - /volume1/docker/homeassistant:/config:rw
    environment:
      TZ: Europe/London
Step 13
Now Lets see if Homeassistant is running as expected Now open your browser and type in http://Synology-ip-address:8123 Click CREATE MY SMART HOME. Follow the instructions in the image below.
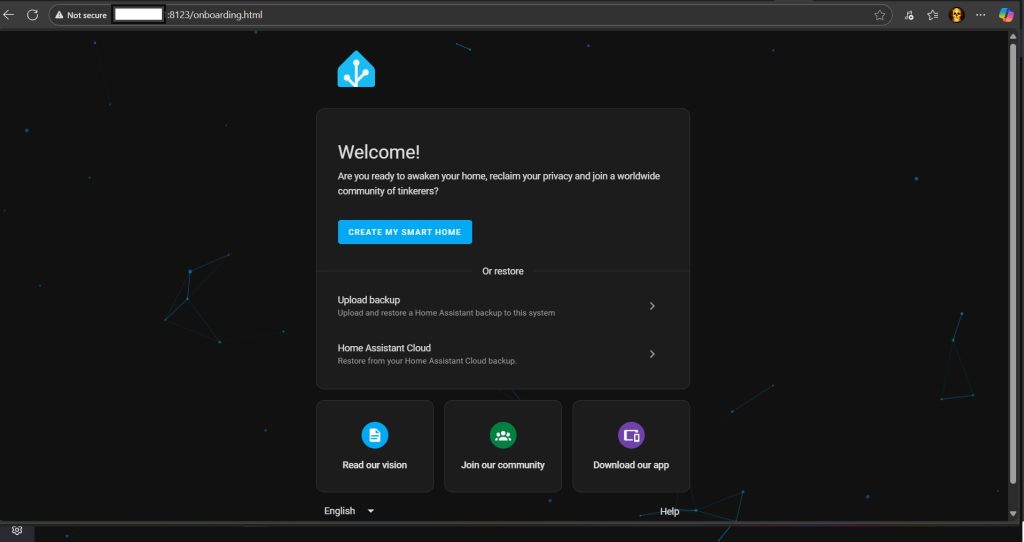
- STEP 10
Choose Name, Username, Password and Confirm Password then click CREATE ACCOUNT. Follow the instructions in the image below.
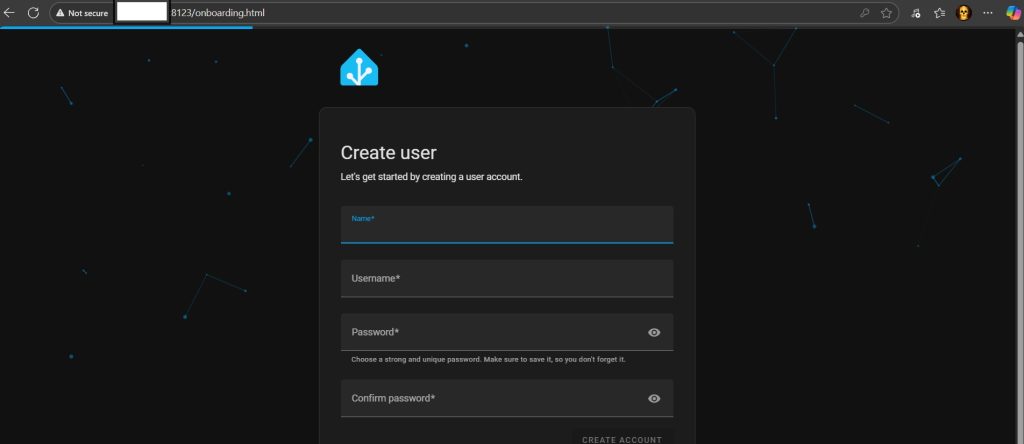
- STEP 11
Click the DETECT Location icon. For a more accurate location, move your location point on the MAP. Click NEXT. Follow the instructions in the image below.
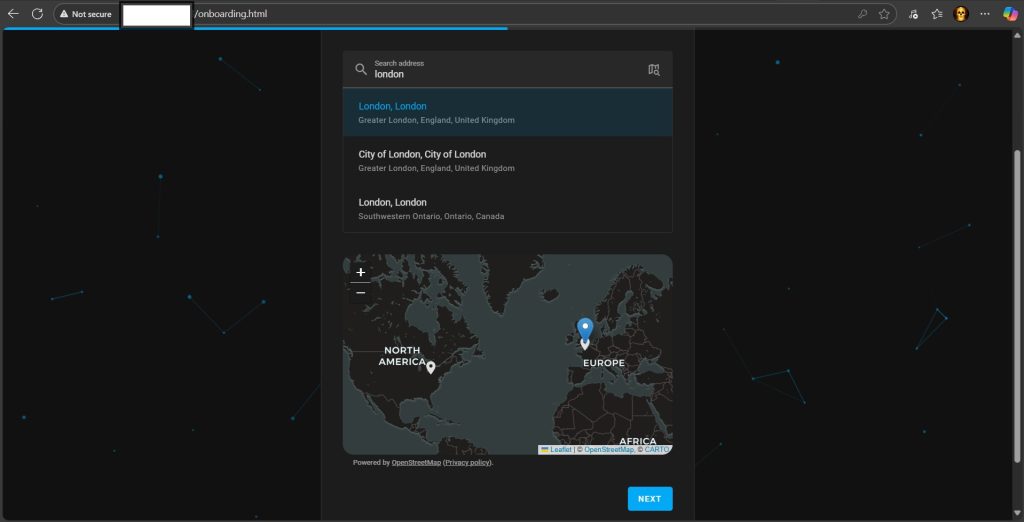
- STEP 12
Choose to share or no anonymized information. Click NEXT. Follow the instructions in the image below.
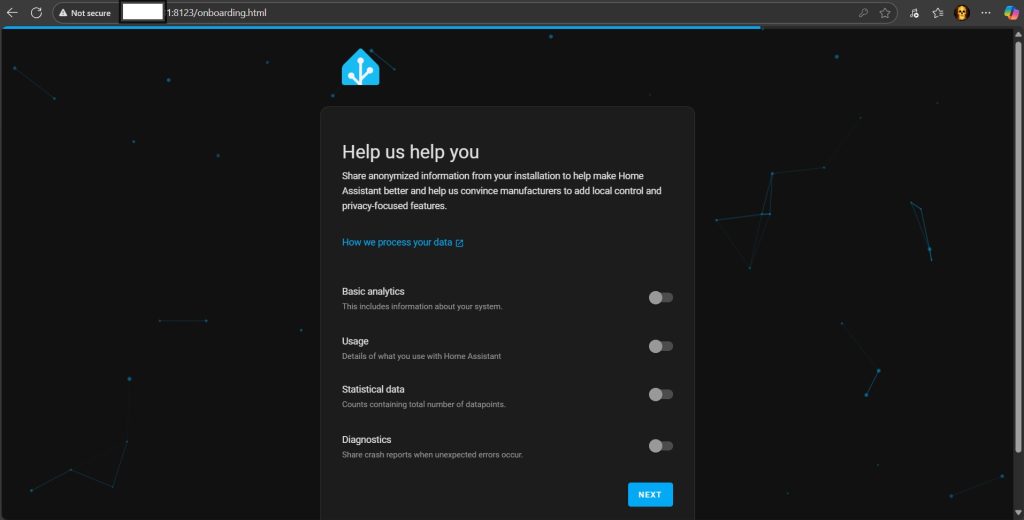
- STEP 13
Click FINISH. Follow the instructions in the image below, Home assistant already found some Devices on my network.
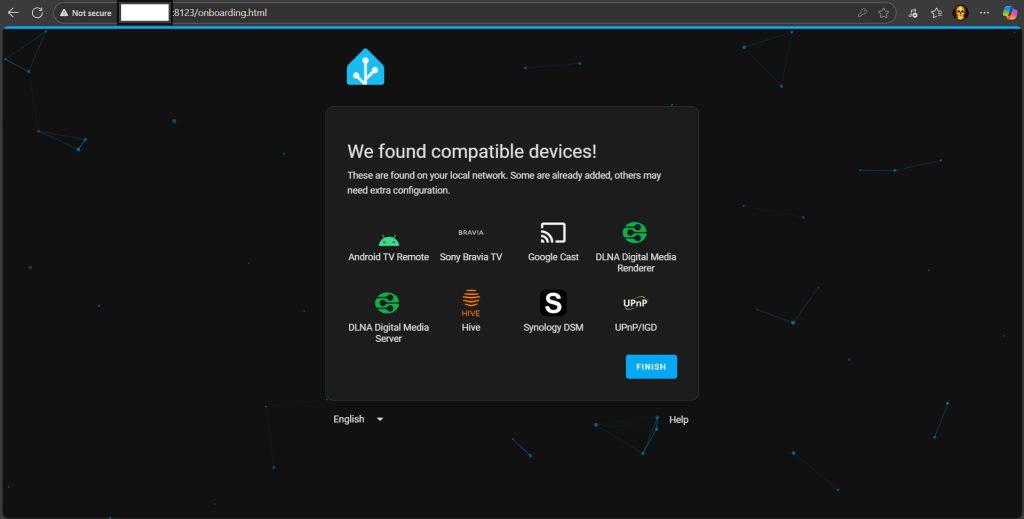
- STEP 14
Welcome to your Home Assistant Dashboard!
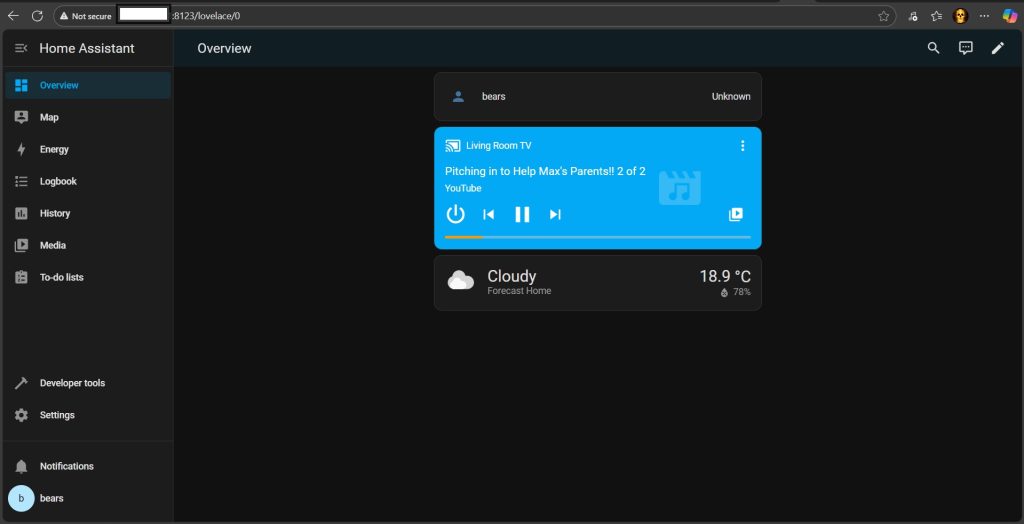
- STEP 15
You can also use Dark Mode theme for your Home Assistant Dashboard!
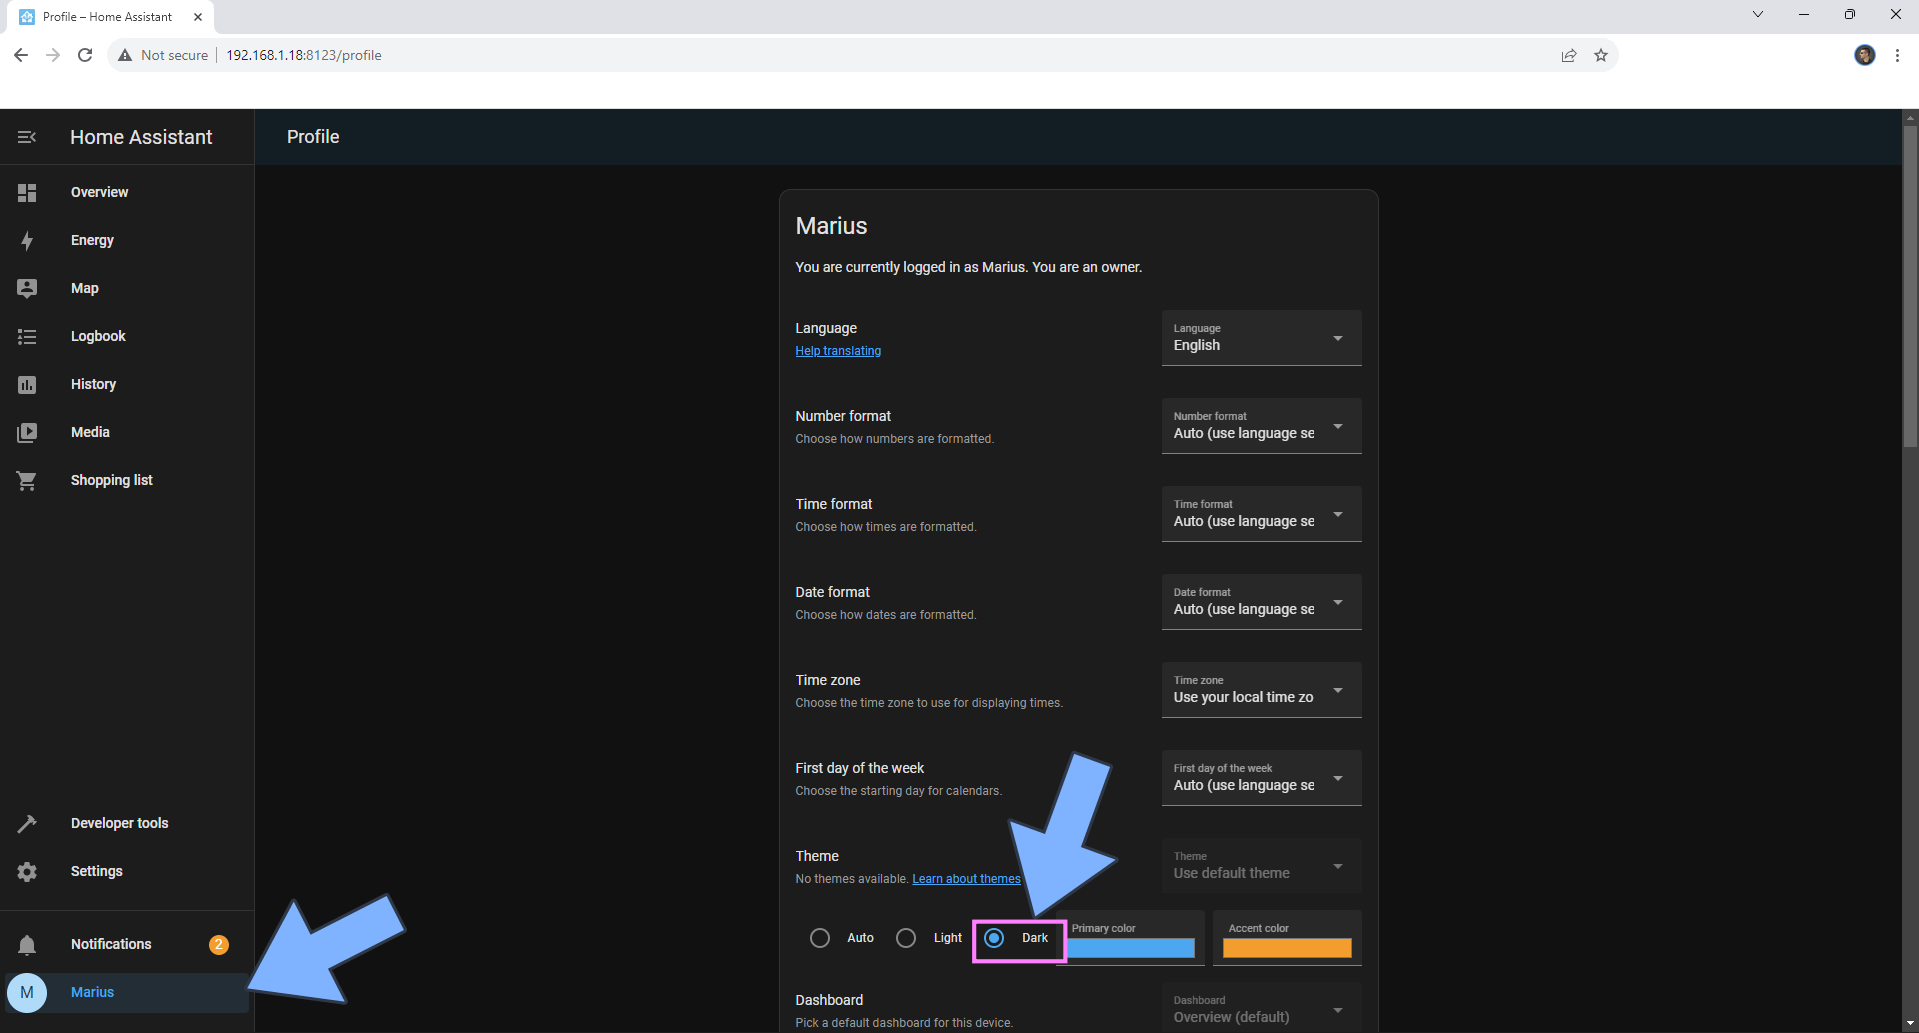
- STEP 16
2 onvif manual. turn off automatic search and enter Manuel details
