



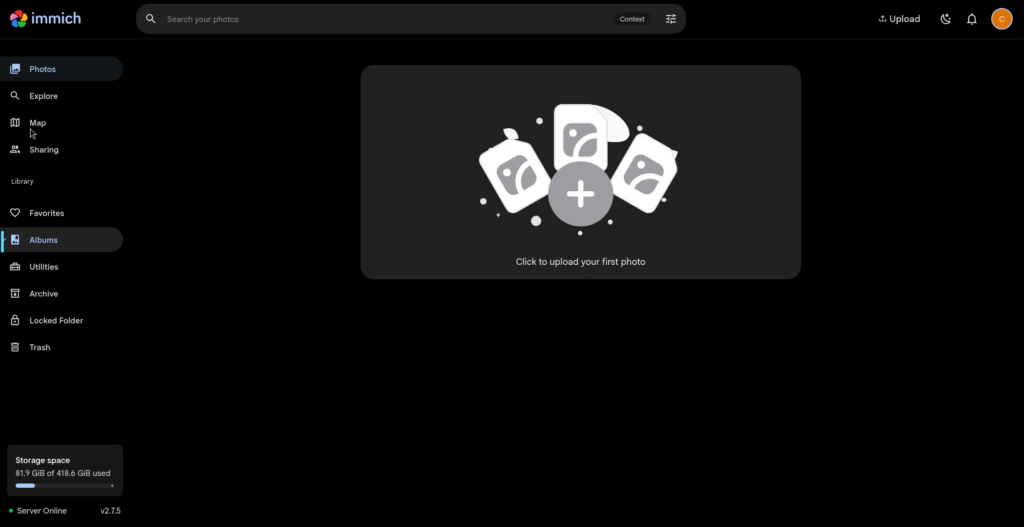
Immich V2 on DSM container manager
Step 1
Install container manager, If you have already installed the manager jump to step 3
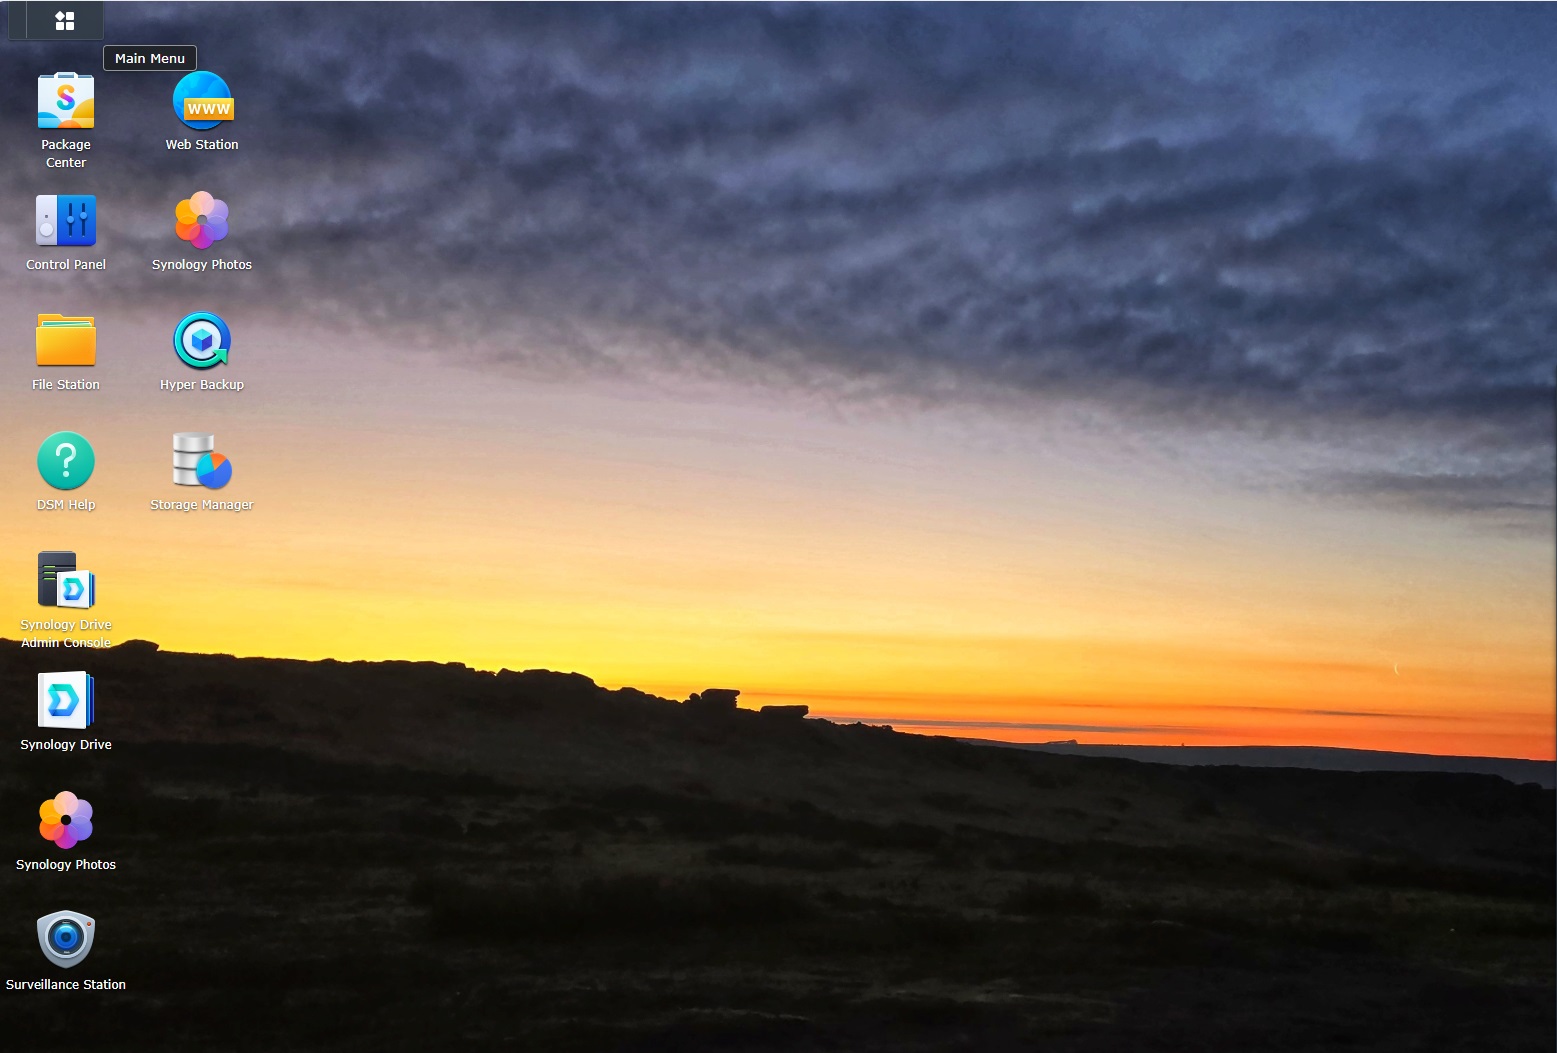
Select Main menu or the Package Center shortcut
Step 2
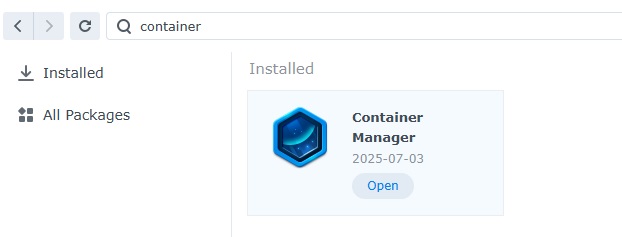
Type in Container in the Search bar and Press enter on your keyboard. Then you will See Container manager like below. in my case i have installed the Container manager already. Select install, wait a few second and then select open.
Step 3
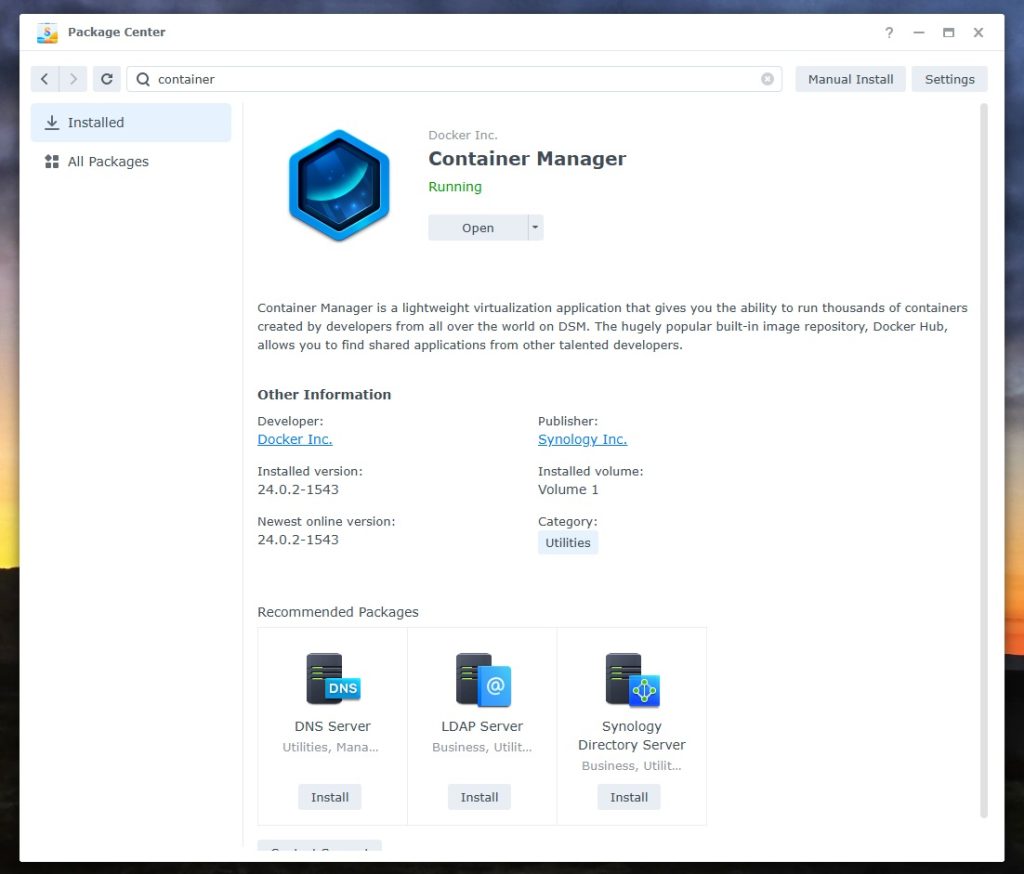
Now you have selected open you should see a screen like below and The Manager will say Running in green. Select open and move on to the next step.
Step 4
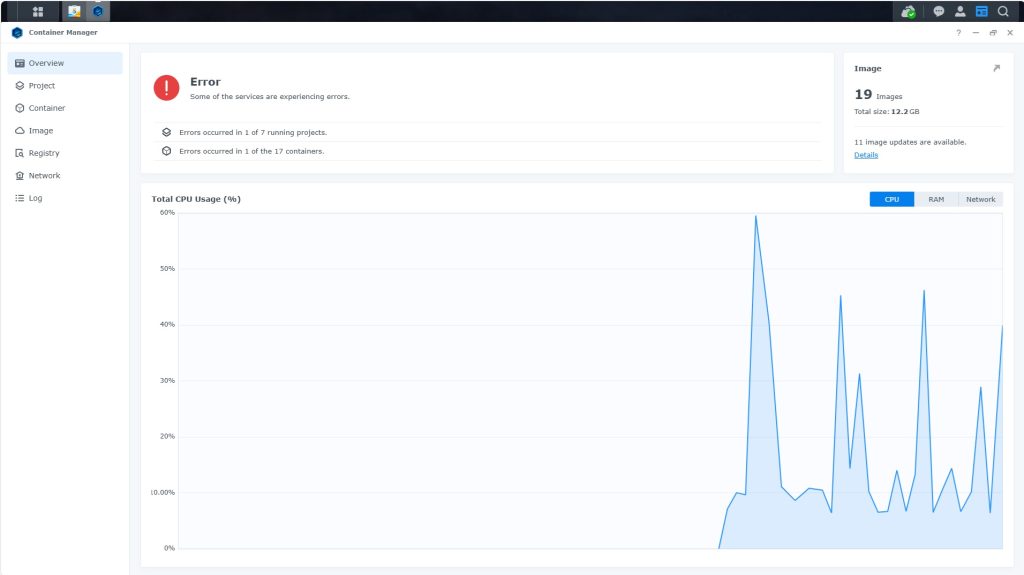
Now you will be Presented with the below. This is the Container manager over view of all your Containers and what’s happening in real time.
Step 5
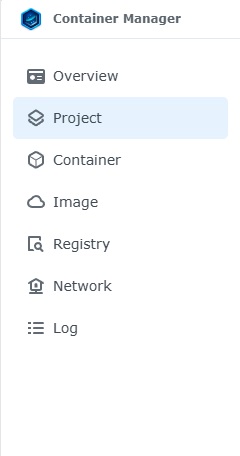
Now We need to Create a Project for Immch.
This project will do a number of things. download the image and setup the Project to Run all in one go.
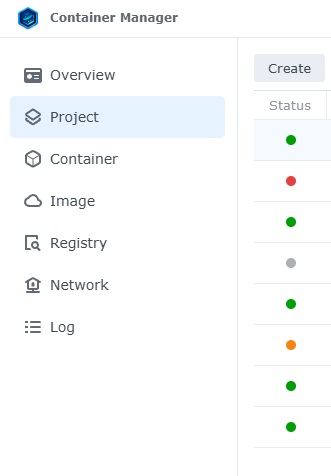
Select project from the menu down the side and then select Create button
Step 6
before we go any thurther we need to ensure we have our folders setup ready for the project.
I have a main folder on the Synology system just for docker projects. create the following folders using filestation in the immch folder
- library
- postgras
- model-cache
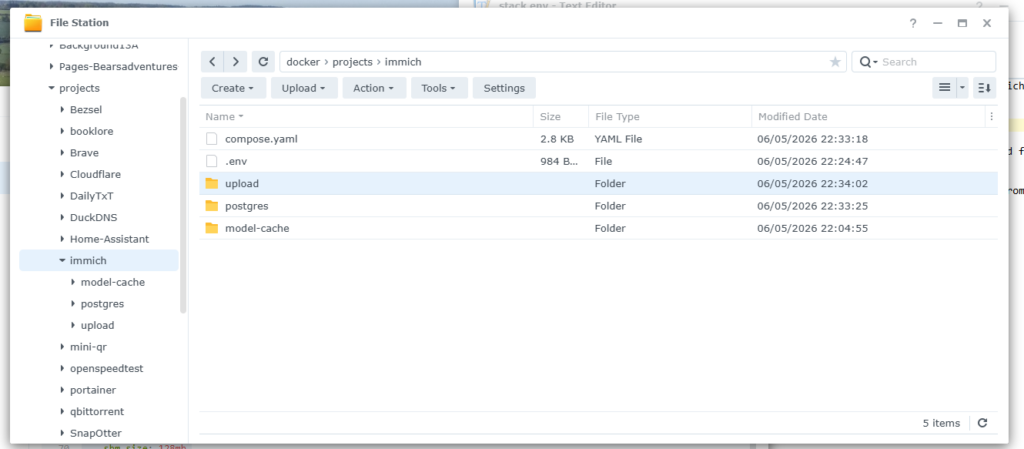
before we go to the next stage we need to create a .ENV file for our project
# You can find documentation for all the supported env variables at https://docs.immich.app/install/environment-variables

# The location where your uploaded files are stored
UPLOAD_LOCATION=./upload # I changed this to a upload folder. but this is where your pictures/videos are stored

# The location where your database files are stored. Network shares are not supported for the database
DB_DATA_LOCATION=./postgres

# To set a timezone, uncomment the next line and change Etc/UTC to a TZ identifier from this list: https://en.wikipedia.org/wiki/List_of_tz_database_time_zones#List
# TZ=Europe/London

# The Immich version to use. You can pin this to a specific version like "v2.1.0"
IMMICH_VERSION=v2

# Connection secret for postgres. You should change it to a random password
# Please use only the characters `A-Za-z0-9`, without special characters or spaces
DB_PASSWORD=anypassword

# The values below this line do not need to be changed
###################################################################################
DB_USERNAME=postgres
DB_DATABASE_NAME=immich
put this in your project folder
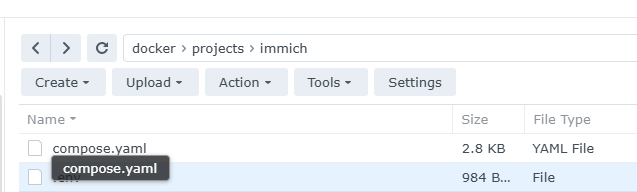
now place this in the project folder, Like i have above. you can open this in the DSM text editor.
Step 7
now we have created the folders needed for the project we can go ahead and create the project in Container manager
Give the project a name, change source to Create docker-compose.yml and add the path. Project name is all lower case.
See below for before and after the code you will need is below also.
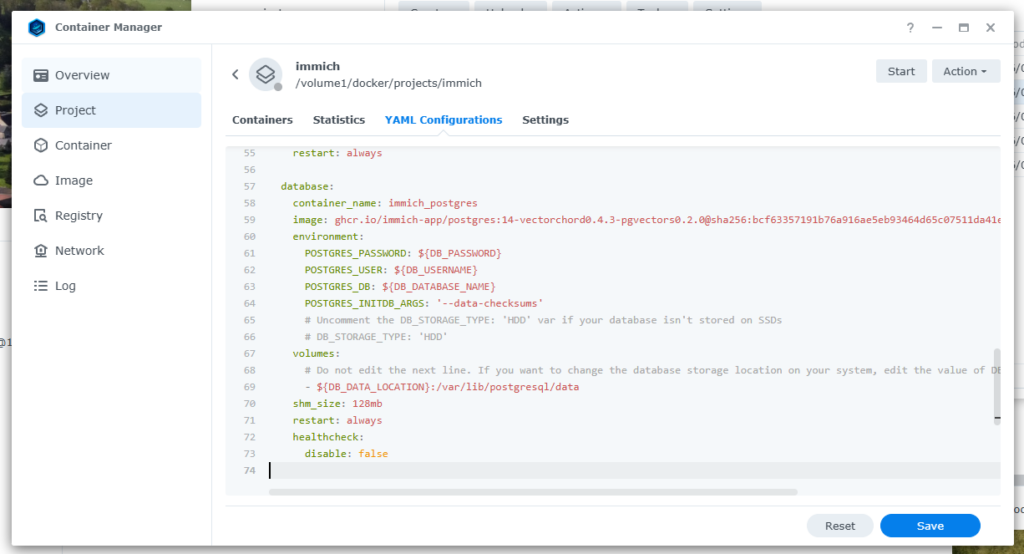
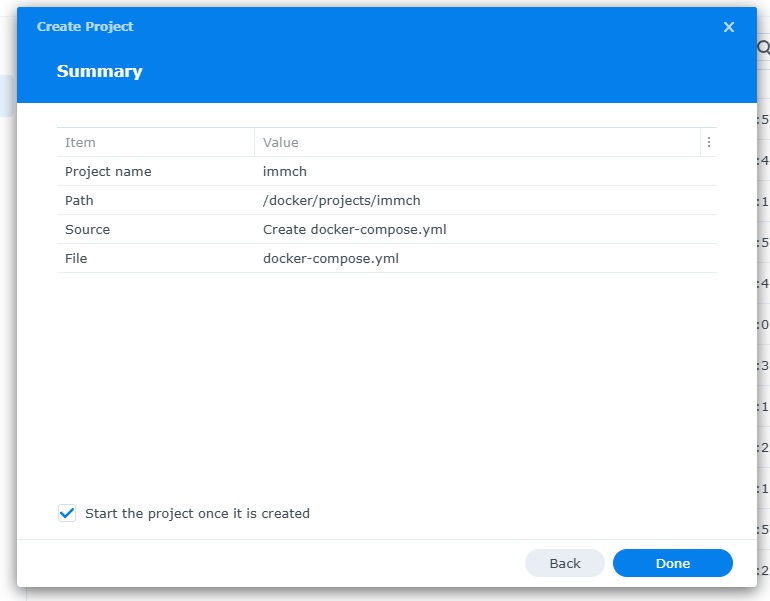
the volume path needs tobe exact or the project will return a fail.
#
# WARNING: To install Immich, follow our guide: https://docs.immich.app/install/docker-compose
#
# Make sure to use the docker-compose.yml of the current release:
#
# https://github.com/immich-app/immich/releases/latest/download/docker-compose.yml
#
# The compose file on main may not be compatible with the latest release.

name: immich

services:
  immich-server:
    container_name: immich_server
    image: ghcr.io/immich-app/immich-server:${IMMICH_VERSION:-release}
    # extends:
    #   file: hwaccel.transcoding.yml
    #   service: cpu # set to one of [nvenc, quicksync, rkmpp, vaapi, vaapi-wsl] for accelerated transcoding
    volumes:
      # Do not edit the next line. If you want to change the media storage location on your system, edit the value of UPLOAD_LOCATION in the .env file
      - ${UPLOAD_LOCATION}:/data
      - /etc/localtime:/etc/localtime:ro
    env_file:
      - .env
    ports:
      - '2283:2283'
    depends_on:
      - redis
      - database
    restart: always
    healthcheck:
      disable: false

  immich-machine-learning:
    container_name: immich_machine_learning
    # For hardware acceleration, add one of -[armnn, cuda, rocm, openvino, rknn] to the image tag.
    # Example tag: ${IMMICH_VERSION:-release}-cuda
    image: ghcr.io/immich-app/immich-machine-learning:${IMMICH_VERSION:-release}
    # extends: # uncomment this section for hardware acceleration - see https://docs.immich.app/features/ml-hardware-acceleration
    #   file: hwaccel.ml.yml
    #   service: cpu # set to one of [armnn, cuda, rocm, openvino, openvino-wsl, rknn] for accelerated inference - use the `-wsl` version for WSL2 where applicable
    volumes:
      - ./model-cache:/cache
    env_file:
      - .env
    restart: always
    healthcheck:
      disable: false

  redis:
    container_name: immich_redis
    image: docker.io/valkey/valkey:9@sha256:3b55fbaa0cd93cf0d9d961f405e4dfcc70efe325e2d84da207a0a8e6d8fde4f9
    healthcheck:
      test: redis-cli ping || exit 1
    restart: always

  database:
    container_name: immich_postgres
    image: ghcr.io/immich-app/postgres:14-vectorchord0.4.3-pgvectors0.2.0@sha256:bcf63357191b76a916ae5eb93464d65c07511da41e3bf7a8416db519b40b1c23
    environment:
      POSTGRES_PASSWORD: ${DB_PASSWORD}
      POSTGRES_USER: ${DB_USERNAME}
      POSTGRES_DB: ${DB_DATABASE_NAME}
      POSTGRES_INITDB_ARGS: '--data-checksums'
      # Uncomment the DB_STORAGE_TYPE: 'HDD' var if your database isn't stored on SSDs
      # DB_STORAGE_TYPE: 'HDD'
    volumes:
      # Do not edit the next line. If you want to change the database storage location on your system, edit the value of DB_DATA_LOCATION in the .env file
      - ${DB_DATA_LOCATION}:/var/lib/postgresql/data
    shm_size: 128mb
    restart: always
    healthcheck:
      disable: false
So this is my code that i edited a little. above
volumes:
      - ./model-cache:/cache
I changed this bit of code over to a folder rather than unspecified.
press next when you are happy with the code
Step 8

setup a web portal if you like . I would not advise it. and press next, In the code port 2283 is set for the portal that can only be accessed locally.
Step 9
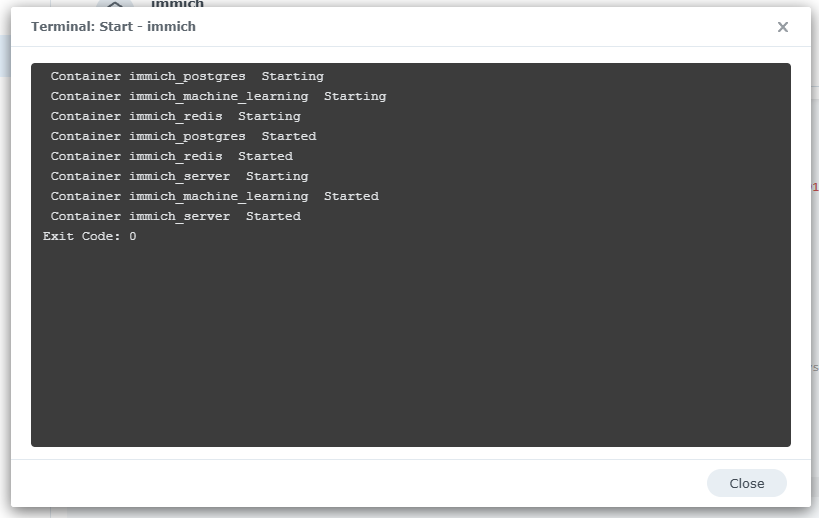
If you have a Exit Code of 0 like i have below then you are done. project created. if you have a Exit code 1 you have a error and need to visit the code again and trouble shoot.
Step 10
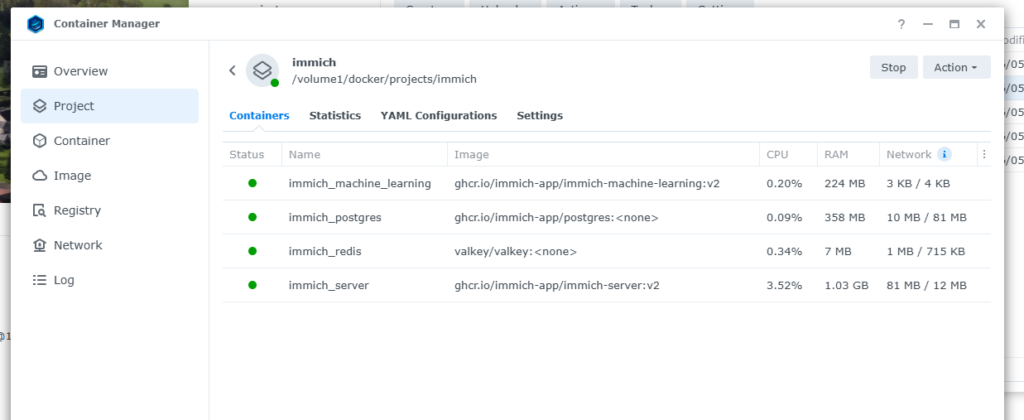
One last thing you can check to see if the docker is Green and showing no Errors, todo that just goto Container manager and on the left select Projects and Immich will be there Status Colum should be green if not you will need to trouble shoot.
Step 11
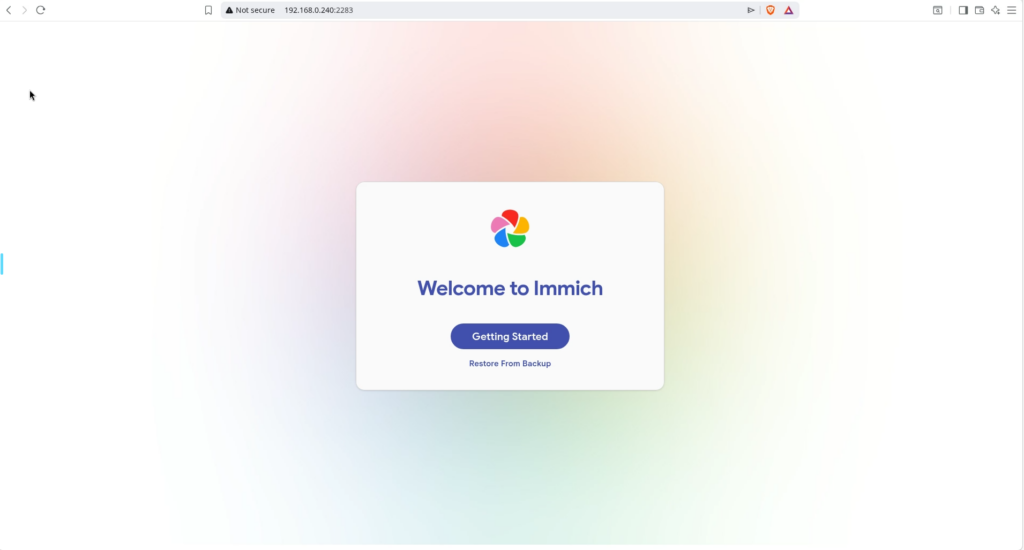
Up and running. Select Getting started.
Step 12
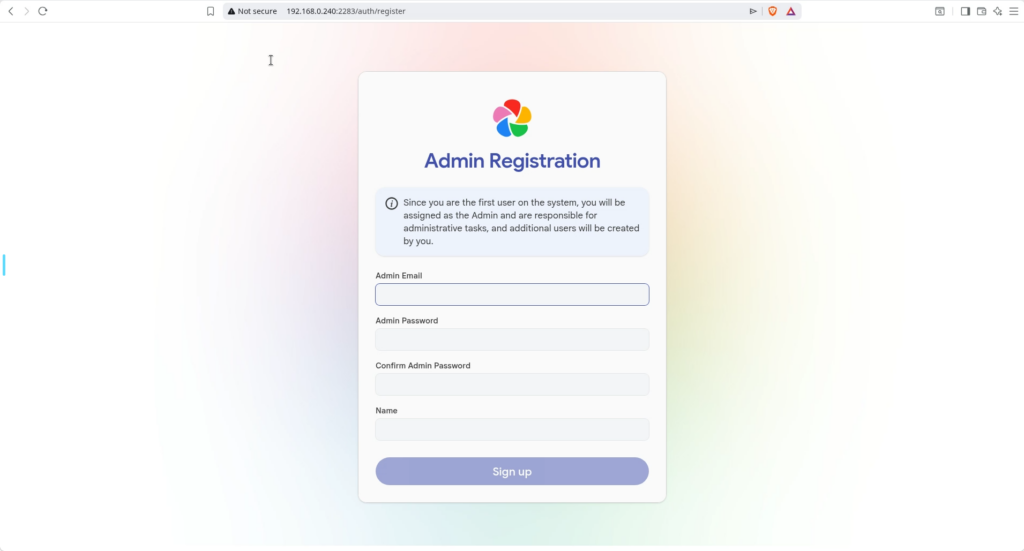
Setup at User as Admin. and select sign up
Step 13
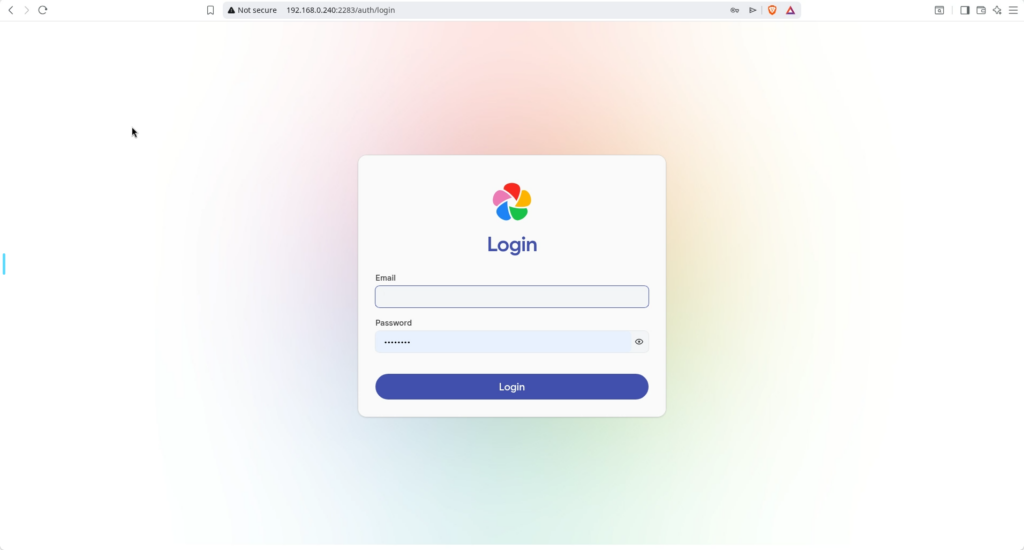
Now you are setup, Time to login
Step 14
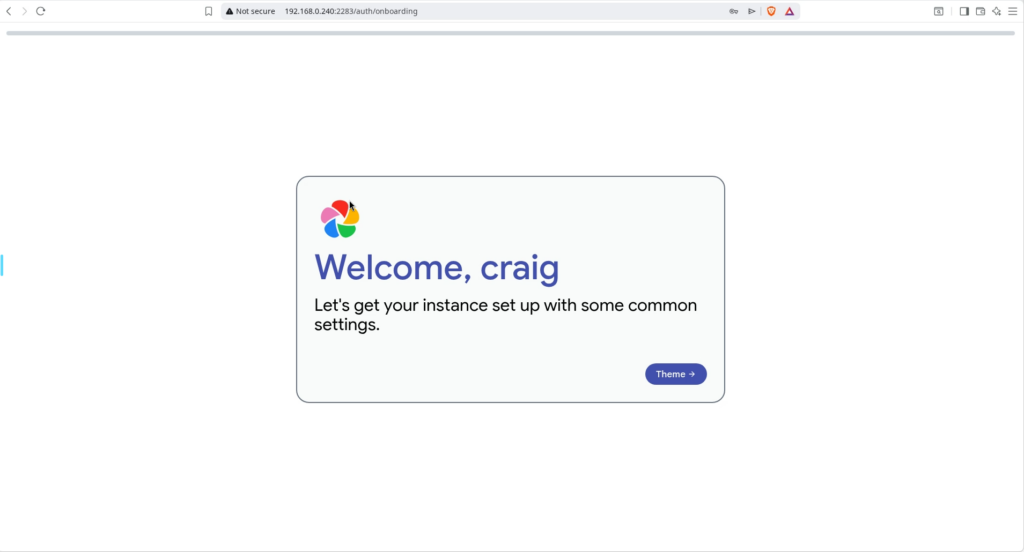
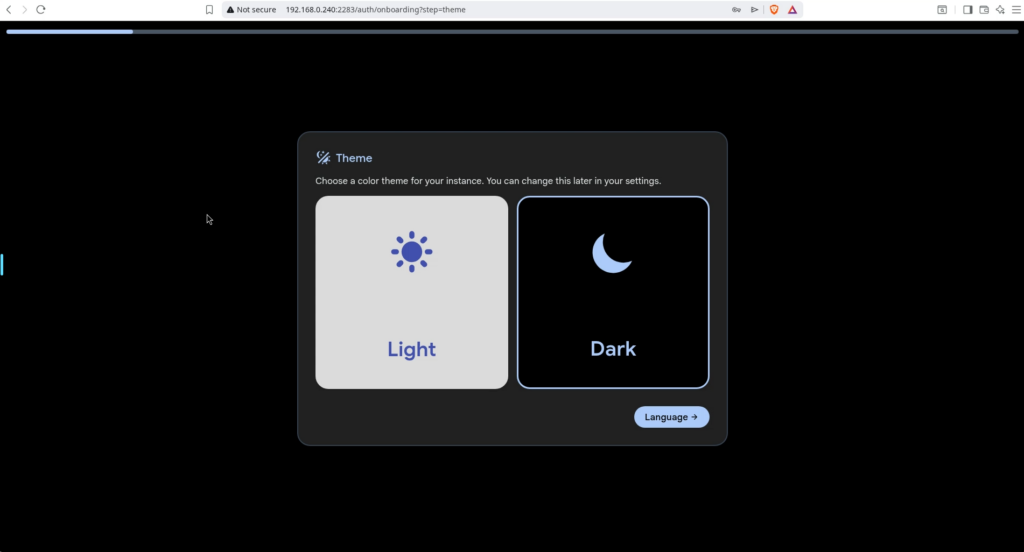
we are now ready to set our theme.
Step 15
I like dark mode, Immich is so user Friendly.
Step 16
Set your Language then onto Server Privacy
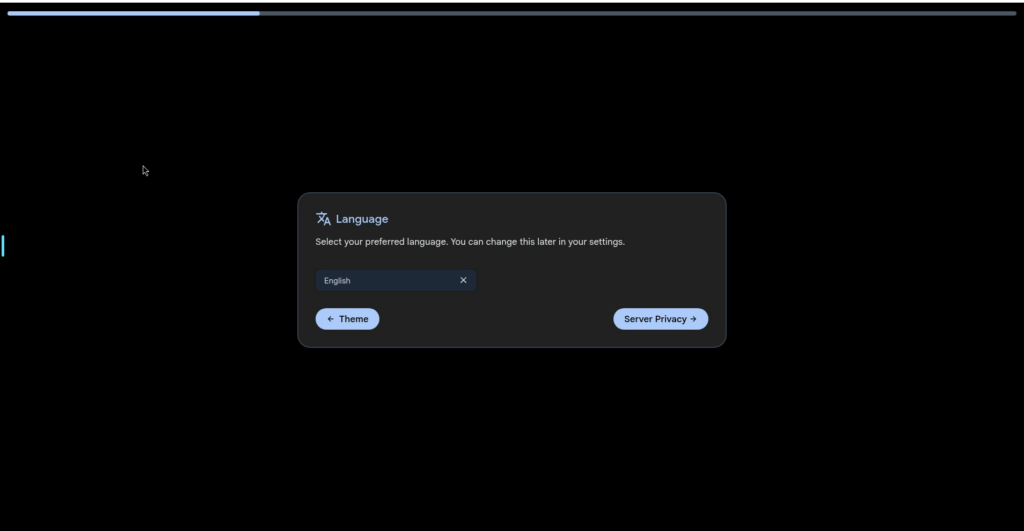
Step 17
now onto user privacy
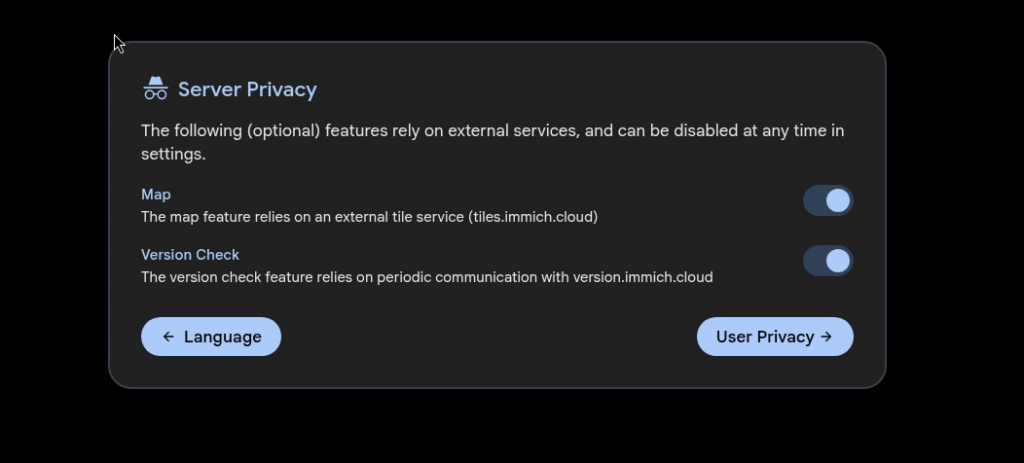
Step 18
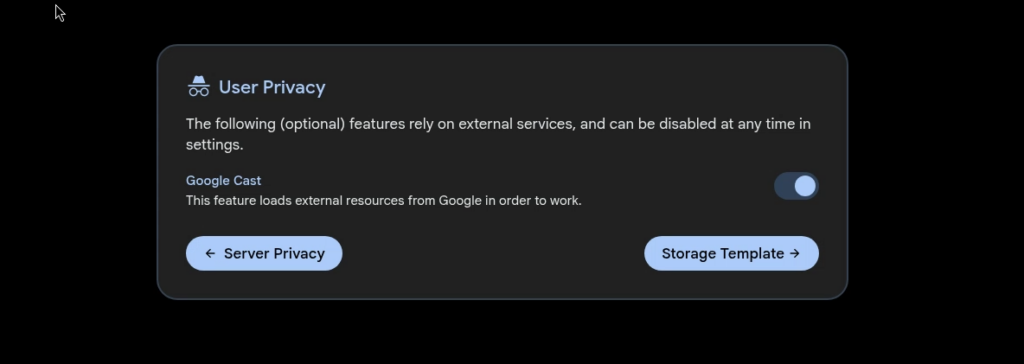
user privacy, i like to set this to on.
Step 19
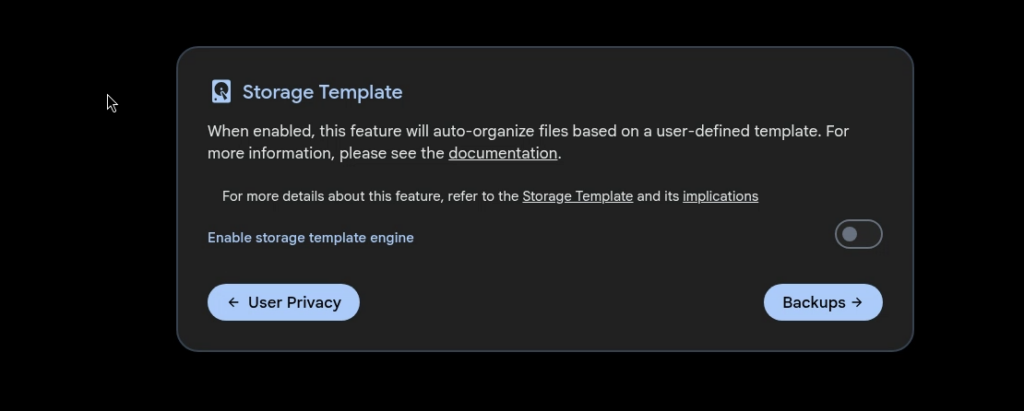
Storage template, im going to leave this off for now.
Step 20
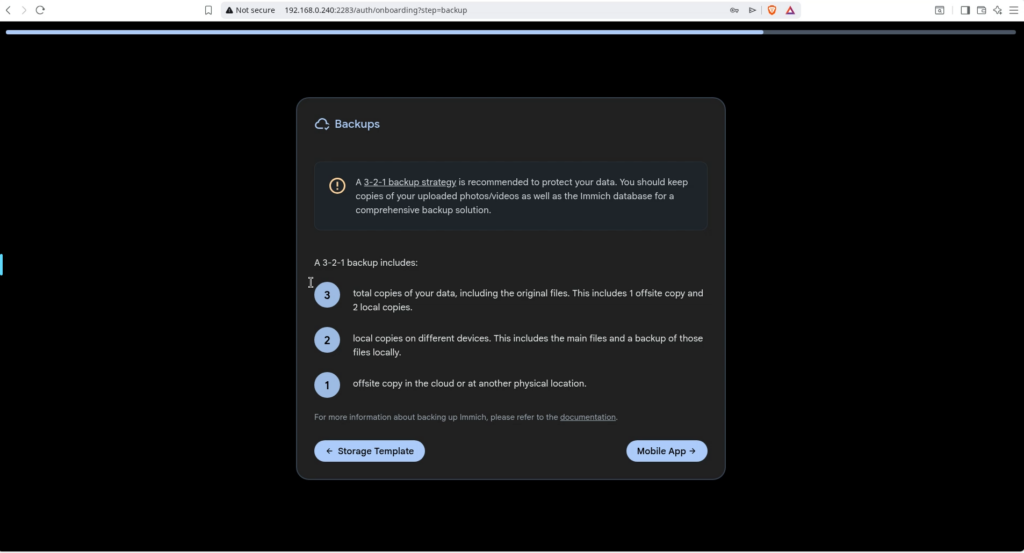
set Backup
Step 21
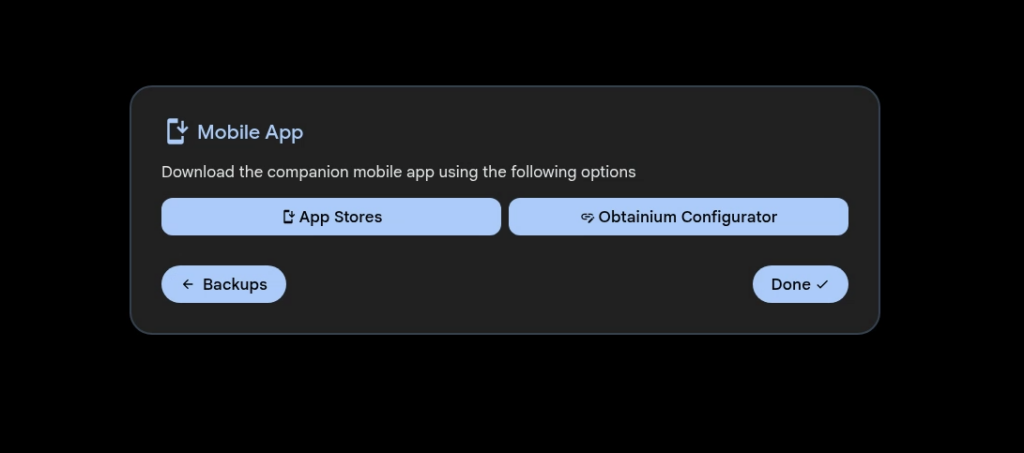
Download Mobile app and Done.
All setup and ready to use
Ok so now you want to import all your current pictures
Step A
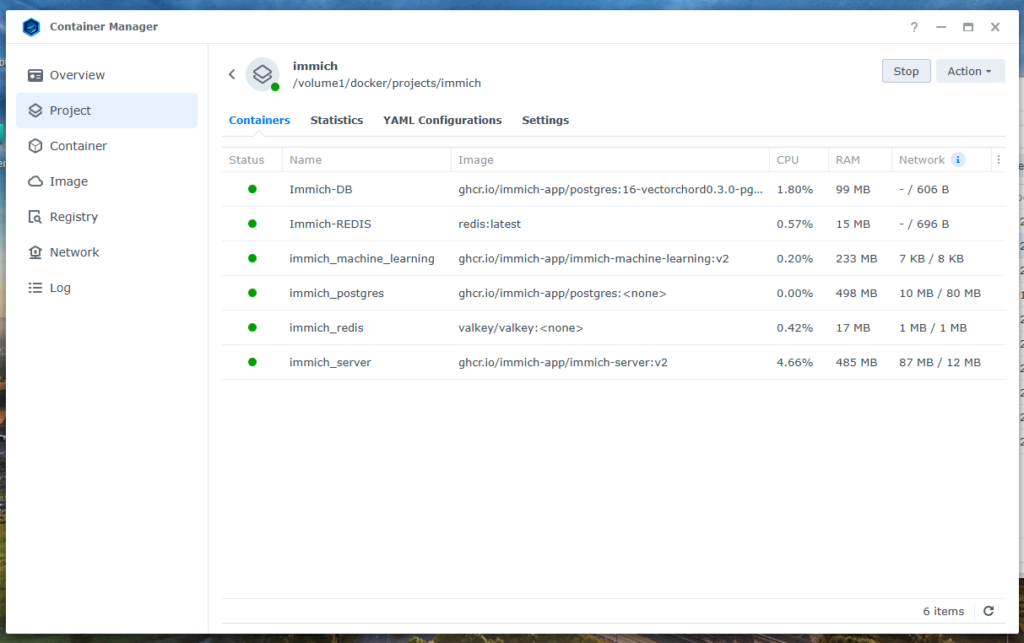
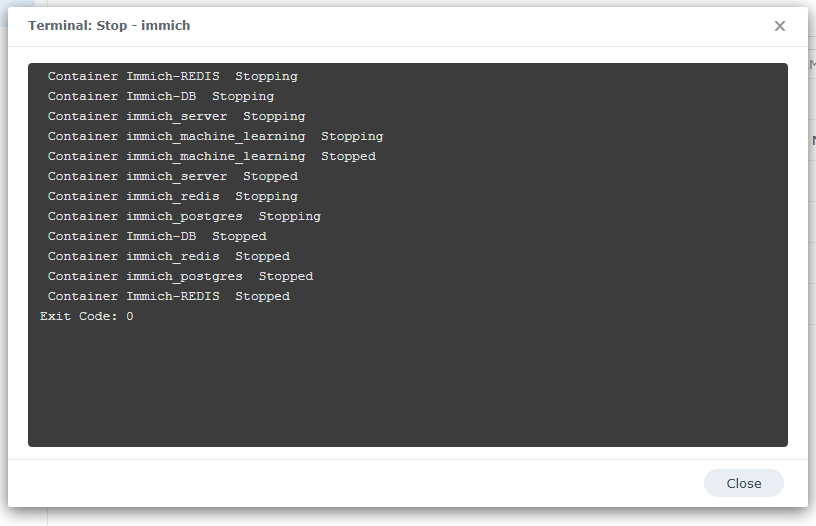
We need to stop the Project, So we can edit the YAML file in container manager.
Step B
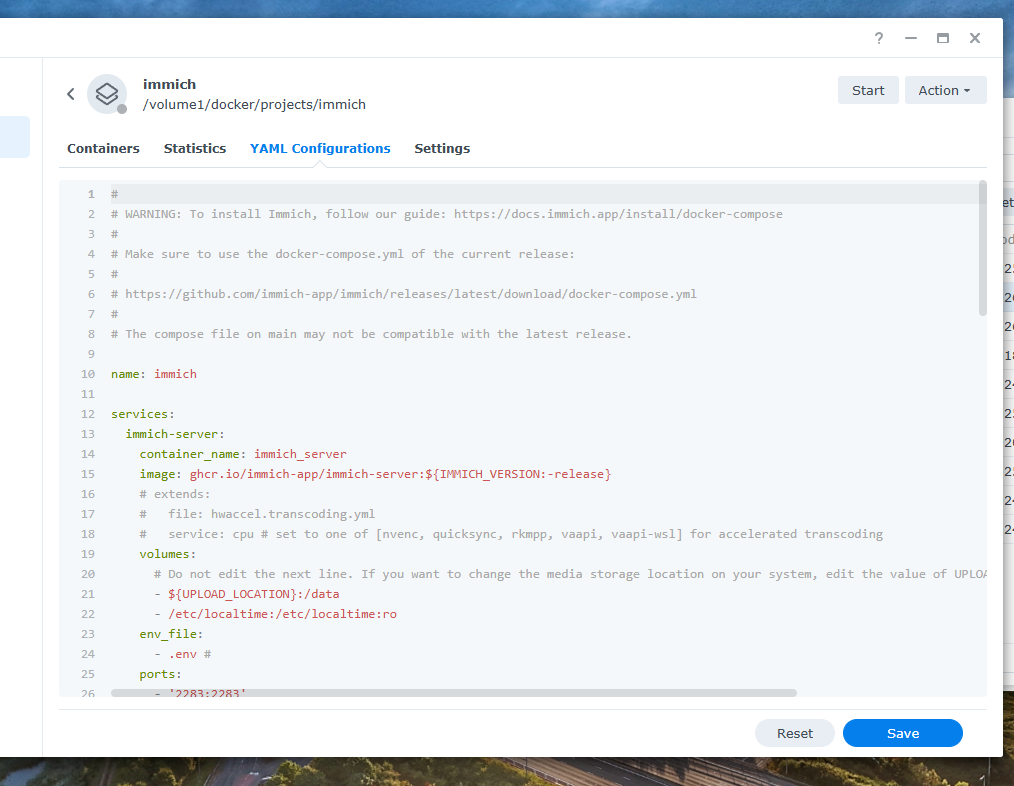
Here you want to add another line under Volume.
Step C

i want to add photo folder
Step D
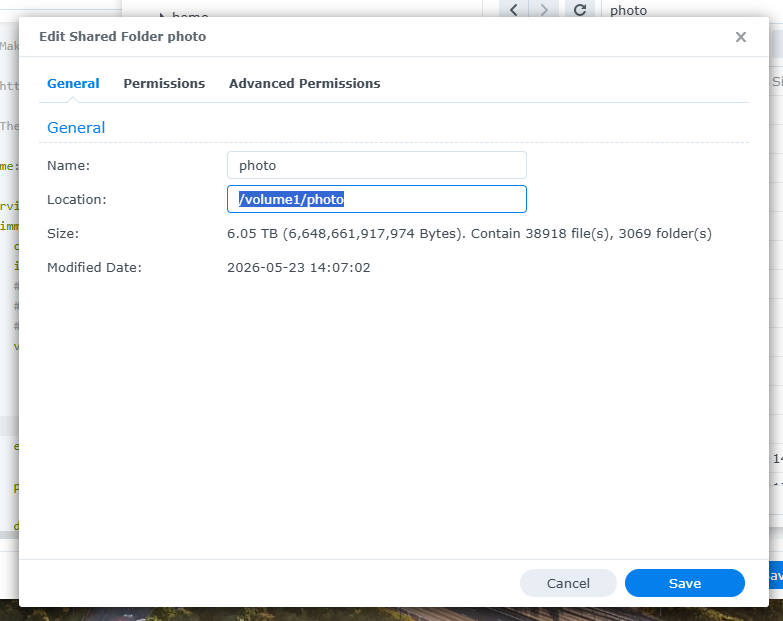
Go into property of the folder and you want to copy the location section
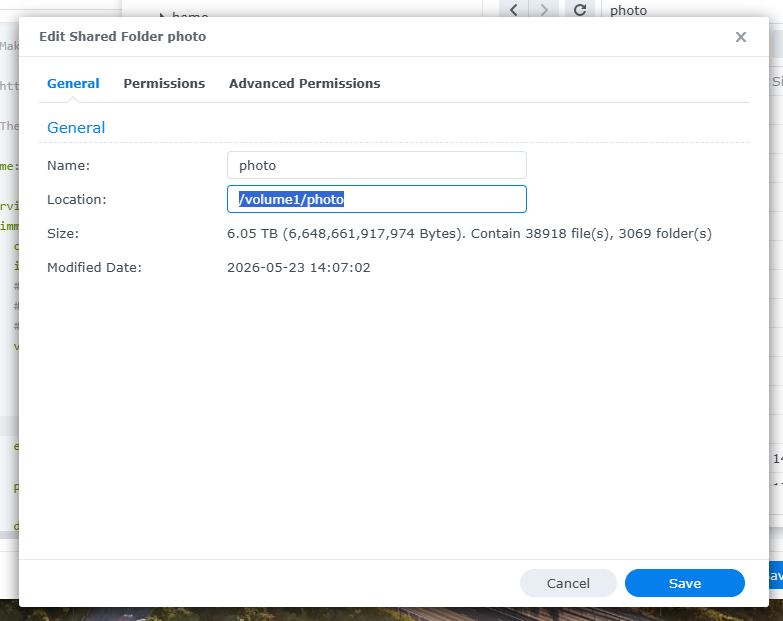
Step E
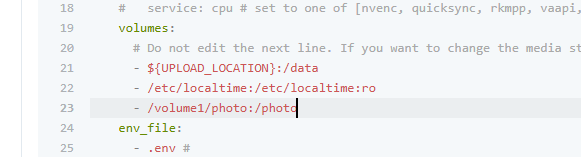
Now head back over to YAML configuration and paste the path into the new line you created. Remember to add – at the beginning and add :/photo at the end. This will create a mount point Photo within the Project.
Step F
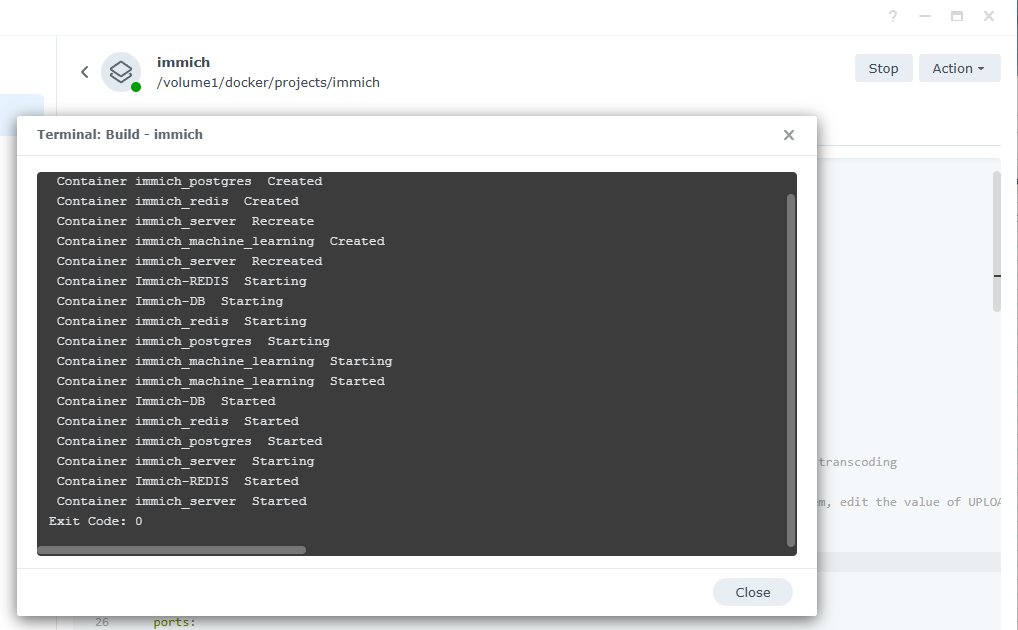
Save and start the project again , you will have to Build the project again.
Step G
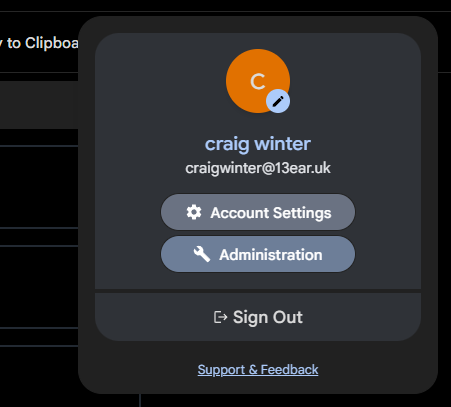
In Immich head over to administration section.
Step H
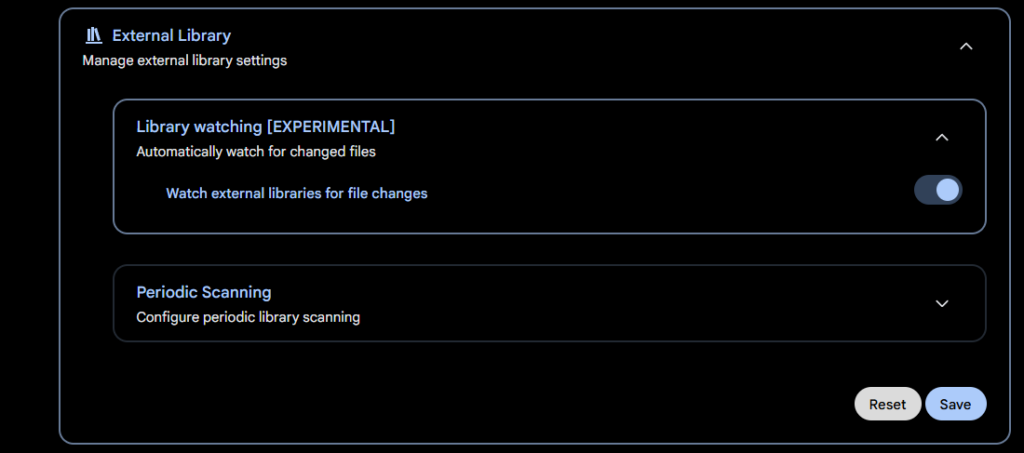
Turn on library watching, and save.
Step I
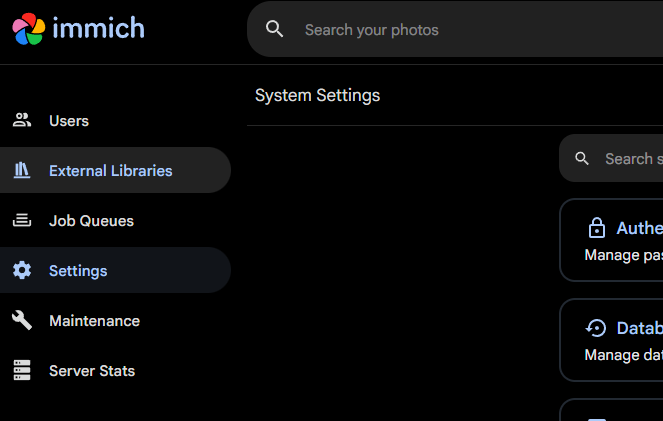
Select External Libraries , Top Left
Step J
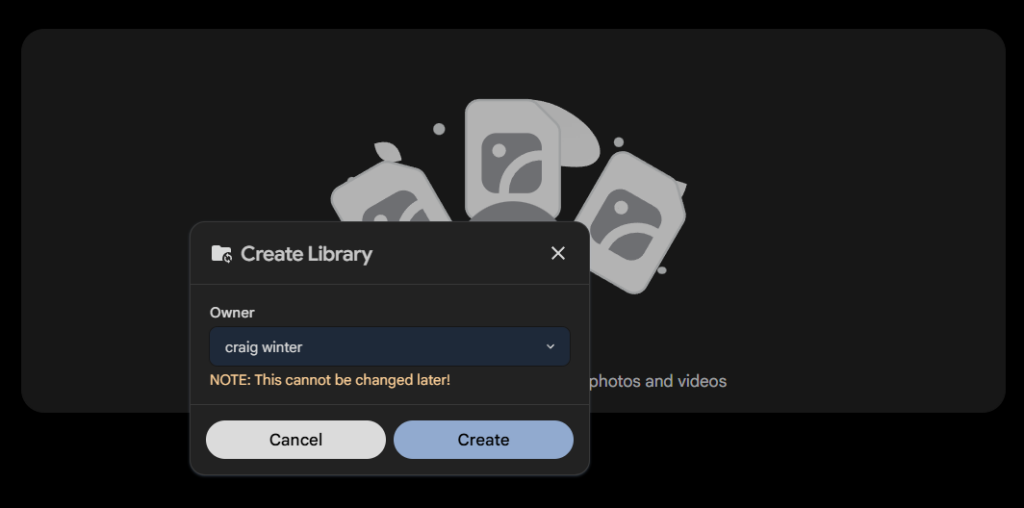
Create library
Step K
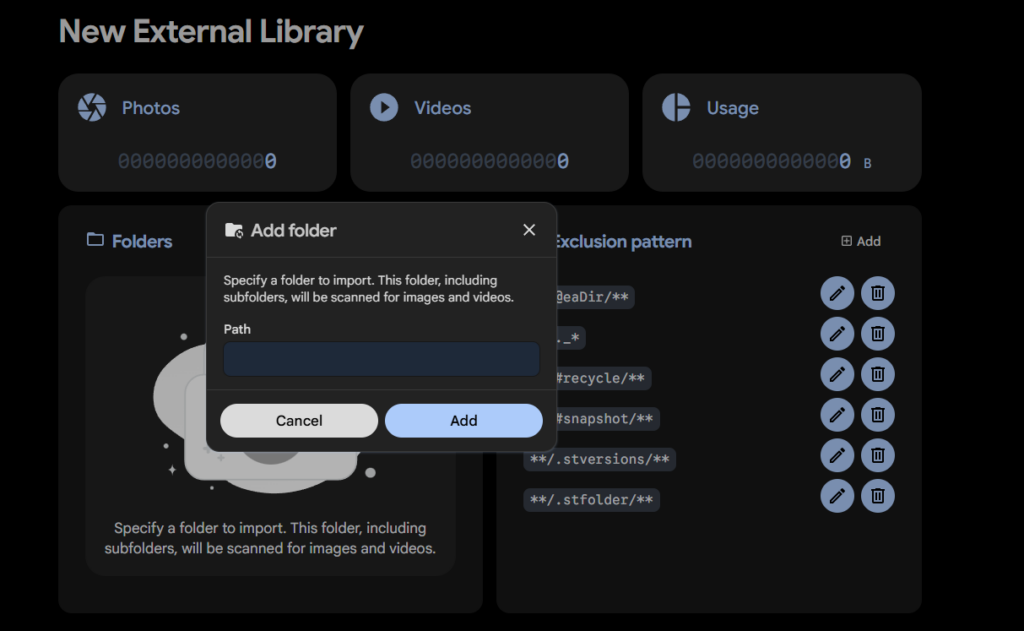
Add Folder
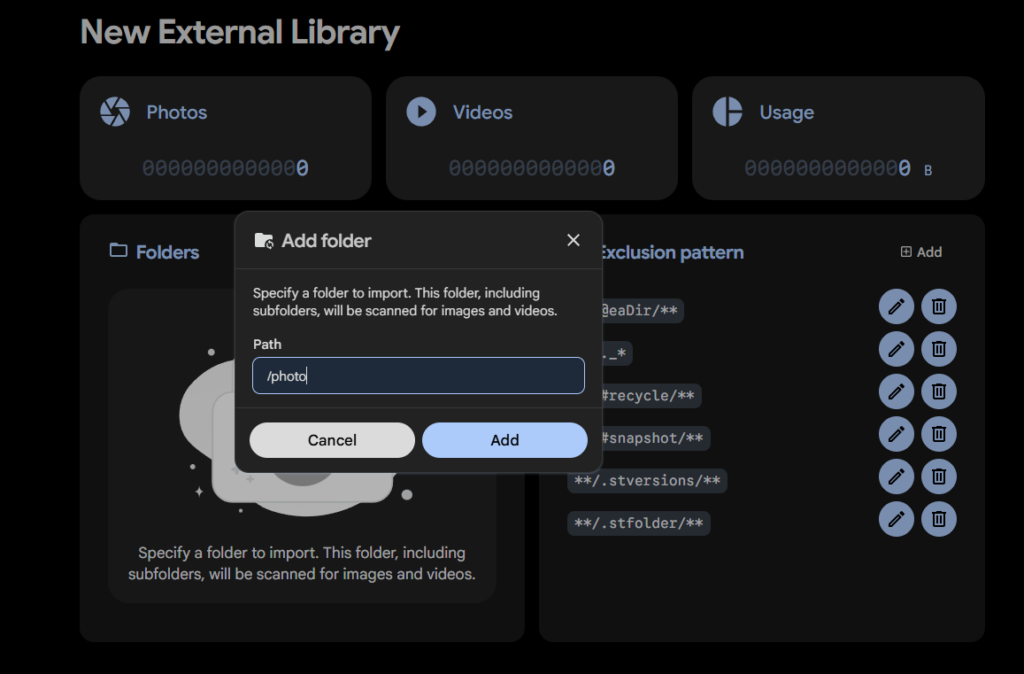
and type in your folder name we added in the project on docker. in my case photo.
Step L
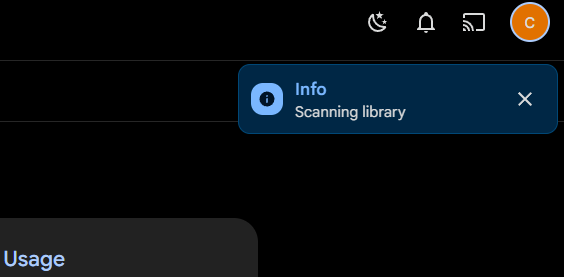
That is the folder has been added but now we need to search the folder. Press scan Top right. Soon as you do this you will get the below popup. enjoy.
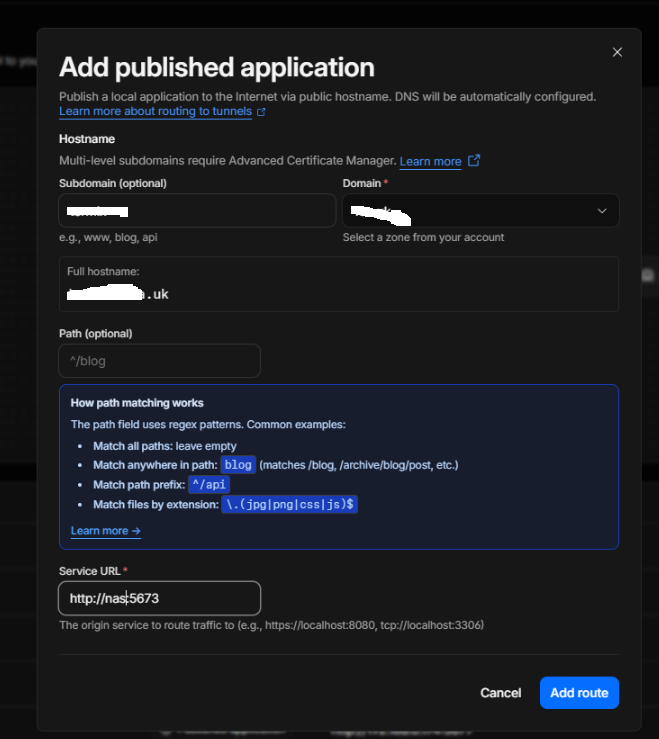
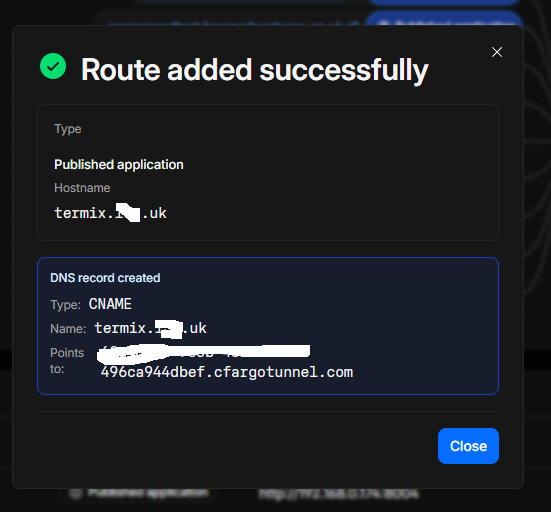
Creating a Tunnel to access your Immich
Now lets create a tunnel for the container so we can use this outside the network. I use Cloudflare for my hosting portal.