


I assume you’re familiar with the tool if you’re reading this. Ntopng is a full on network monitoring tool, that’s open-source and easy to use. It’s built on top of “ntop”, the original network probe. For more info on the tool
Step 1
Install container manager, If you have already installed the manager jump to step 3
Select Main menu or the Package Center shortcut
Step 2
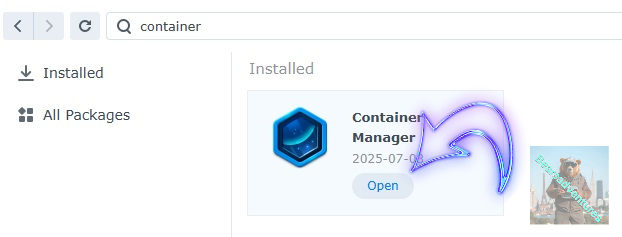
Type in Container in the Search bar and Press enter on your keyboard. Then you will See Container manager like below. in my case i have installed the Container manager already. Select install, wait a few second and then select open.
Step 3
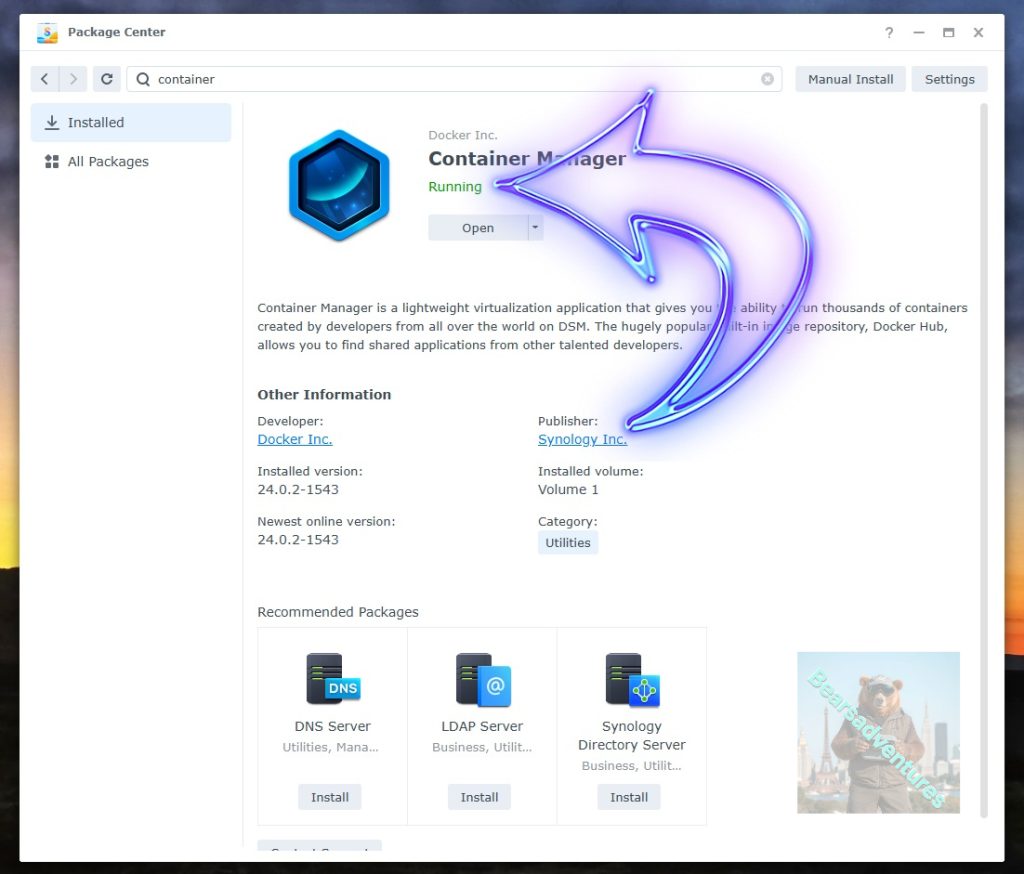
Now you have selected open you should see a screen like below and The Manager will say Running in green. Select open and move on to the next step.
Step 4
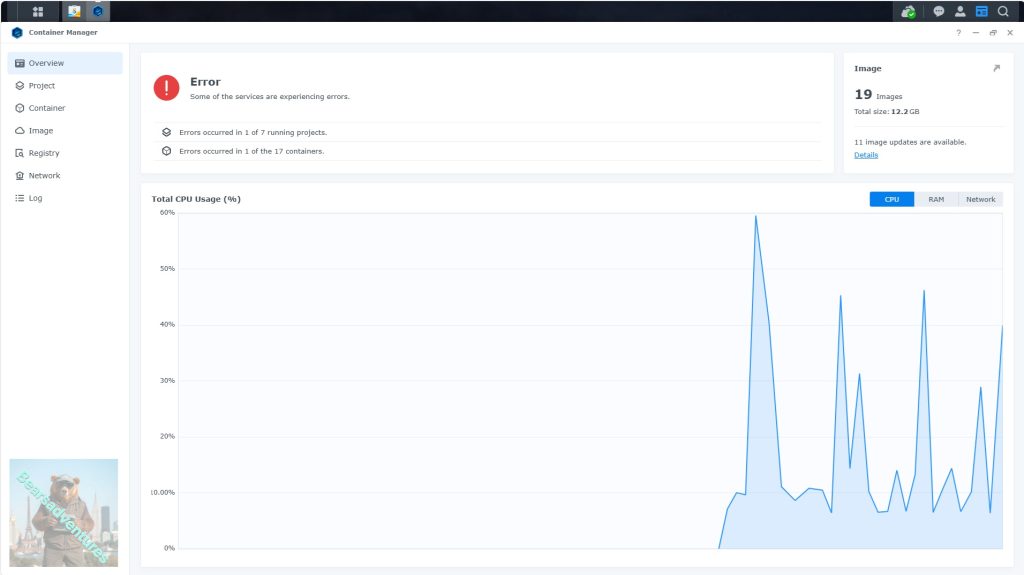
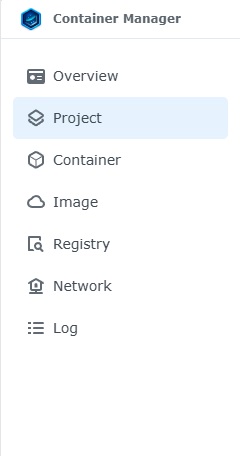
Now you will be Presented with the below. This is the Container manager over view of all your Containers and what’s happening in real time.
Step 5
Now We need to Create a Project for ntop.
This project will do a number of things. download the image and setup the Project to Run all in one go.
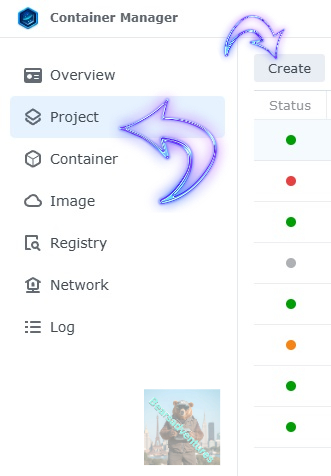
Select project from the menu down the side and then select Create button
Step 6
before we go any thurther we need to ensure we have our folders setup ready for the project.
I have a main folder on the Synology system just for docker projects. create the following folders using filestation so my path for ntop will look like this

Step 7
now we have created the folders needed for the project we can go ahead and create the project in Container manager
Give the project a name, change source to Create docker-compose.yml and add the path. Project name is all lower case.
See below for before and after the code you will need is below also.
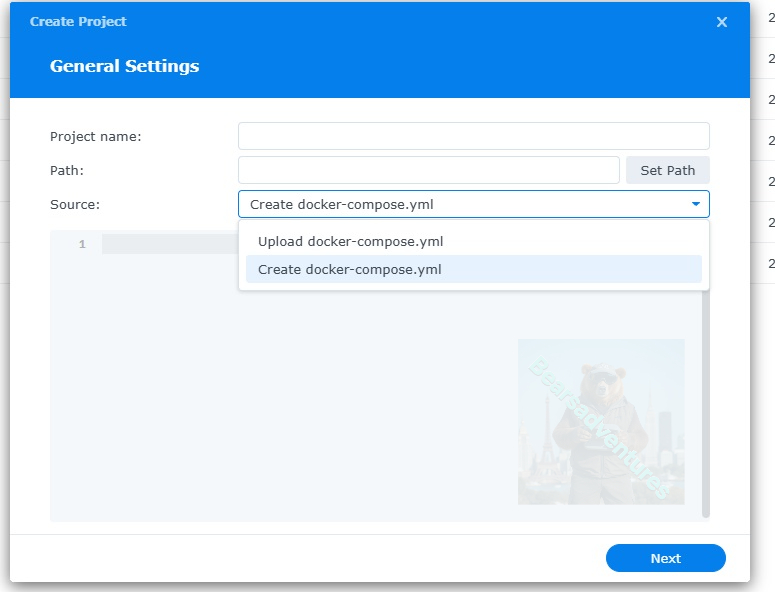
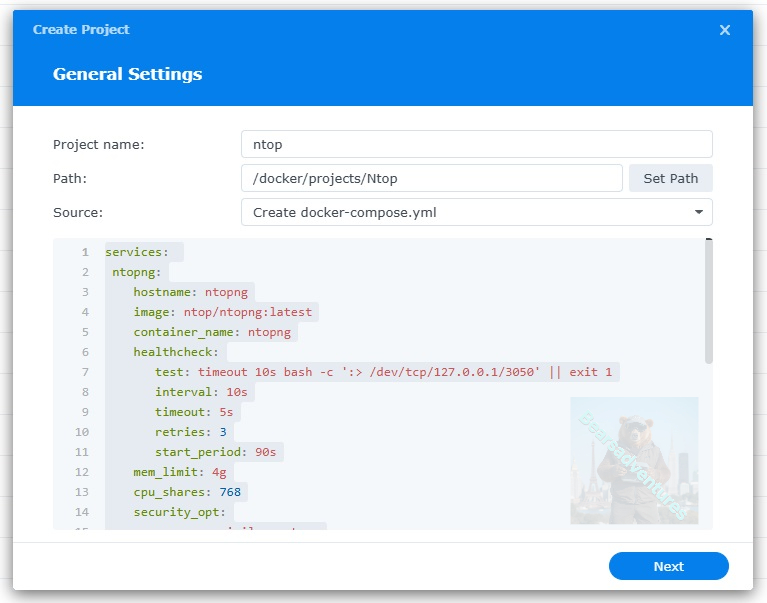
the volume path needs tobe exact or the project will return a fail.
services:
 ntopng:
    hostname: ntopng
    image: ntop/ntopng:latest
    container_name: ntopng
    healthcheck:
       test: timeout 10s bash -c ':> /dev/tcp/127.0.0.1/3050' || exit 1
       interval: 10s
       timeout: 5s
       retries: 3
       start_period: 90s
    mem_limit: 4g
    cpu_shares: 768
    security_opt:
      - no-new-privileges:true
    restart: on-failure:5
    volumes:
      - /volume1/docker/projects/ntop:/var/lib/ntopng:rw
    network_mode: host
    command: --community
 ports:
            - 3050:5000
press next when you are happy with the code
Step 8
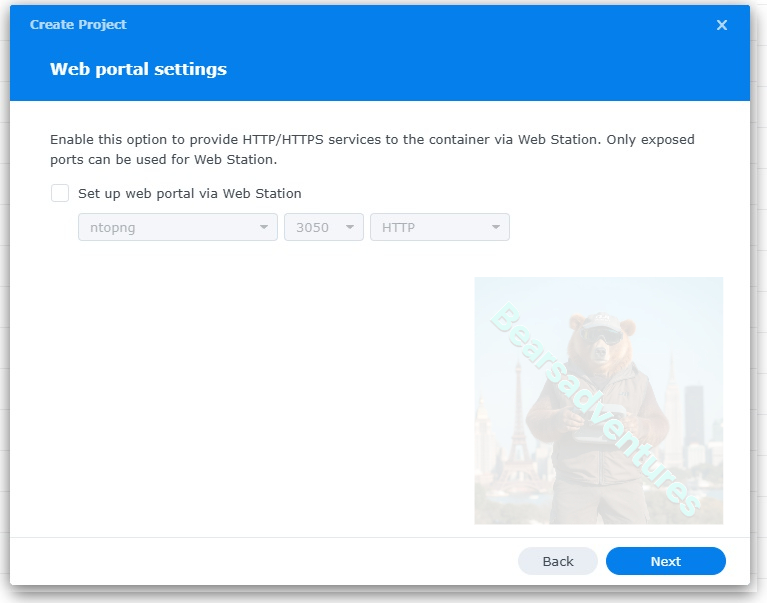
setup a web portal if you like . I would not advise it. and press next
Step 9
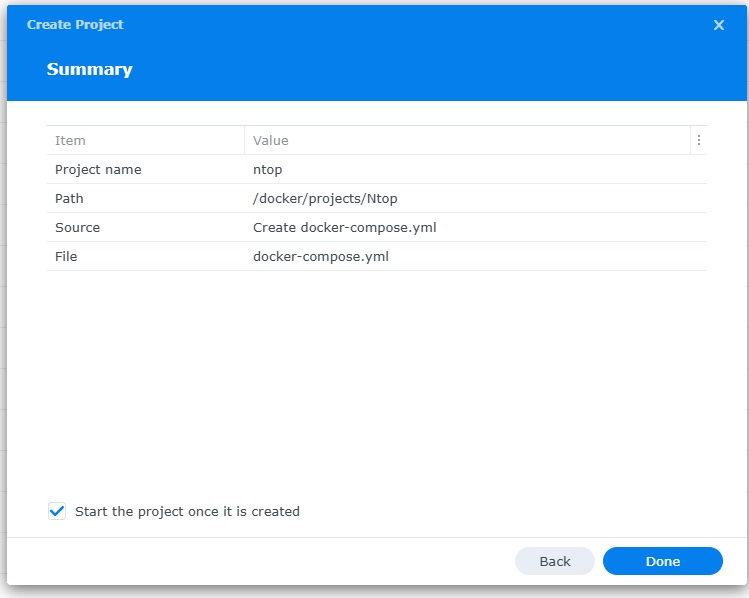
Thats it for this section, time to create the project.
Select Done
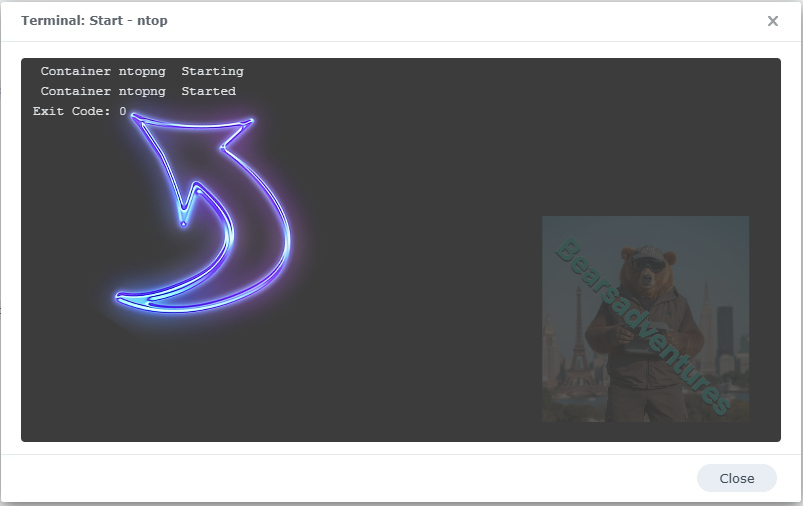
Step 10
If you have a Exit Code of 0 like i have below then you are done. project created. if you have a Exit code 1 you have a error and need to visit the code again and trouble shoot.
Step 11
One last thing you can check to see if the docker is Green and showing no Errors, todo that just goto Container manager and on the left select Projects and ntop will be there Status Colum should be green if not you will need to trouble shoot.

Step 12
now you can access you ntop using your browser.
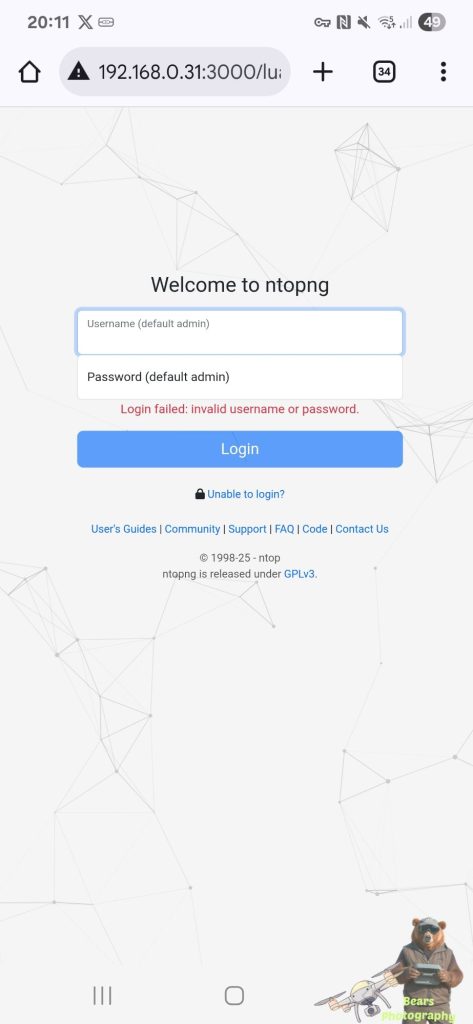
Type into your explorer your ntop IP Number and port number we setup. in my case 192.168.0.31:3000
The First time you login it is the default login.
username:admin
password:admin
Now you have login with the Default login details, you can now change the password.

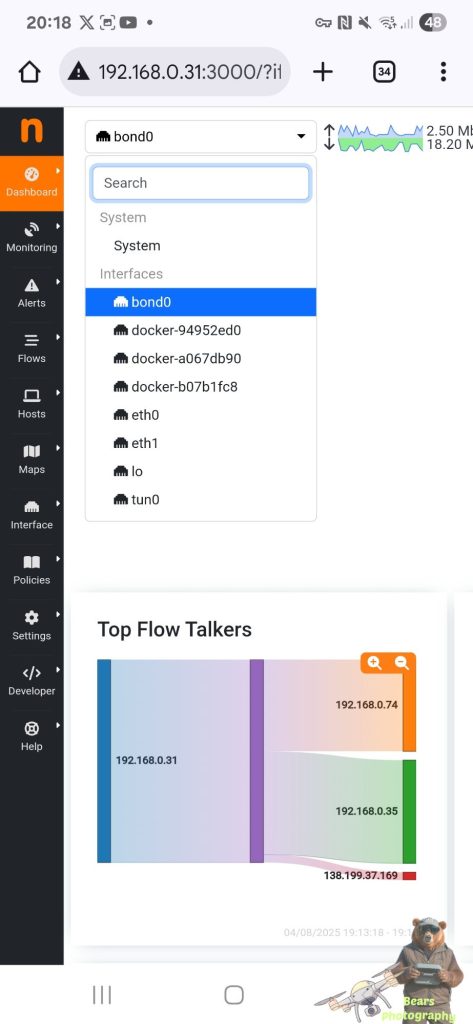
Now you in to the dashboard, you can navigate around a little, if you select the drop down box and select interface. Eth0 you will get all your traffic through your network interface. in my case for this project i have selected Bond0 as i have 2 networks connected together.
The Ip address is temporey for this project you will need to imput your Synology Ip Number for this to work.