




OMV Docker Brave
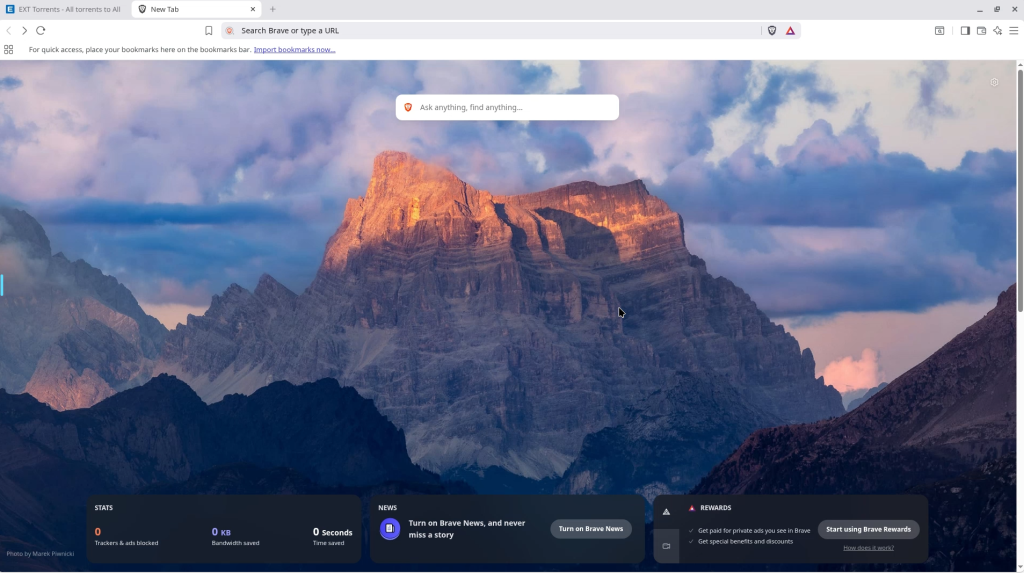
Brave is a privacy-centric web browser designed for speed, security, and an ad-free experience. Built on the Chromium engine, it supports Chrome extensions while automatically blocking intrusive ads, trackers, and third-party cookies to protect user anonymity. By eliminating these elements, Brave delivers web pages up to three times faster than conventional browsers. The browser introduces Brave Rewards, an optional system where users can view privacy-respecting ads to earn Basic Attention Tokens (BAT), which can be used to tip or support content creators. Brave enhances security with features like HTTPS Everywhere, fingerprinting protection, and script blocking, ensuring a safer online experience. Brave offers seamless synchronization across devices. With its clean interface and robust privacy tools, Brave is an excellent choice for users prioritizing a secure and efficient browsing experience. In this step by step guide I will show you how to install Brave on your OMV NAS using Docker
Step 1
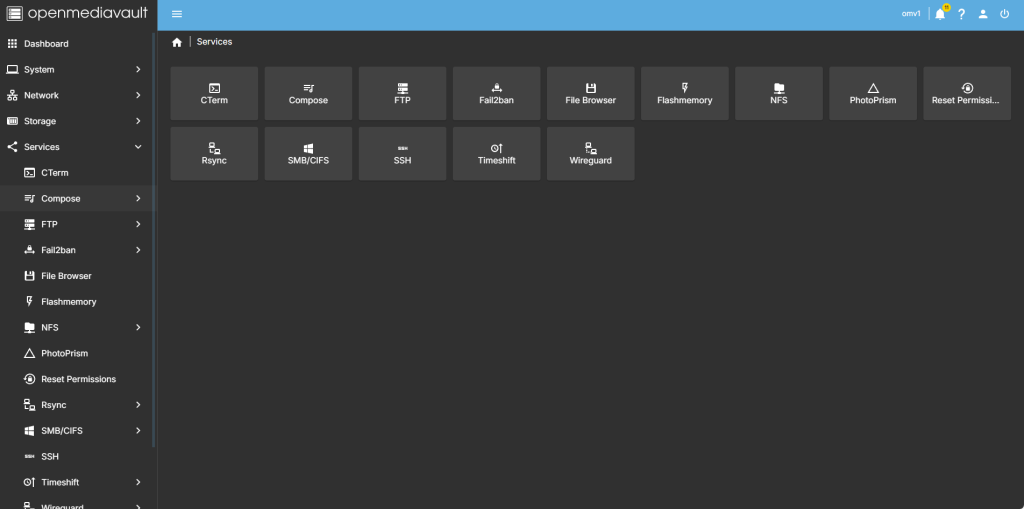
Head over to services compose, Do we can create the docker container.
Step 2
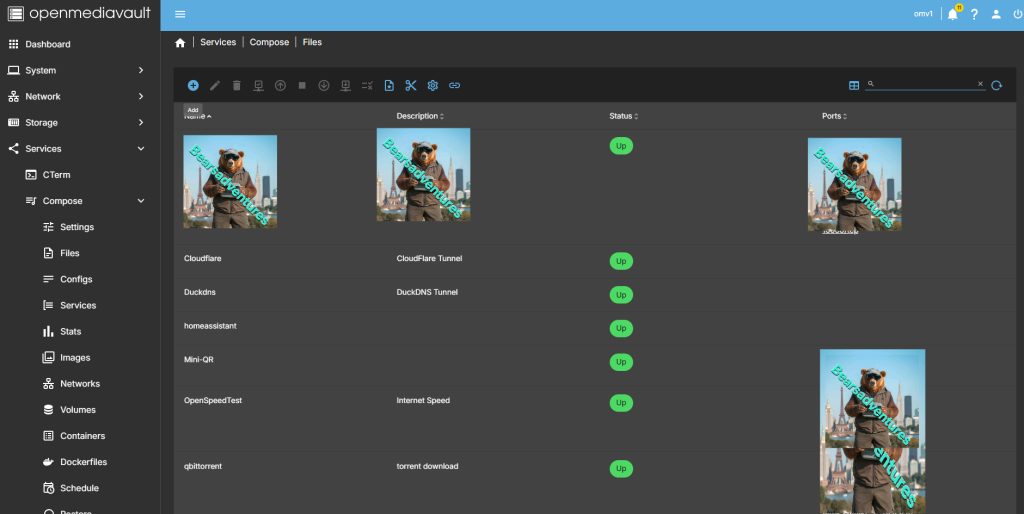
Now select file so we can create the compose file and deploy the container
Step 3
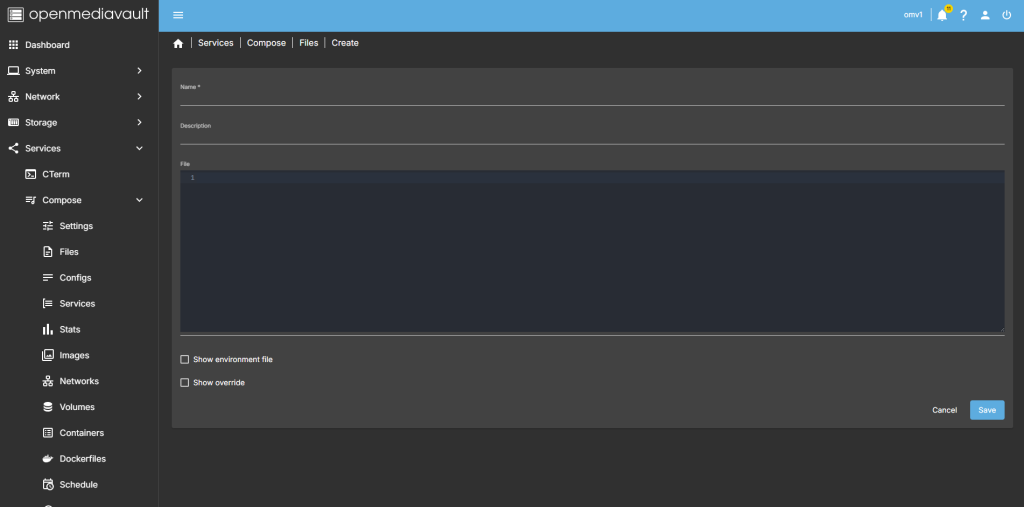
After you have selected the + symbel you will now see where you can add a name for the container and file details
Step 4
after filing in the details, you should have something like this
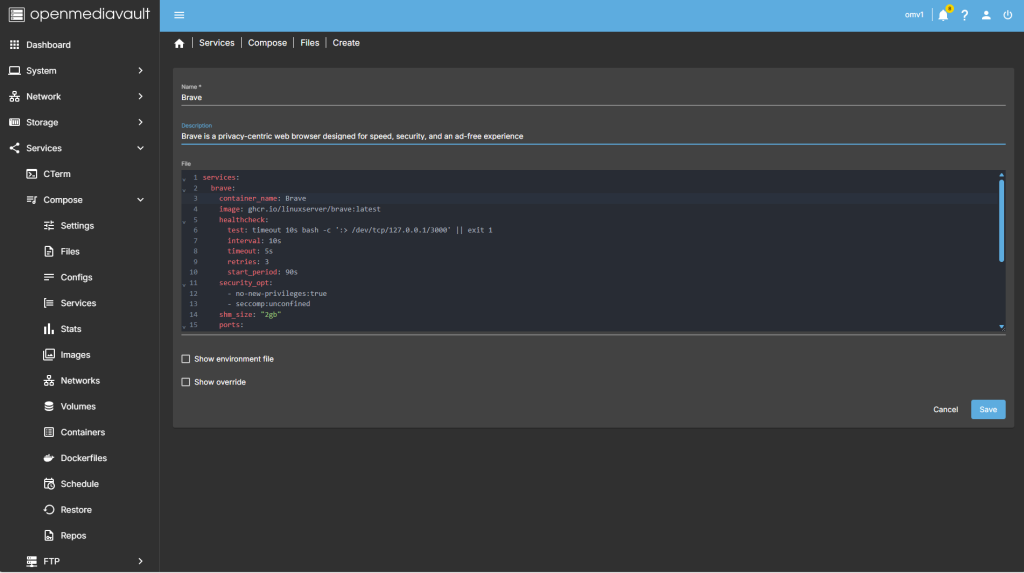
services:
  brave:
    container_name: Brave
    image: ghcr.io/linuxserver/brave:latest
    healthcheck:
      test: timeout 10s bash -c ':> /dev/tcp/127.0.0.1/3000' || exit 1
      interval: 10s
      timeout: 5s
      retries: 3
      start_period: 90s
    security_opt:
      - no-new-privileges:true
      - seccomp:unconfined
    shm_size: "2gb"
    ports:
      - 3934:3001
      - 3982:3000
    volumes:
      - /Baseshare/Docker/Data/brave:/config:rw
    environment:
     CUSTOM_USER: admin
     PASSWORD: password
     TZ: Europe/London
     PUID: 1026
     PGID: 100
    restart: on-failure:5
Step 5
All there is left todo is run the container,

Step 6
after pressing the up button on the dashboard, you should have the container now running
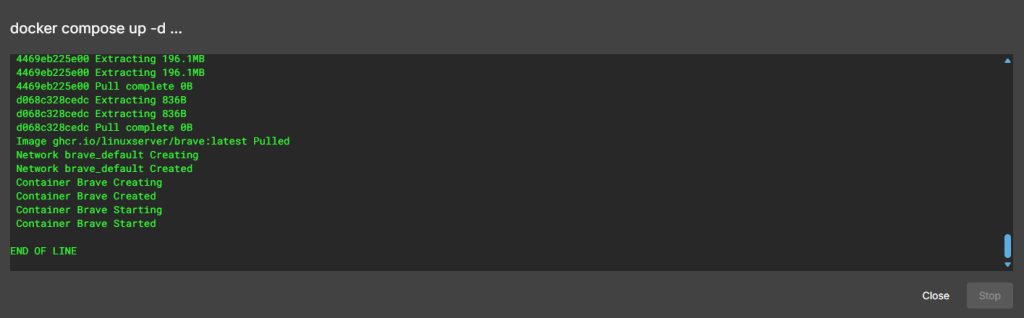
Running nicely port number is 1349

Step 7
Create a tunnel for the container.
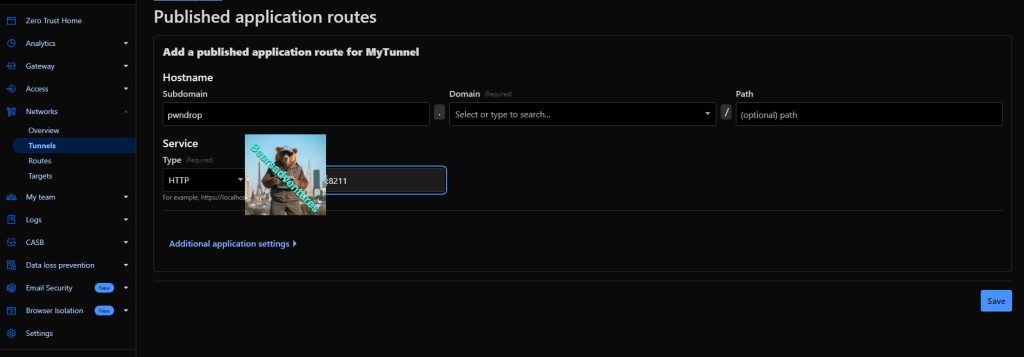
Step 8
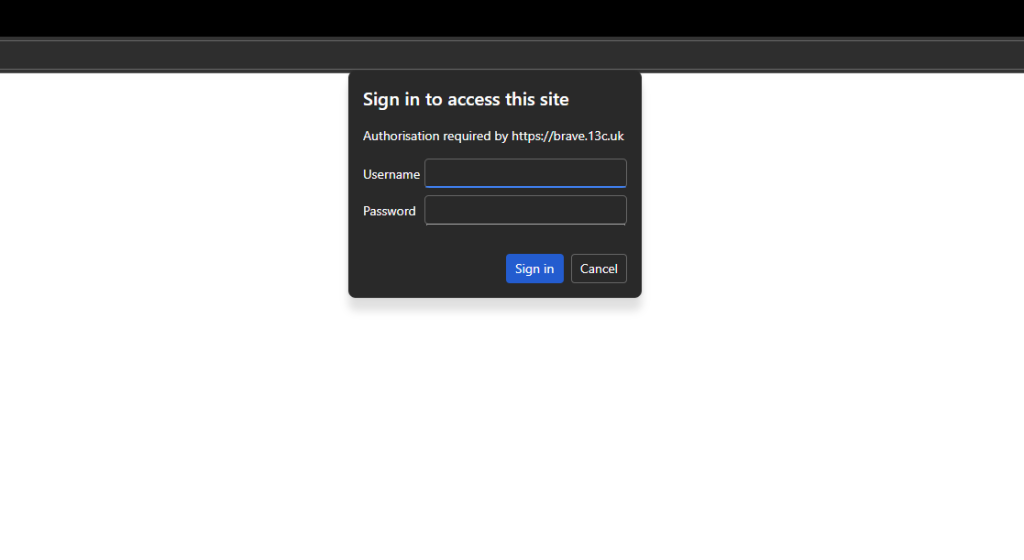
Now open your browser and type in http://Website:3982, The tunnel will now be working
Step 9
To login use the login details we Putin the container file.
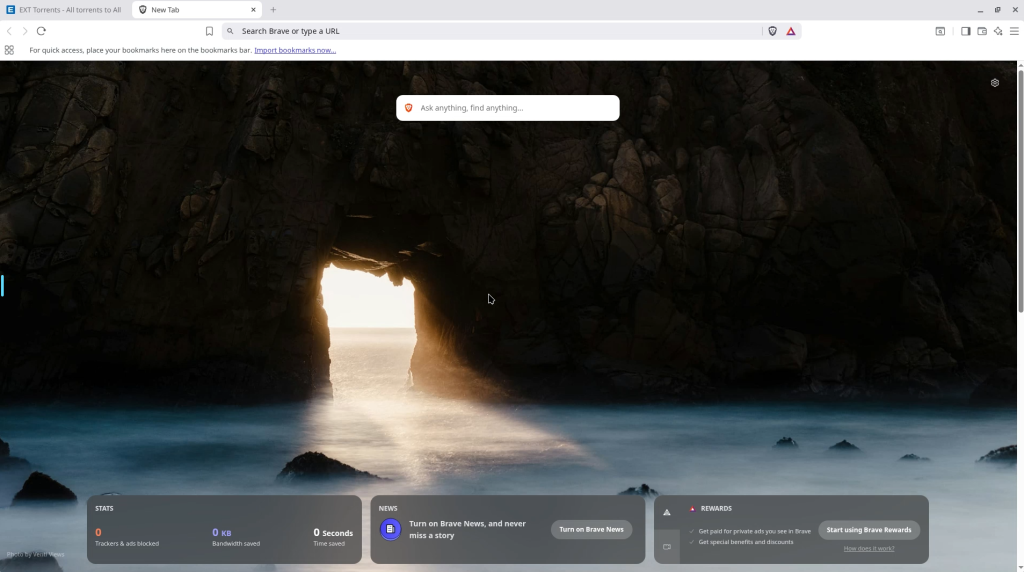
Now we are in, We can now search the web untracked.
Summary
At first i was abit unsure about this Browser, But to my surprise i can browse without being tracked. I also noticed this browser is much faster aswell. over all this is brilliant, Brave is loaded locally on your server so its like being at home so you can even login to things like Home assistant