


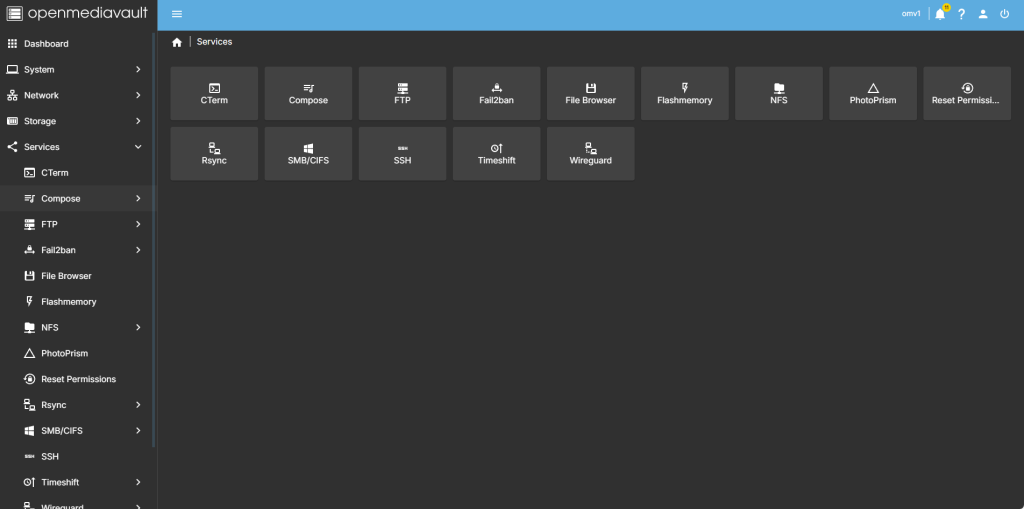
Step 1
head over to services compose
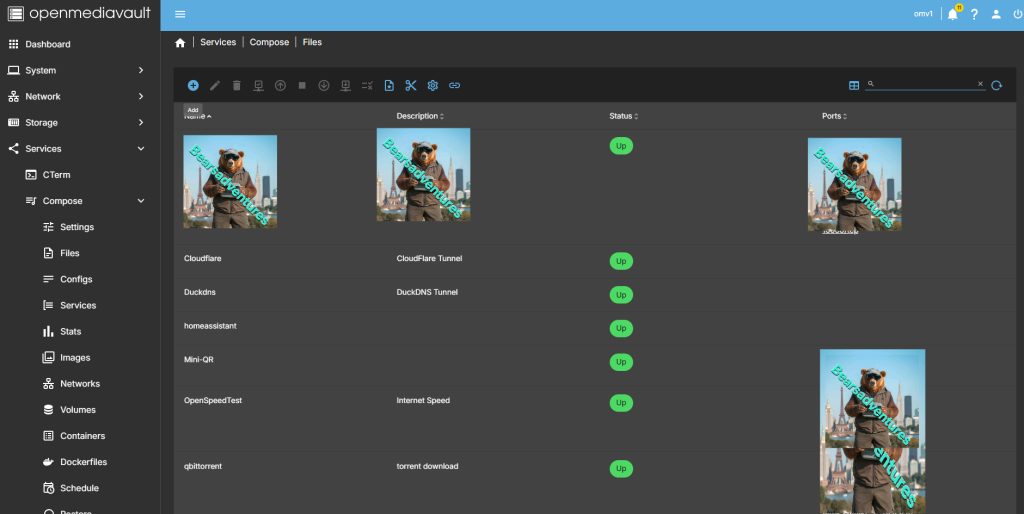
step 2
Now select file so we can create the compose file and deploy the container
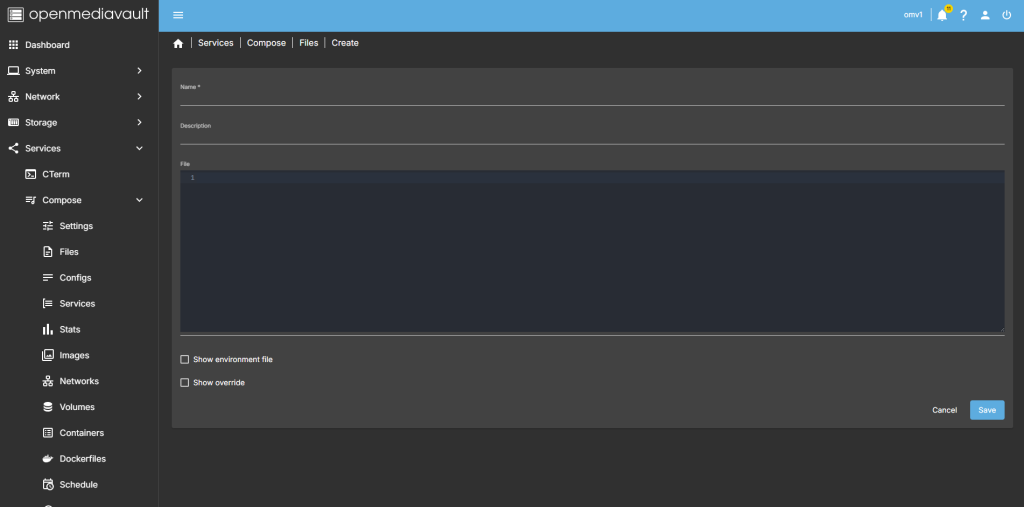
step 3
after you have selected the + symbel you will now see where you can add a name for the container and file details
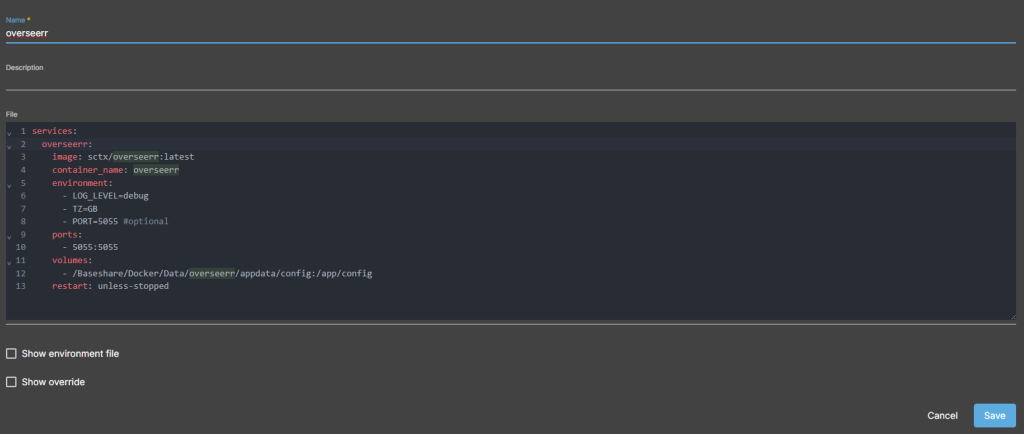
step 4
after filing in the details, you should have something like this
services:
  dailytxt:
    # choose the correct image tag
    image: phitux/dailytxt:2.x.x
    container_name: dailytxt
    restart: unless-stopped
    volumes:
      # Change the left path to your needs
      - /Baseshare/Docker/Data/dailytxt/appdata:/data
    environment:
      # Create a secret token by running: openssl rand -base64 32
      - SECRET_TOKEN=...

      # If you want to have the json-files pretty-printed, set some indent.
      # (Otherwise just remove the line)
      - INDENT=4

      # Allow new user registrations.
      # I strongly recommend to keep this disabled except for the first user.
      # You can later temporarily enable it again in the admin panel.
      - ALLOW_REGISTRATION=true

      # Set the Admin-Password (for the admin-panel).
      - ADMIN_PASSWORD=your_admin_password

      # After how many days shall the login-cookie expire?
      - LOGOUT_AFTER_DAYS=40

      # Set the BASE_PATH if you are running DailyTxT under a subpath (e.g. /dailytxt).
      # - BASE_PATH=/dailytxt
    ports:
      # Change the left port to your needs.
      # You often would only see 8000:80. But this way, port 8000 is publicly accessible (without TLS!).
      - 127.0.0.1:8000:80
step 5
all there is left todo is run the container,

step 6
after pressing the up button on the dashboard, you should have the container now running
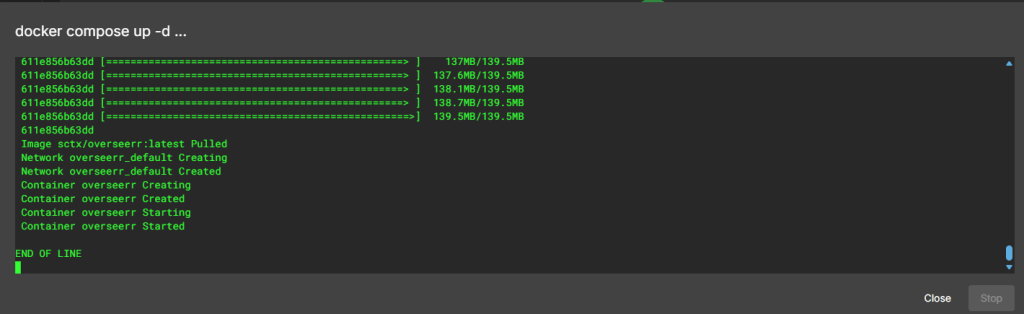
Running nicly port number is 5055

step 7
create a tunnel for the container
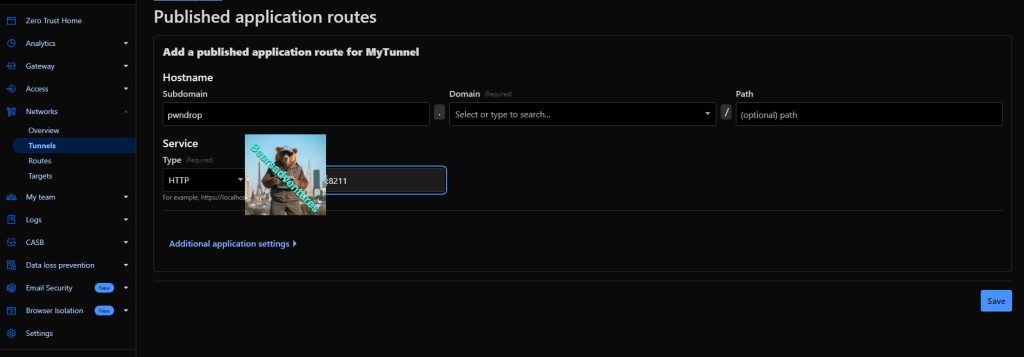
step 8 try the tunnel
step 9
create a account
step 10
we are in