


OMV Docker WordPress
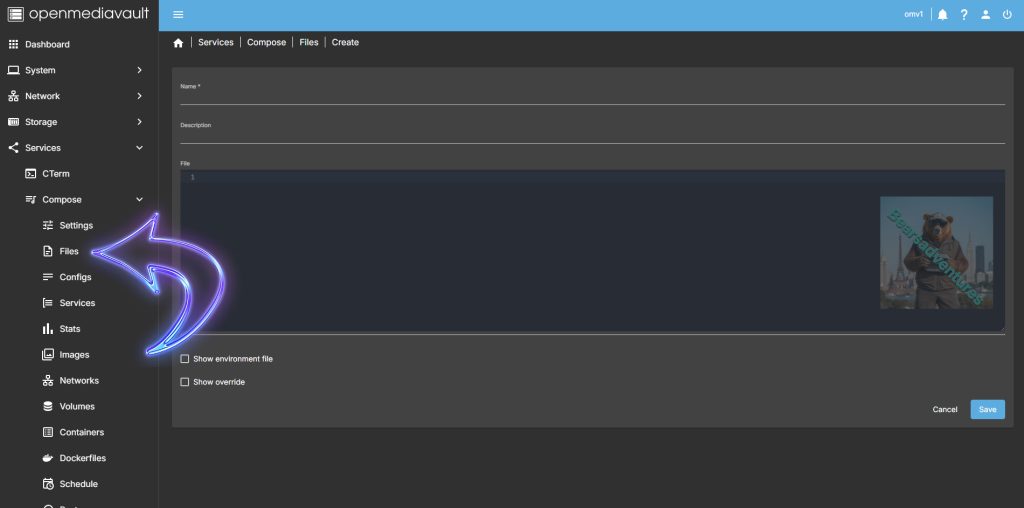
Step 1
Head over to Services / Compose / Files so we then can add the Text needed to create the docker compose file.
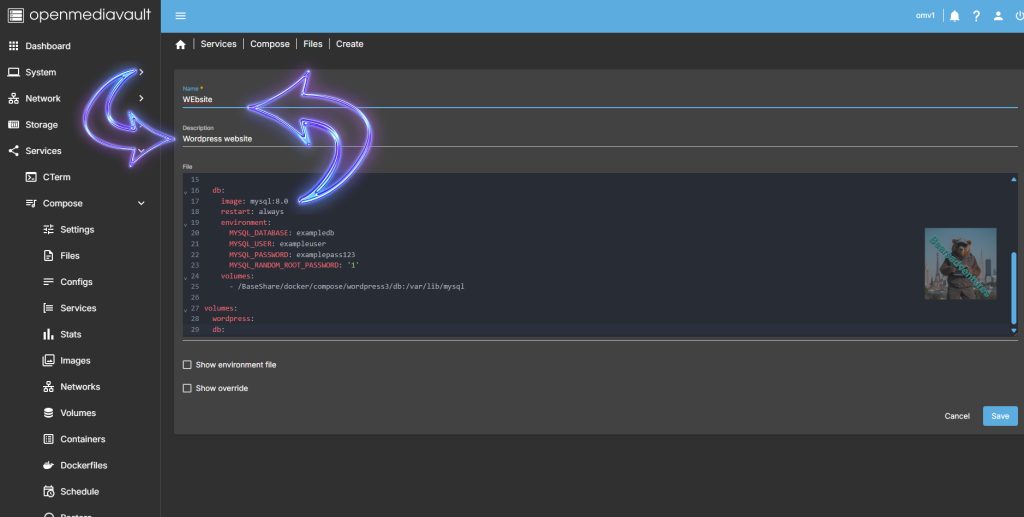
Step 2
After you have copied the file content remember to put a Description and Title for the docker project.
Step 3
Save the project ready to launch for the first time.
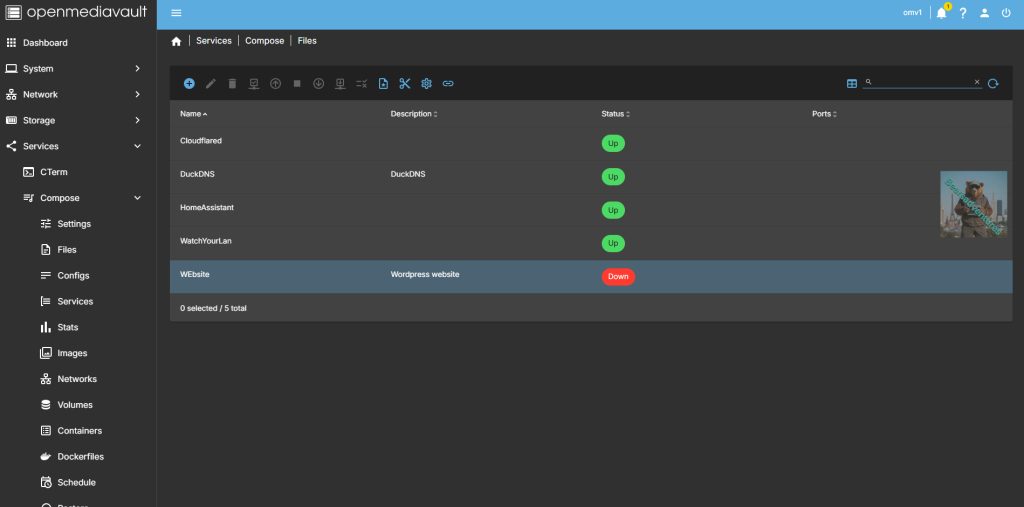
Step 4
Select the project and make a cuppa it takes awhile for the files for WordPress tobe pulled from the internet
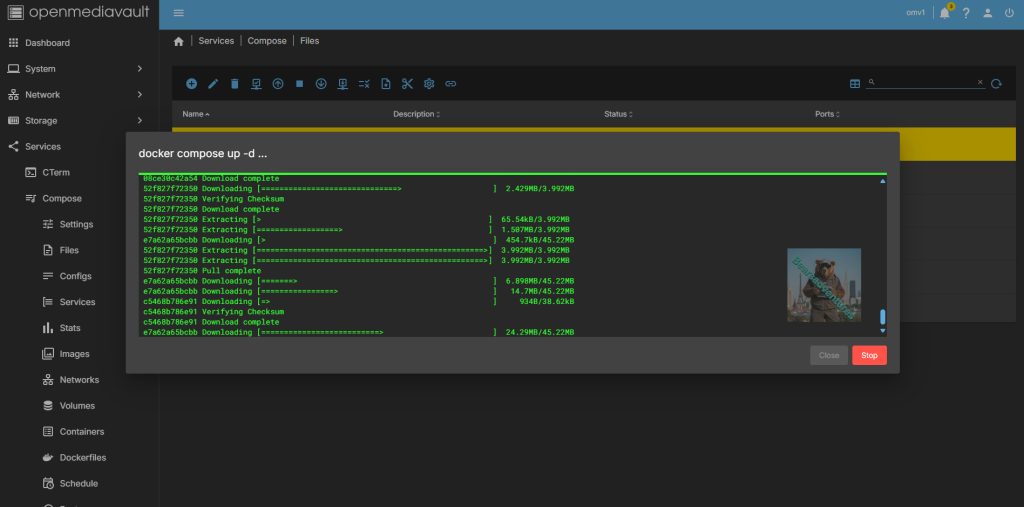
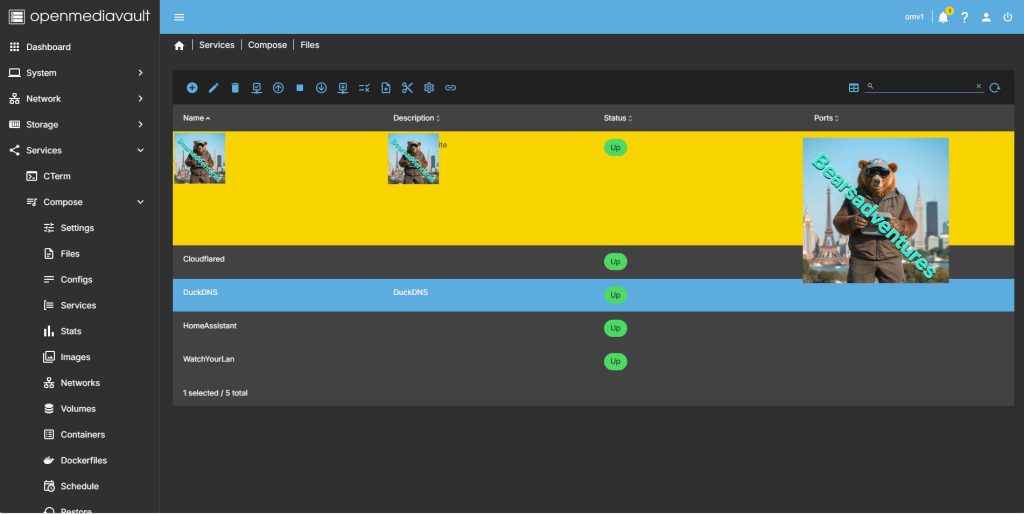
Step 5
when you get END OF FILE. That’s the project complete and ready to run
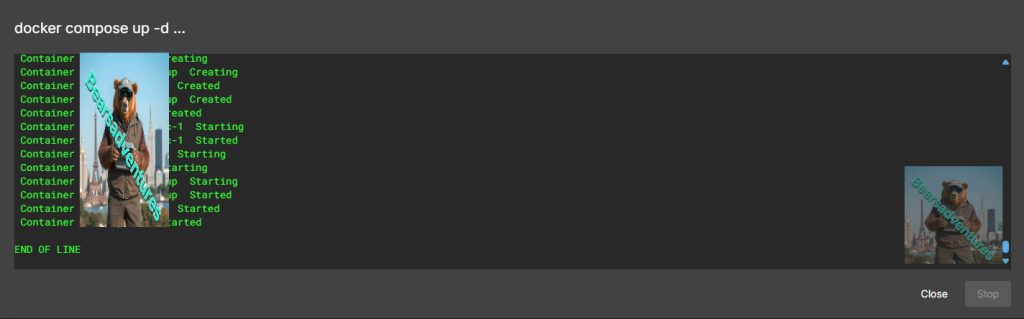
If you have no errors the WordPress docker will launch
Step 6
Last step is to run over to the site you have just created in this case. Load internet explorer and type in https://192.168.0.174:5151. IP number and port number. when you purchase your domain you can direct traffic to it using the tunnel method.
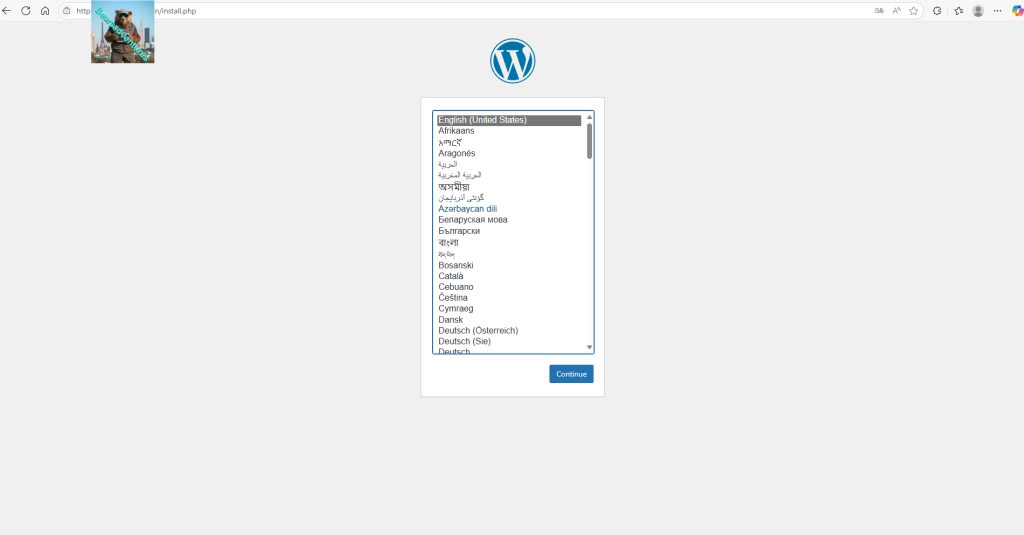
If you just need the basics for a site this is perfect
services:

  wordpress:
    image: wordpress
    restart: always
    ports:
      - 8383:80
    environment:
      WORDPRESS_DB_HOST: db
      WORDPRESS_DB_USER: exampleuser
      WORDPRESS_DB_PASSWORD: examplepass123
      WORDPRESS_DB_NAME: exampledb
    volumes:
      - /BaseShare/docker/compose/wordpress3:/var/www/html

  db:
    image: mysql:8.0
    restart: always
    environment:
      MYSQL_DATABASE: exampledb
      MYSQL_USER: exampleuser
      MYSQL_PASSWORD: examplepass123
      MYSQL_RANDOM_ROOT_PASSWORD: '1'
    volumes:
      - /BaseShare/docker/compose/wordpress3/db:/var/lib/mysql

volumes:
  wordpress:
  db:
This is a more advanced docker file
version: "3"
services:
  wp:
    image: wordpress:latest
    restart: unless-stopped
    ports:
      - 5010:80
    volumes:
      - ./config/wp_php.ini:/usr/local/etc/php/conf.d/conf.ini
      - ./wp-app:/var/www/html # Full wordpress project
    environment:
      WORDPRESS_DB_HOST: wp-db:3306
      WORDPRESS_DB_NAME: "${DB_NAME}"
      WORDPRESS_DB_USER: "${DB_USER}"
      WORDPRESS_DB_PASSWORD: "${DB_PASSWORD}"
    depends_on:
      - wp-db
  wp-db:
    image: mysql:latest
    volumes:
      - ./db_data:/var/lib/mysql
    restart: unless-stopped
    environment:
      MYSQL_ROOT_PASSWORD: "${DB_ROOT_PASSWORD}"
      MYSQL_DATABASE: "${DB_NAME}"
      MYSQL_USER: "${DB_USER}"
      MYSQL_PASSWORD: "${DB_PASSWORD}"
  pma:
    image: phpmyadmin:latest
    ports:
      - 5011:80
    volumes:
      - ./config/pma_php.ini:/usr/local/etc/php/conf.d/conf.ini
      - ./config/pma_config.php:/etc/phpmyadmin/config.user.inc.php
    restart: unless-stopped
    environment:
      # https://docs.phpmyadmin.net/en/latest/setup.html#docker-environment-variables
      PMA_HOST: wp-db
      PMA_PORT: 3306
      MYSQL_ROOT_PASSWORD: "${DB_ROOT_PASSWORD}"
      UPLOAD_LIMIT: 50M
    depends_on:
      - wp-db
  wp-db-backup:
    container_name: wp-db-backup
    image: tiredofit/db-backup
    volumes:
      - ./backups:/backup
    restart: unless-stopped
    environment:
      DB_TYPE: mysql
      DB_HOST: wp-db
      DB_NAME: "${DB_NAME}"
      DB_USER: "${DB_USER}"
      DB_PASS: "${DB_PASSWORD}"
      DB_BACKUP_INTERVAL: 720
      DB_CLEANUP_TIME: 72000
      #DB_BACKUP_BEGIN: 1
      CHECKSUM: SHA1
      COMPRESSION: GZ
      CONTAINER_ENABLE_MONITORING: "false"
    depends_on:
      - wp-db
Problem Solving
disable FTP
WordPress plugin install: Could not create directory to add user credentials for wordpress
for me i used this code in shell. remember to use sudo of it will not work.
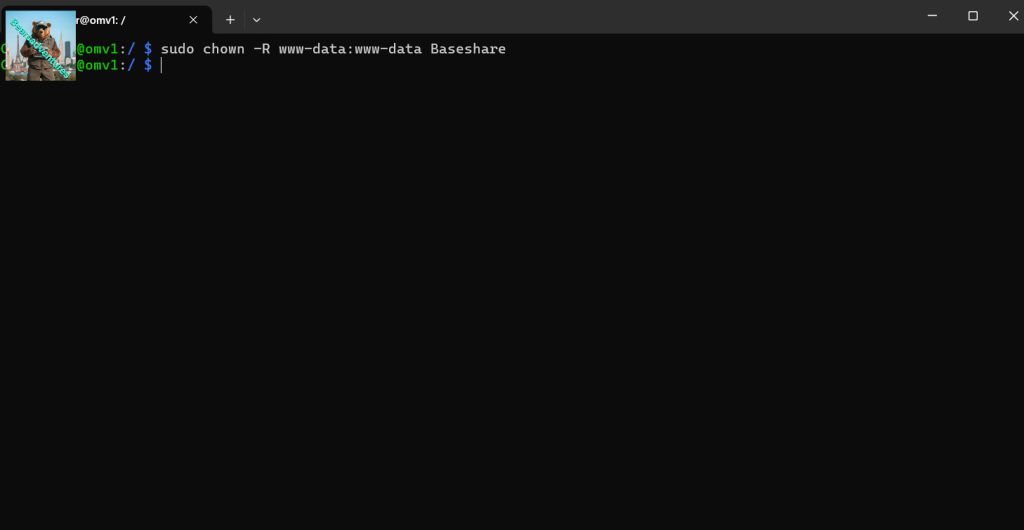
sudo chown -R www-data:www-data BaseshareYou only need to change the access permissions for your WordPress Directory:
chown -R www-data:www-data your-wordpress-directory