Step 1
head over to services compose

step 2
Now select file so we can create the compose file and deploy the container
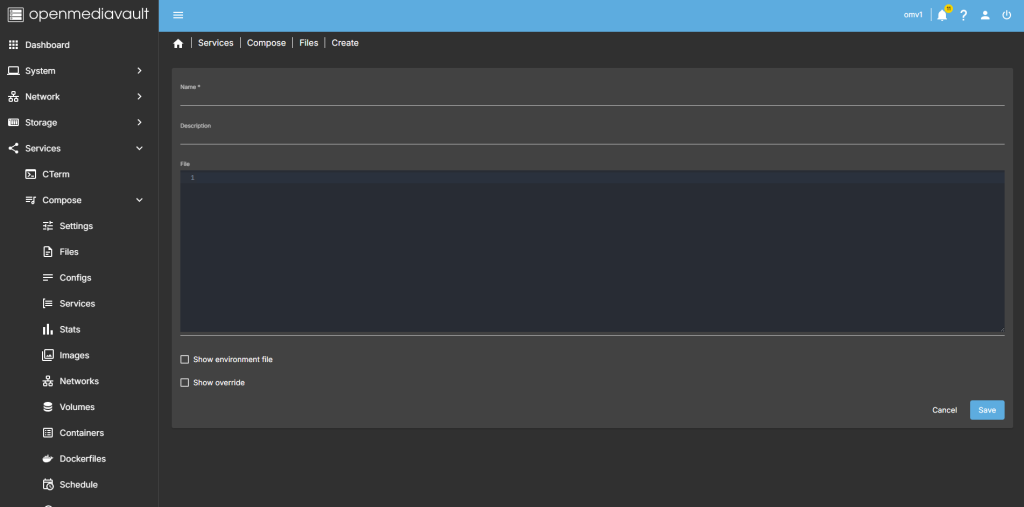
step 3
after you have selected the + symbel you will now see where you can add a name for the container and file details
step 4
after filing in the details, you should have something like this
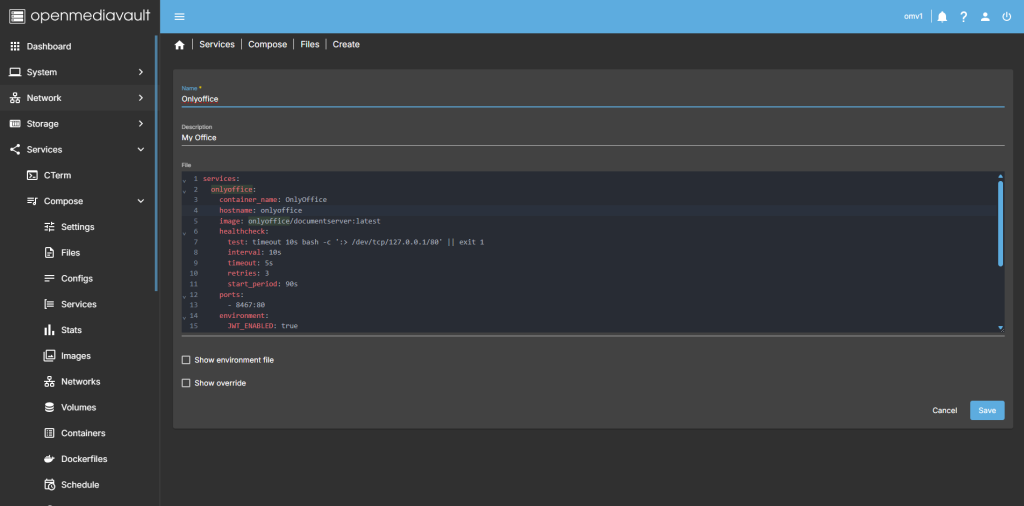
change the value for JWT_SECRET. (Generate your own 64 length JWT_SECRET.)
services:
  onlyoffice:
    container_name: OnlyOffice
    hostname: onlyoffice
    image: onlyoffice/documentserver:latest
    healthcheck:
      test: timeout 10s bash -c ':> /dev/tcp/127.0.0.1/80' || exit 1
      interval: 10s
      timeout: 5s
      retries: 3
      start_period: 90s
    ports:
      - 8467:80
    environment:
      JWT_ENABLED: true
      JWT_SECRET: XYALLGWedwORDAZDQ3HGzHd10mXuoKgAFPUVxB1y03Pijvp58EX9sf8IGut5b4fV
    volumes:
      - /Baseshare/Docker/Data/onlyoffice/logs:/var/log/onlyoffice:rw
      - /Baseshare/Docker/Data/onlyoffice/data:/var/www/onlyoffice/Data:rw
      - /Baseshare/Docker/Data/onlyoffice/redis:/var/lib/redis:rw
      - /Baseshare/Docker/Data/onlyoffice/rabbitmq:/var/lib/rabbitmq:rw
      - /Baseshare/Docker/Data/onlyoffice/lib:/var/lib/onlyoffice:rw
      - /Baseshare/Docker/Data/onlyoffice/fonts:/usr/share/fonts/truetype/custom:rw
      - /Baseshare/Docker/Data/onlyoffice/database:/var/lib/postgresql:rw
    restart: on-failure:5
Step 5
all that is left todo is run the container,

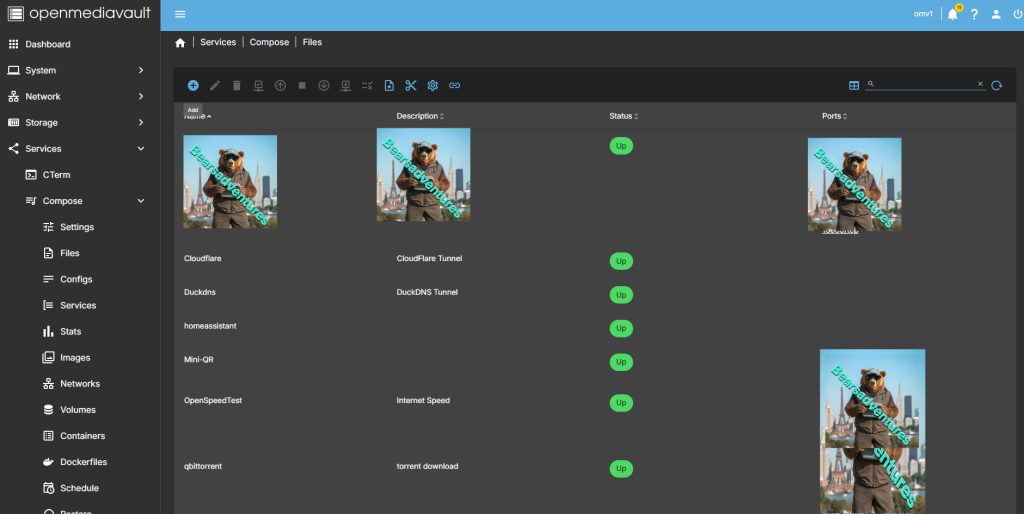
Step 6
after pressing the up button on the dashboard, you should have the container now running
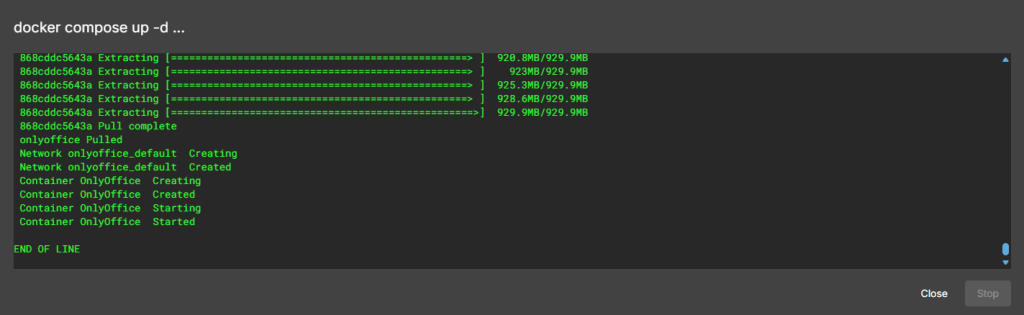
Running nicely port number is 8467

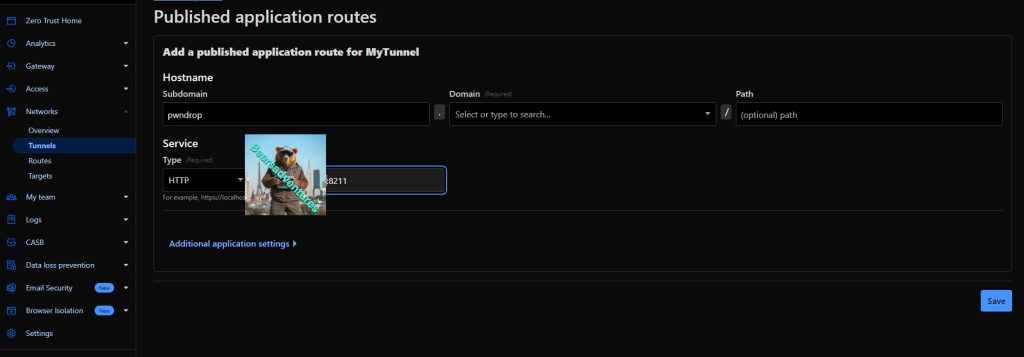
Step 7
create a tunnel for the container
Step 8
Run this command to start
sudo docker exec -ti OnlyOffice supervisorctl start ds:example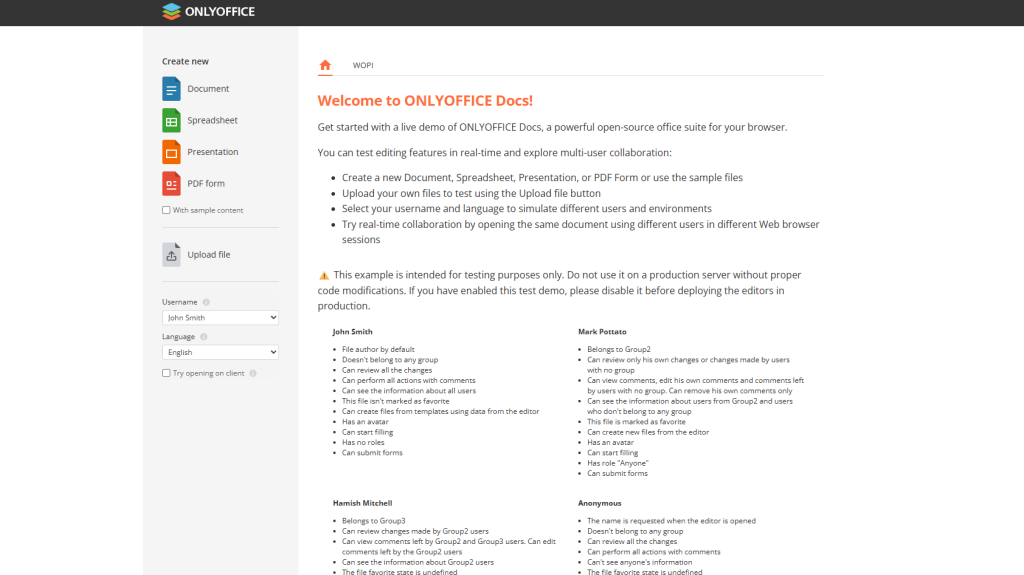
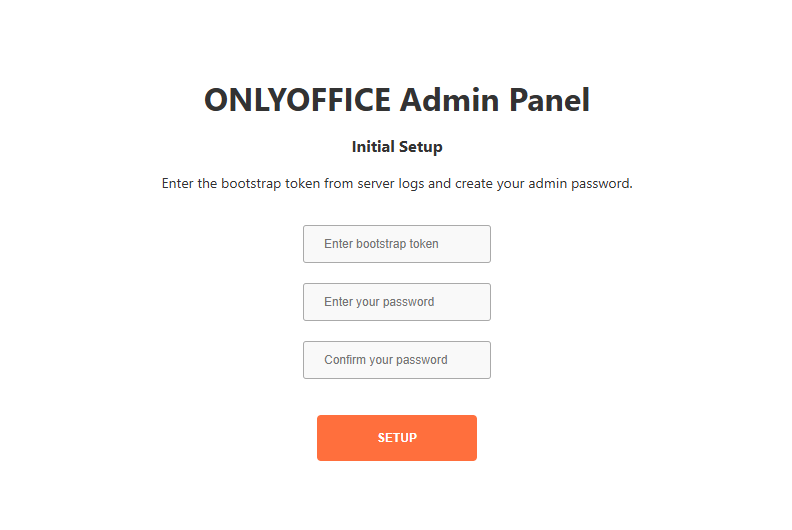
step 9
start admin panel
sudo docker exec -ti OnlyOffice supervisorctl start ds:adminpanel