


Creating Shared Folder For OMV
Step 1
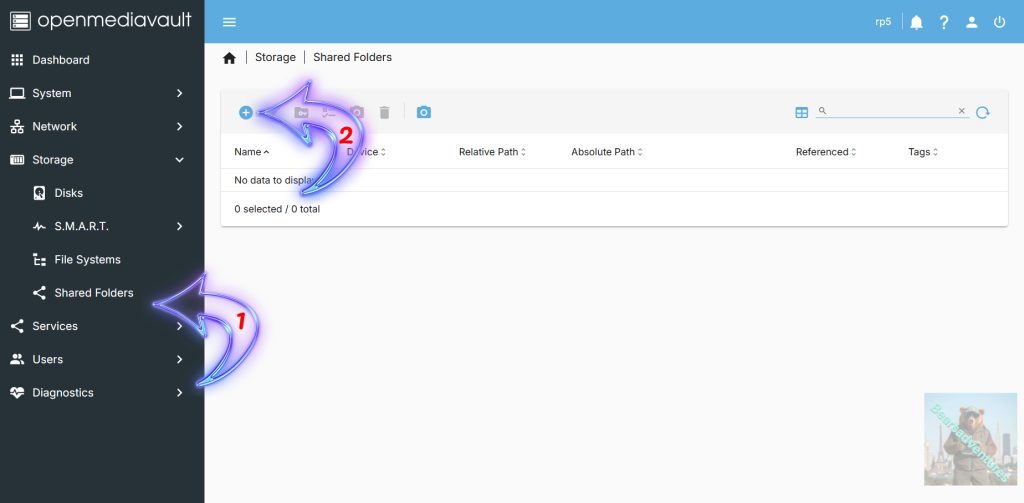
Our next step is to create an OpenMediaVault shared folder on to our newly mounted filesystem. To begin the process of creating this shared folder, click the “Shared Folders” option (Arrow with 1 inside).
Next, click the plus symbol button at the top of the list (Arrow with 2 inside).
Step 2
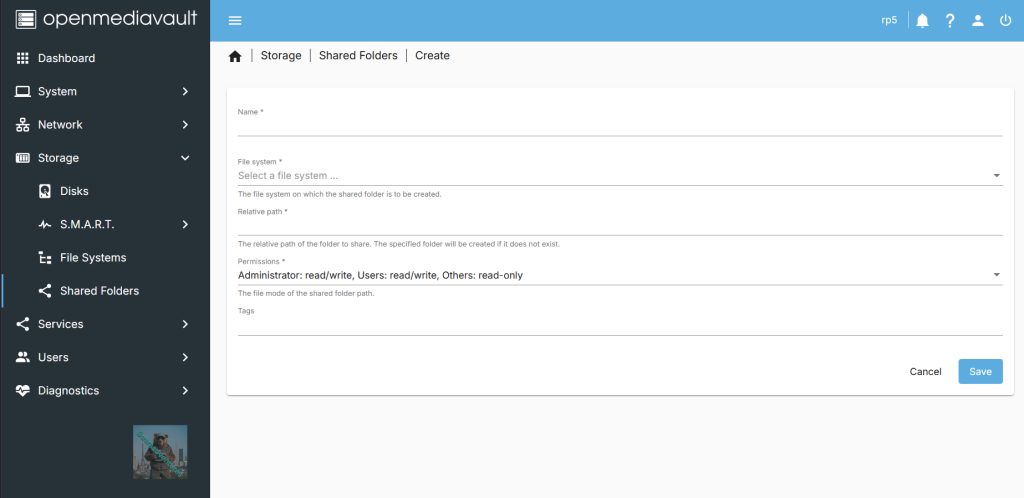
some key things we need to think about on here before we create the share Folder. Name of the Share, Folder location, who is accessing the folder and file system we are going to use.
Step 3
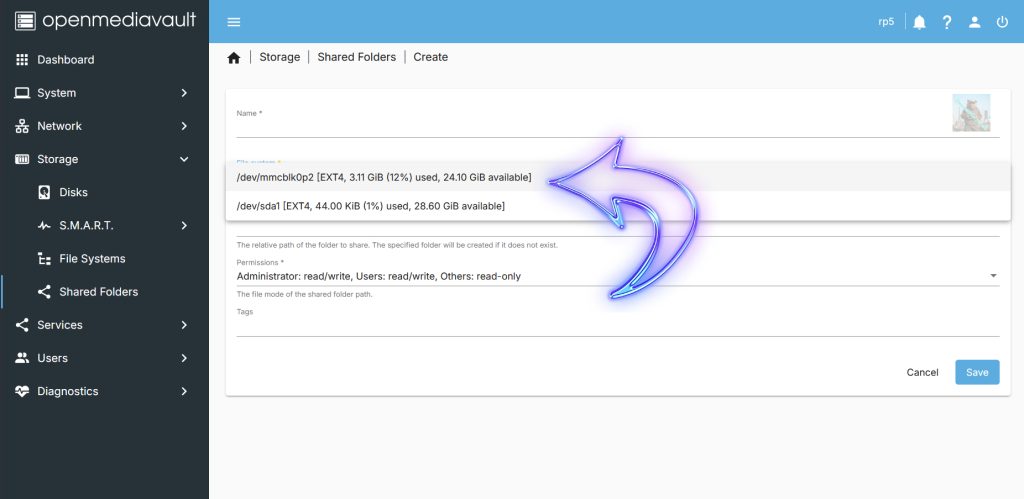
First we are going to select the file system that we want the chare tobe on.
Step 4
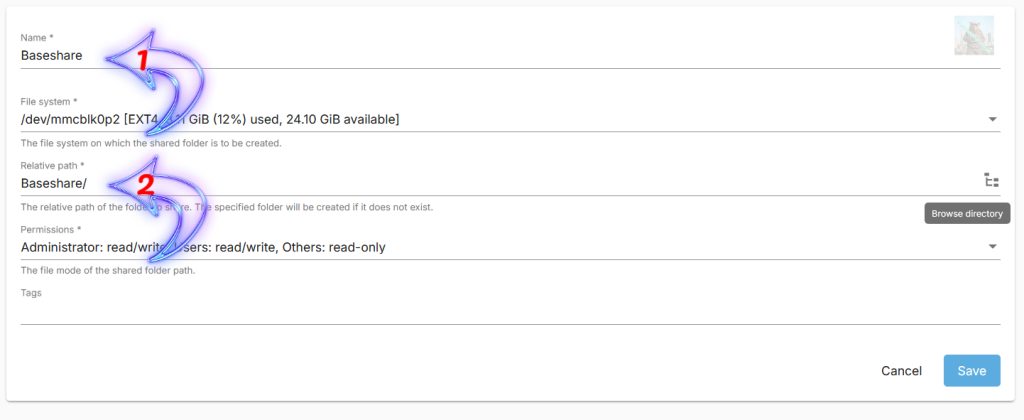
Give the Share a Name Baseshare(Arrow with 1 inside), This will also populate the relative share path(Arrow with 2 inside) aswell.
Step 5
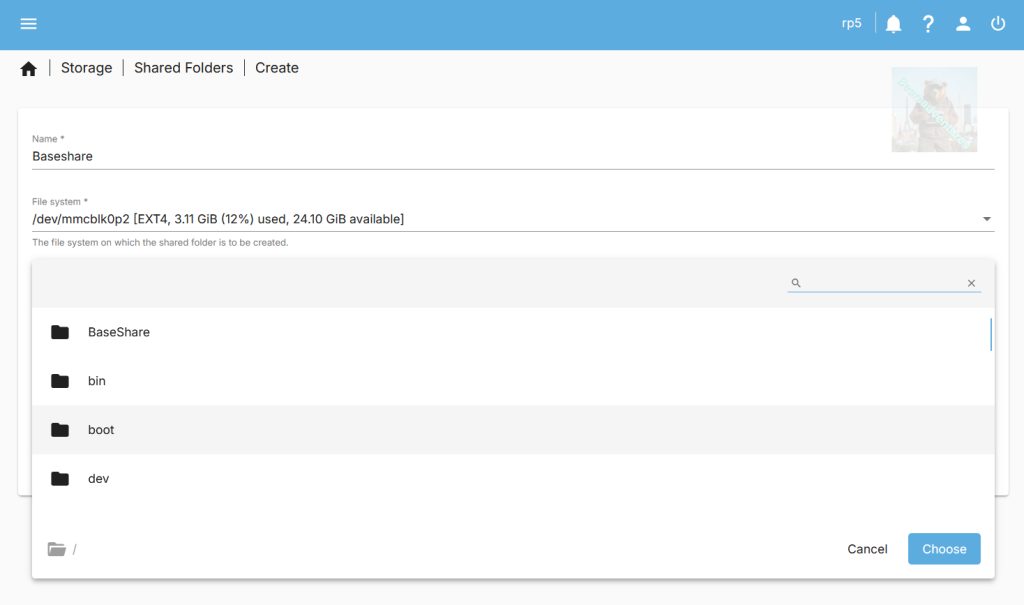
Use the Tree View to select where you want the folder tobe, you can select a folder and then add another folder on top of that.
i want the Baseshare tobe at the root of the drive.
My example : “Baseshare/”
Other “Baseshare/Docker/”
Step 6
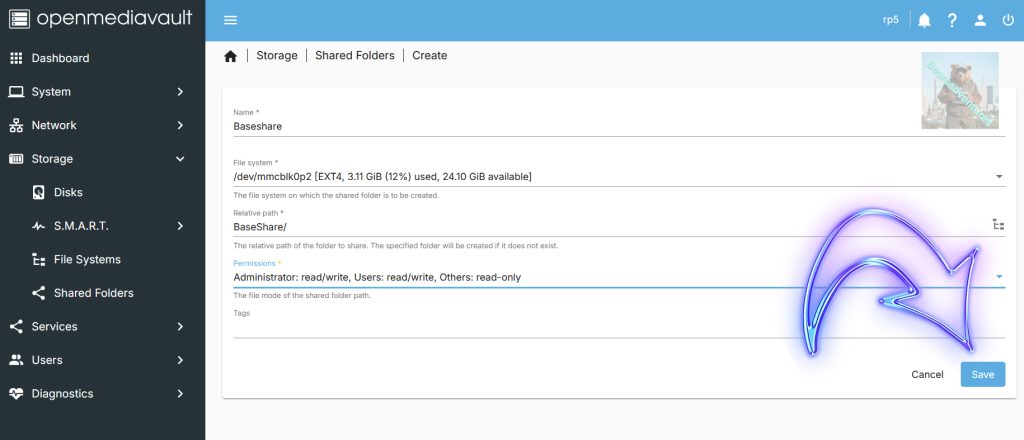
Now everything is set all i need todo now is save.
Step 7
Action all pending Tasks
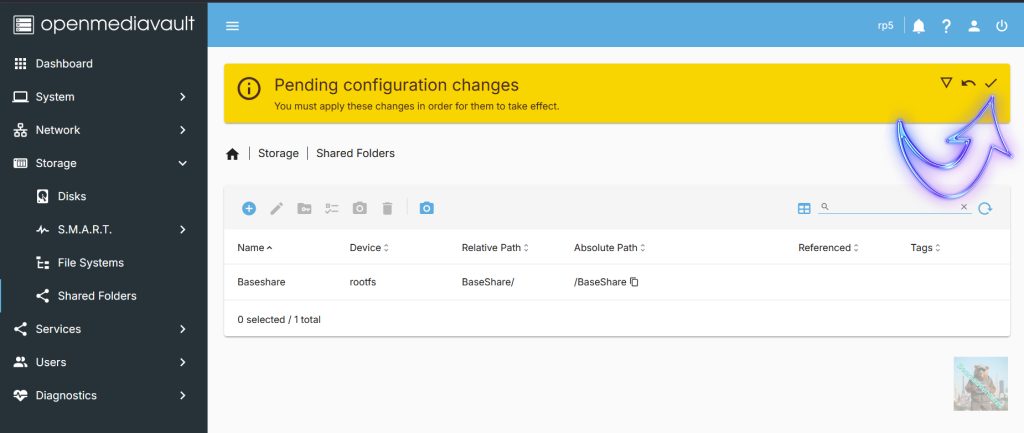
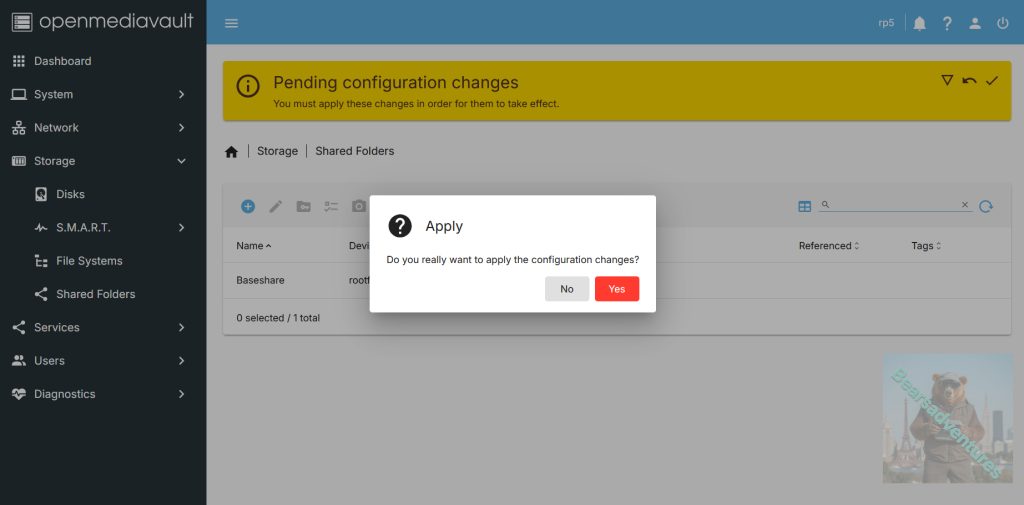
Before OpenMediaVault will create this new folder you will need to confirm the pending change.
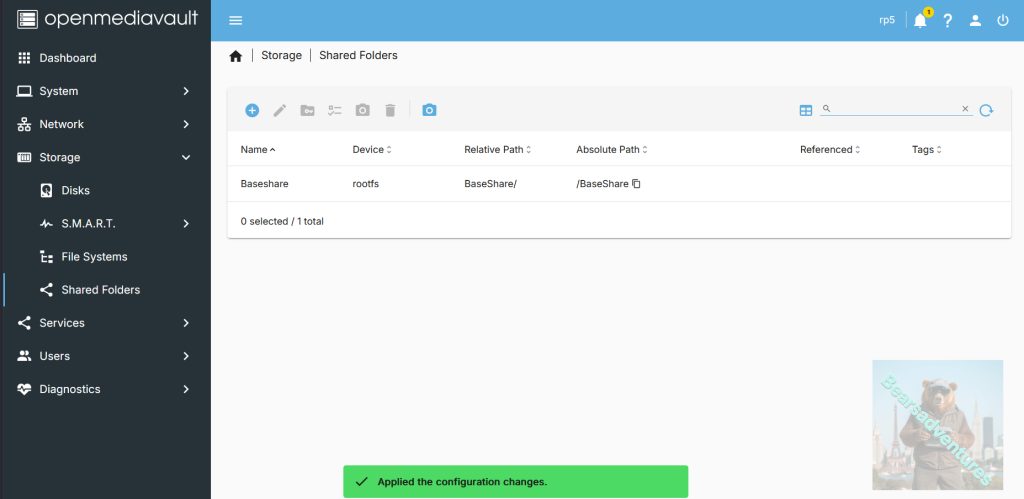
Thats Now complete
Enabling SAMBA/CIFS within OpenMediaVault
Step 8
Due to the way OpenMediaVault works, your shared folders won’t actually be “shared” until you enable a protocol such as SMB. On top of this, each shared folder then must be individually enabled for that protocol.
Over these next few steps, we will show you how you can enable SMB in OMV and share a folder.
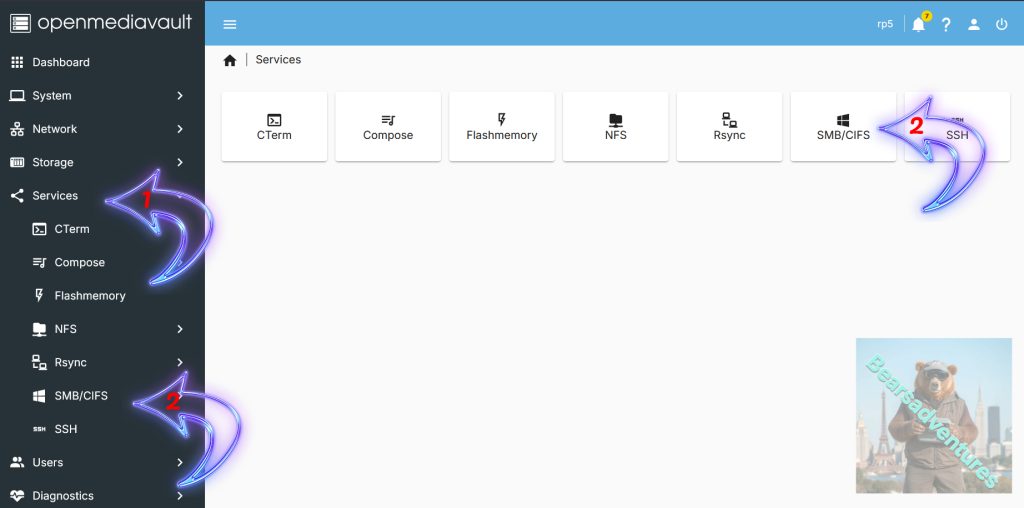
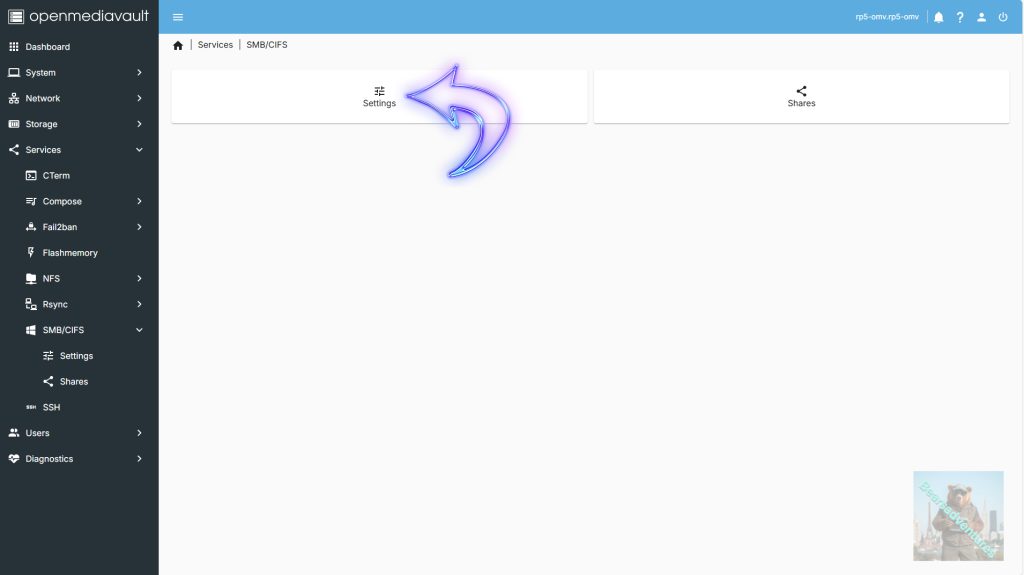
To begin enabling this functionality you will want to first click “Services” in the sidebar (Arrow with 1 inside).
Next, you will want to select the option labelled “SMB/CIFS” (Arrow with 2 inside).
Step 9
You will now be greeted by two options, “Settings” and “Shares“.
Before we can begin adding shares to SMB, we will need to enable SMB on OpenMediaVault by selecting the “Settings” option.
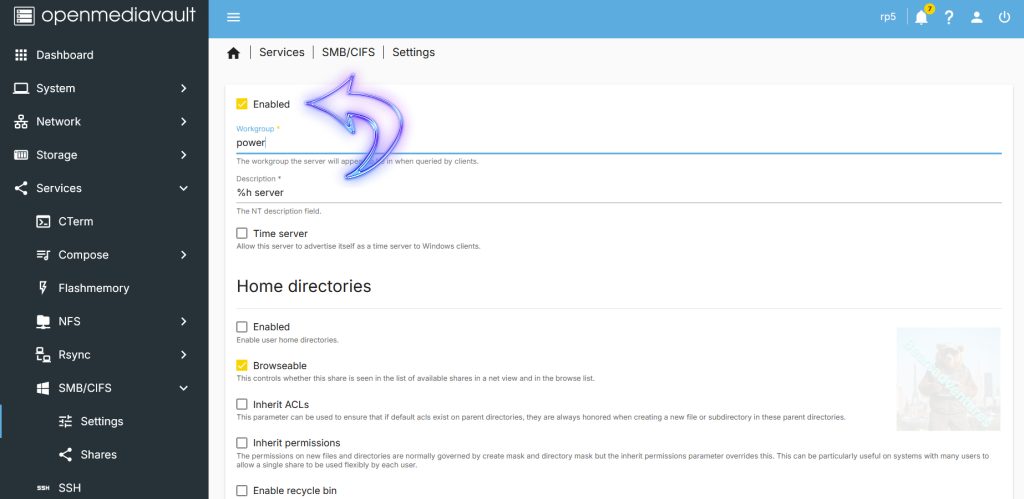
Step 10
Within this page, click the “Enable” toggle (Arrow). This toggle will switch on support for SMB/CIFS on your Raspberry Pi.
Once enabled, click the “Save” button, scroll down to the bottom of the page to find SAVE.
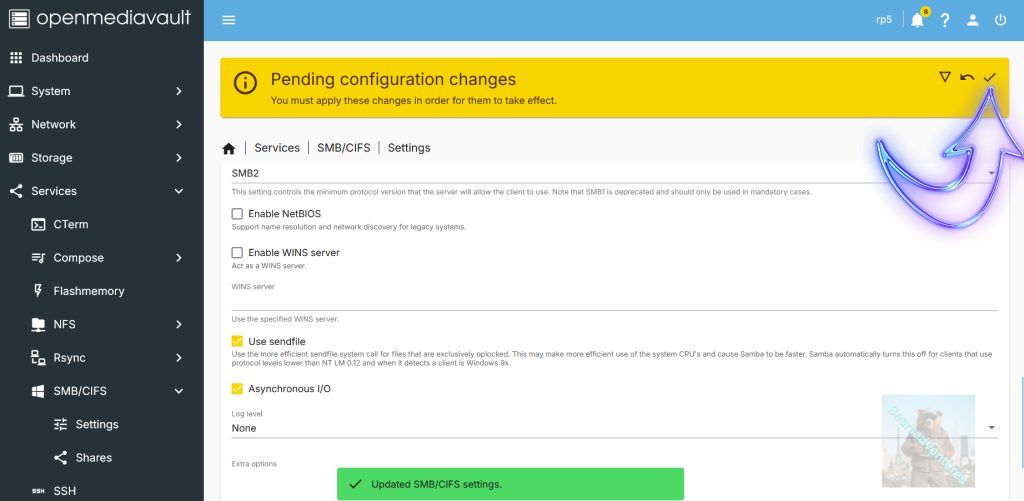
Step 11
Before SMB is enabled you will need to confirm these pending changes by clicking the tick icon.
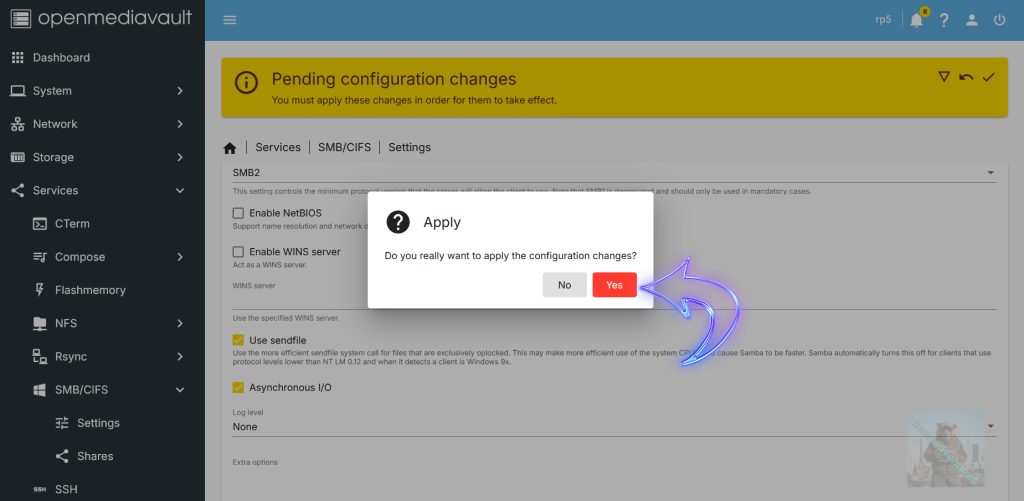
Step 12
Next, click the “Yes” button to enable SMB shared drives on your OpenMediaVault installation on your Raspberry Pi.
Adding a Shared Folder to SMB on OpenMediaVault
Step 13
With SMB/CIFS now enabled on our Raspberry Pi 5 OMV, we need to add an actual share. Your shared folders won’t automatically be shared over the various services that OpenMediaVault supports.
To add an SMB share, you will need to click the “Shares” option in the sidebar (Arrow with 2 inside).
Within this screen, click the “+” button (Arrow with 2 inside).
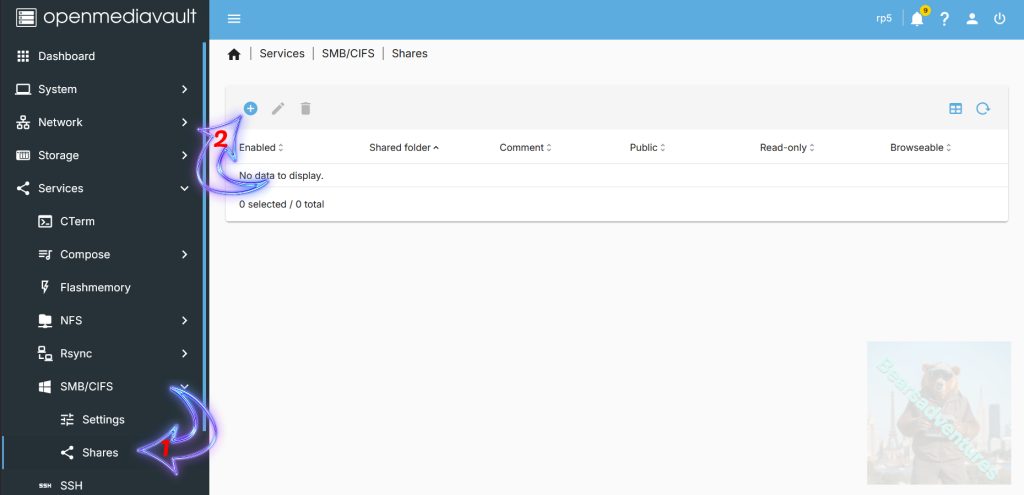
Select Enabled to activate the share.

Step 14
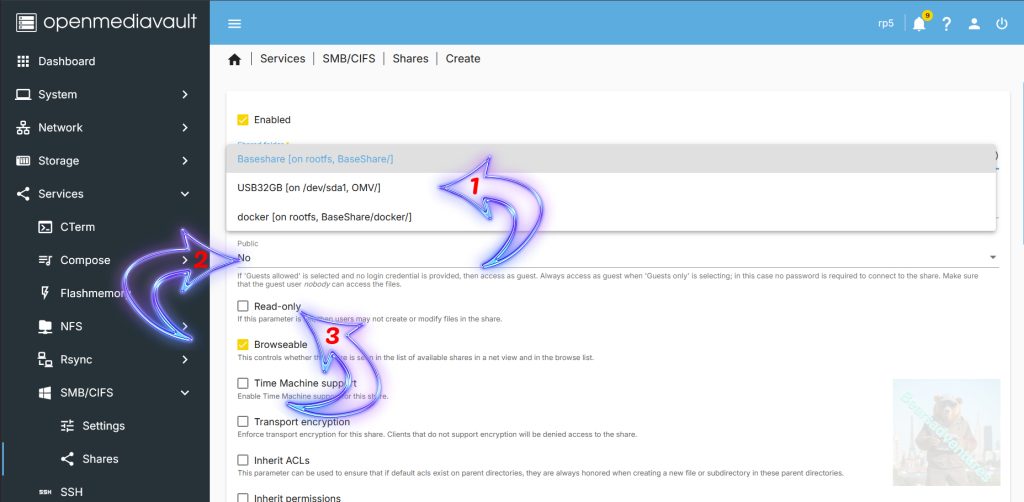
Within the “Add Share” dialog, there is a couple of things you will need to take into consideration.
- The first thing you need to do is select the “Shared folder” (Arrow with 1 inside). This option will show you a list of the shared folders you have created. You should have a shared folder from earlier in this guide.
- The next important option here is the “Public” option (Arrow with 2 inside). Using this option, you can dictate whether non-authenticated users can access the share (Guests).
- Finally, the other option you may use is the “Read only” option (Arrow with 3 inside). By making use of this option, you can set it so that users are only able to read the contents of the shared folder and not modify them.
Once you have configured everything to fit your needs, click the “Save” button at the bottom of the page..
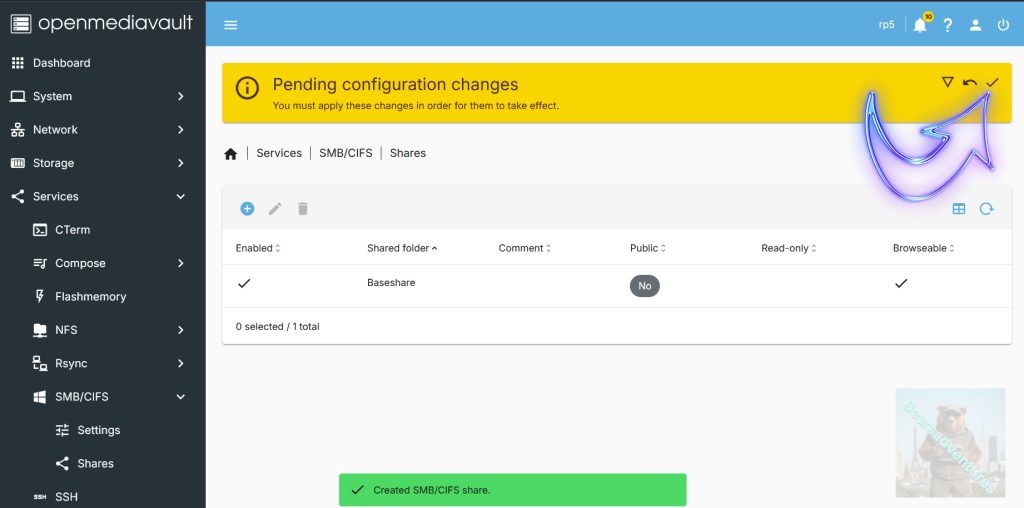
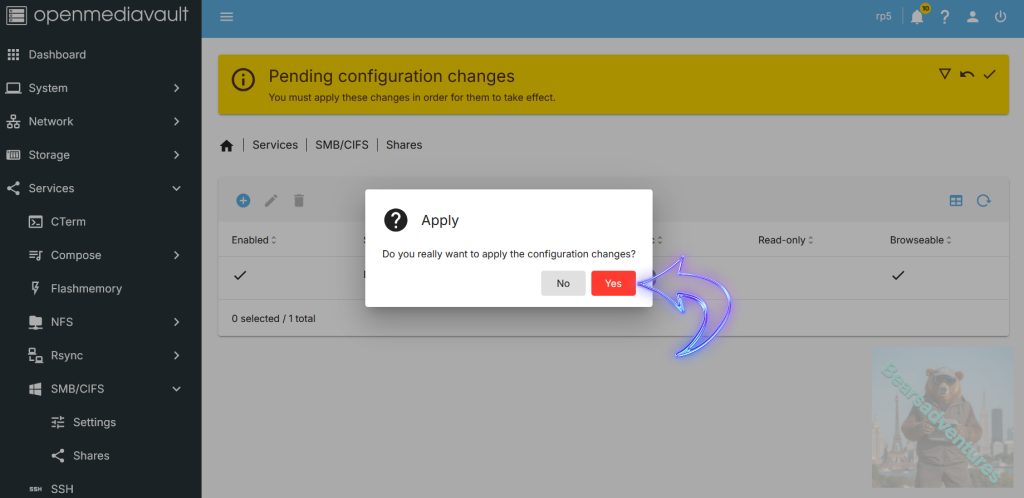
35. Like with any other change in OMV you will need to confirm the addition of this shared folder by clicking the arrow icon.
36. Finally, confirm the addition of this share by clicking the “Yes” button.
37. You should now see your first folder being shared through your Raspberry Pi OpenMediaVault installation.
You can now continue to add as many shared folders as you like to help grow out your Raspberry Pi OMV 5 NAS.
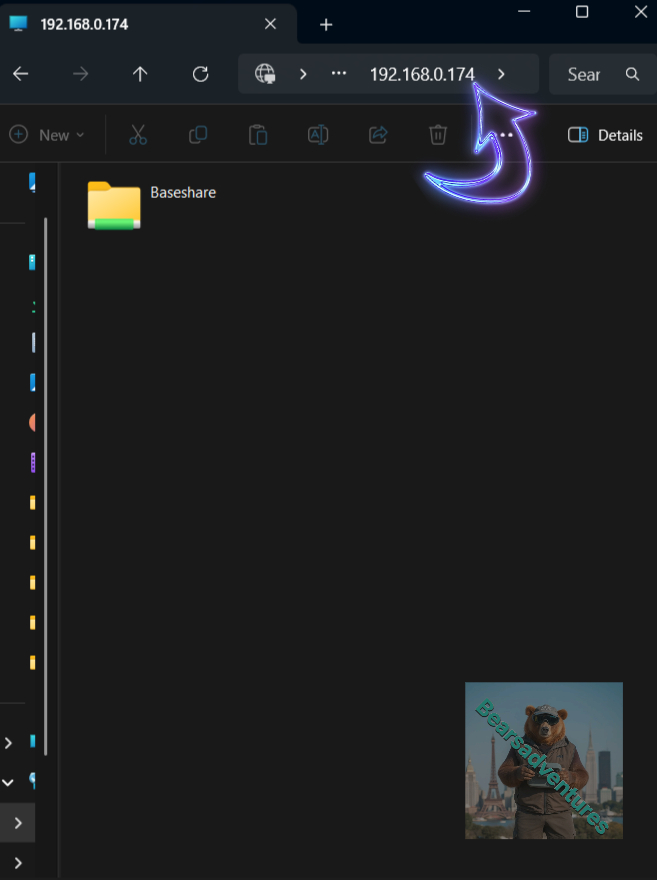
This is a Windows share Below, as you can see we can now the OMV PI 5 Share has been discovered. We just cannot access it yet. We need to setup Users for Each Share.
Accessing the shares on the pi is easy. Type in the the IP number into the file explorer //192.168.0.174/ this will open the shares on the Pi, you maybe requested to enter user information.