


Termix is an open-source, forever-free, self-hosted, all-in-one server management platform. It provides a web-based solution for managing your servers and infrastructure through a single, intuitive interface. Termix offers SSH terminal access, SSH tunneling capabilities, and remote file editing, with many more tools. In this step by step guide I will show you how to install Termix on your Synology NAS using Docker & Portainer.
Step 1
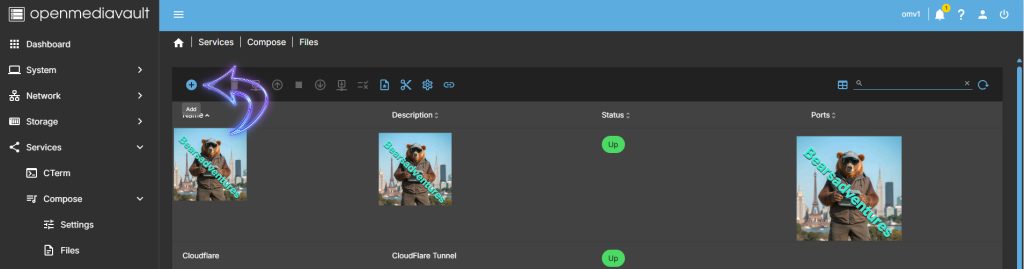
Head over to Services / compose / Files and Select Add (+)
Step 2
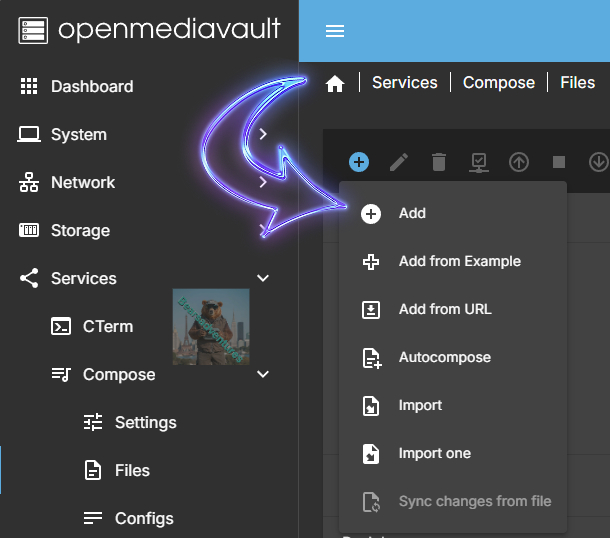
Select Add (+)
Step 3
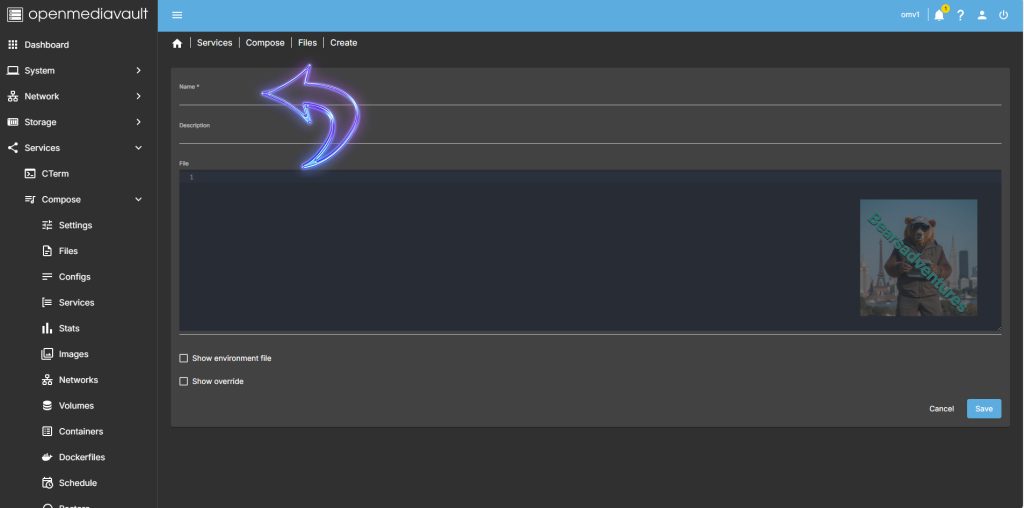
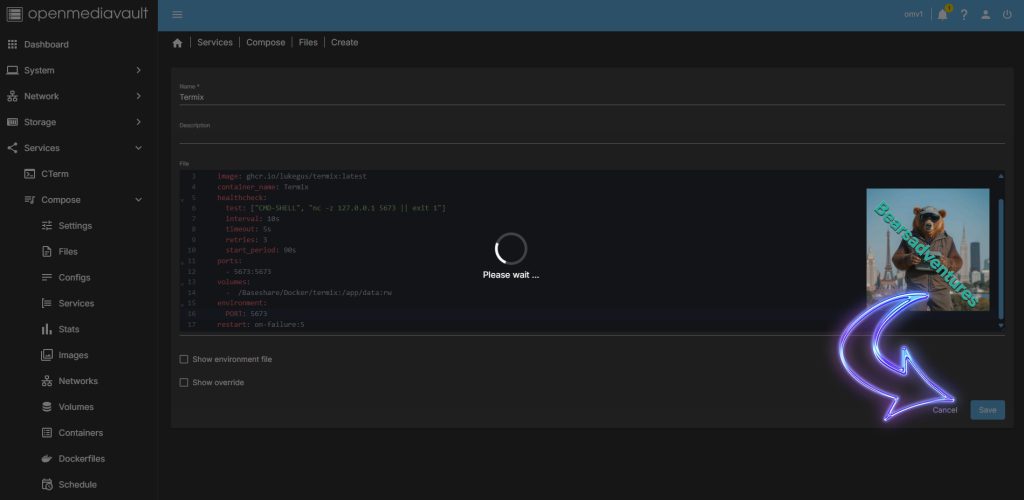
Now give your Docker a Name and paste the Code below
services:
termix:
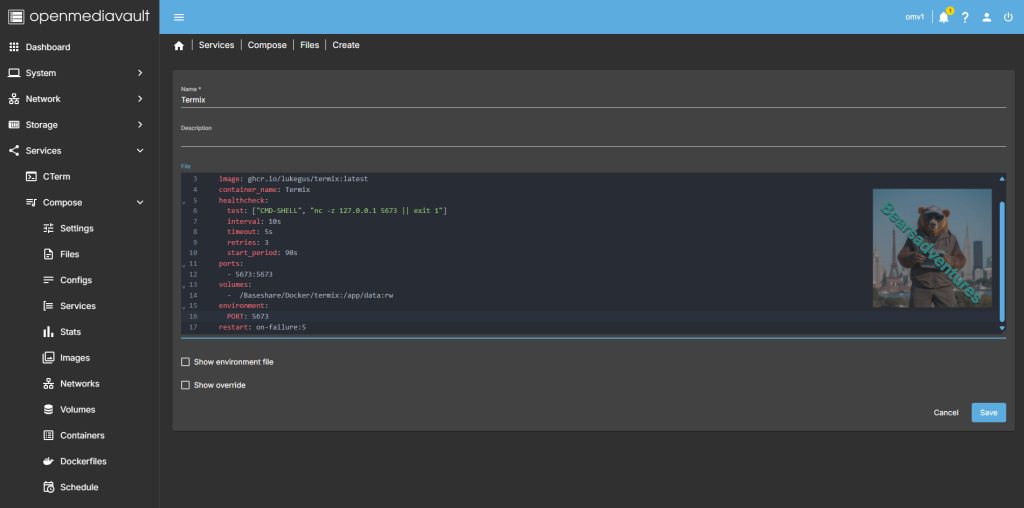
image: ghcr.io/lukegus/termix:latest
container_name: Termix
healthcheck:
test: ["CMD-SHELL", "nc -z 127.0.0.1 5673 || exit 1"]
interval: 10s
timeout: 5s
retries: 3
start_period: 90s
ports:
- 5673:5673
volumes:
- /Baseshare/Docker/Data/termix:/app/data:rw
environment:
PORT: 5673
restart: on-failure:5Step 4
Your Page should now look like this.
Step 5
Save the Docker
Step 6
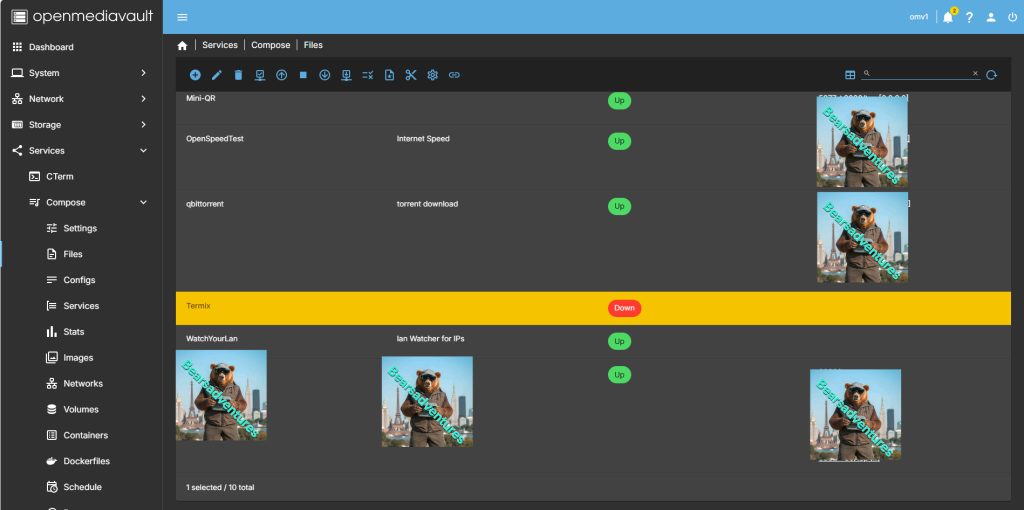
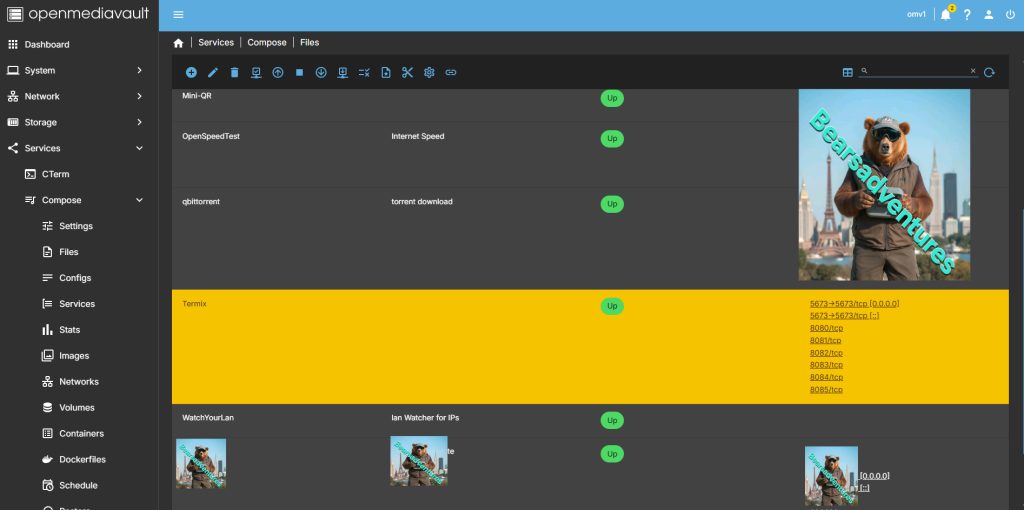
Now the Container is saved it is time to start it

Select the Container in my Case Termix
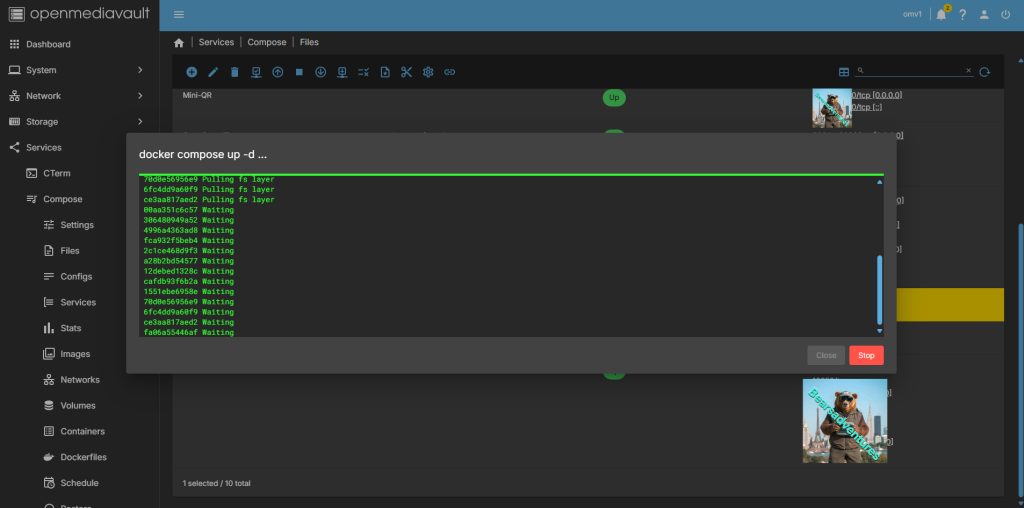
Step 7
now select the Up arrow. now OMV Docker will Pull all the files needed from the internet.
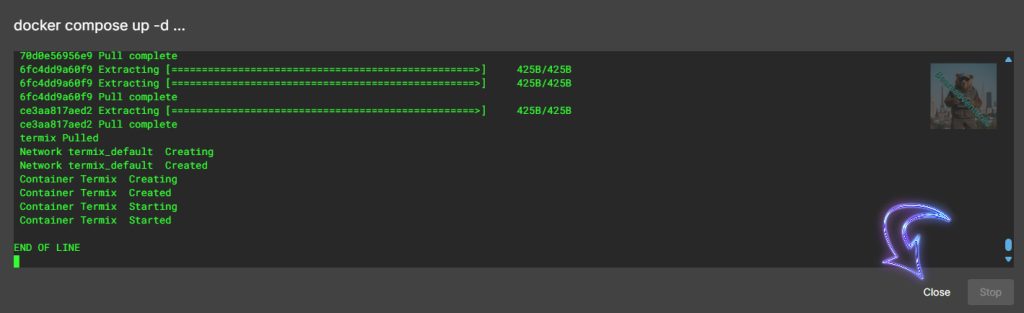
Step 8
Close the Dialog box when complete like below.
Step 9
Now your Docker should be running
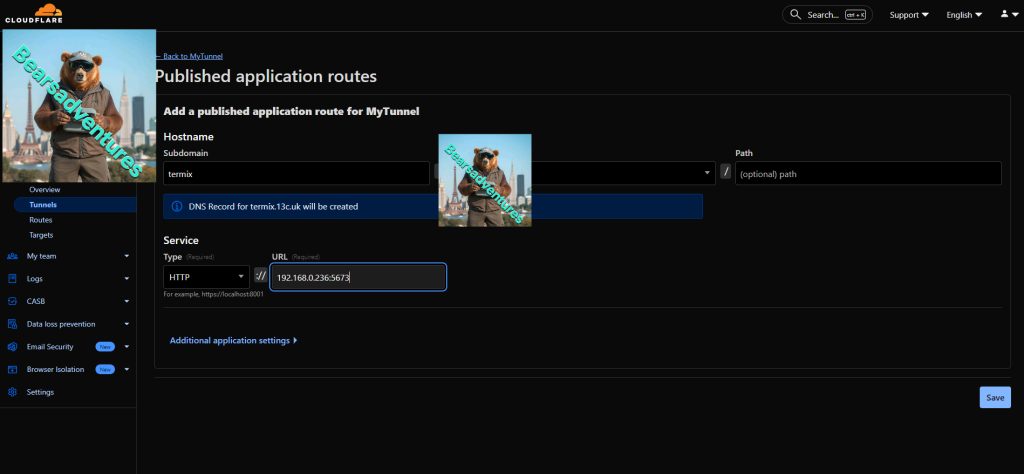
Step 10
Lets access the container from anywhere. i uses Cloudflare as my reverse proxy. So i have created this tunnel for this tutorial.
Step 11
type in your tunnel into your internet explorer and you should have accress to Termix.
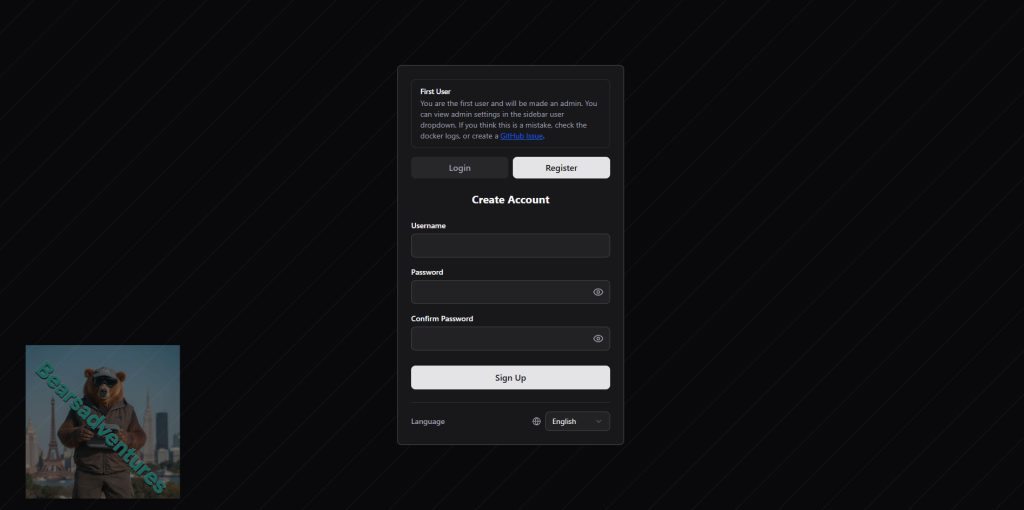
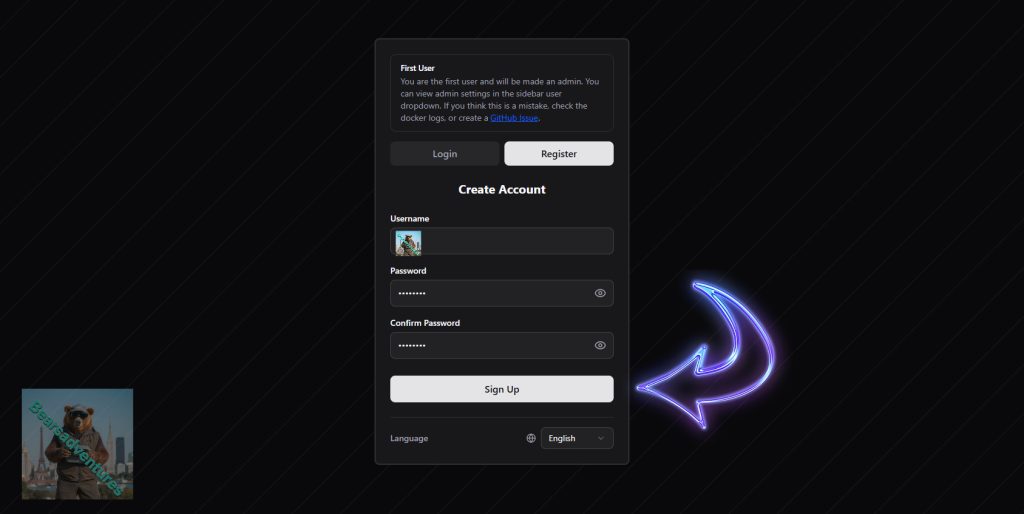
Step 12
Register a new user.
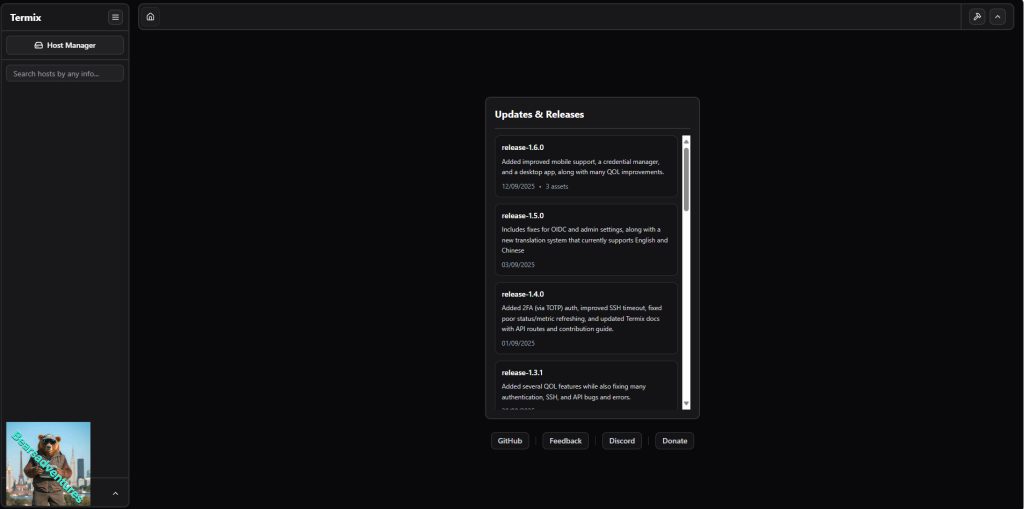
Step 13
Se are now in the user side of the app
Step 14
Select Host manager and then select SSH manager
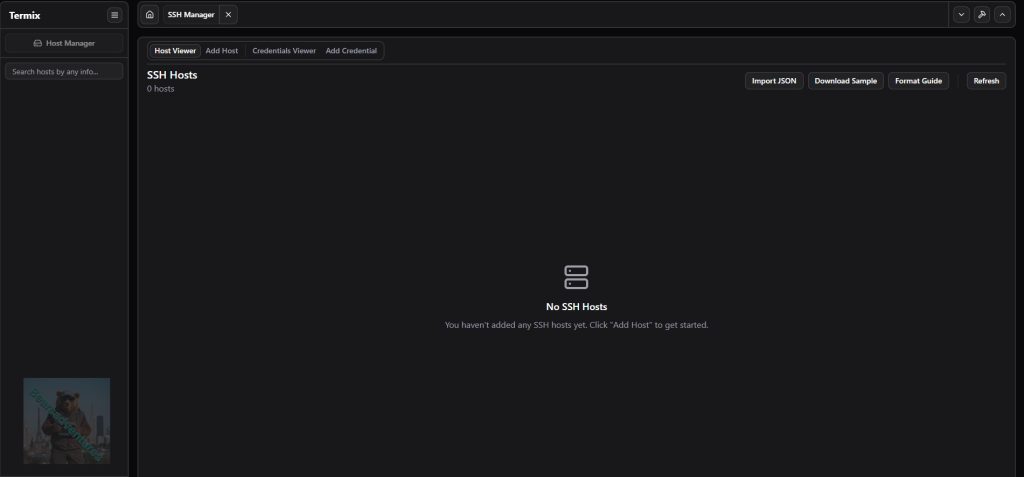
Step 15
Now add your host
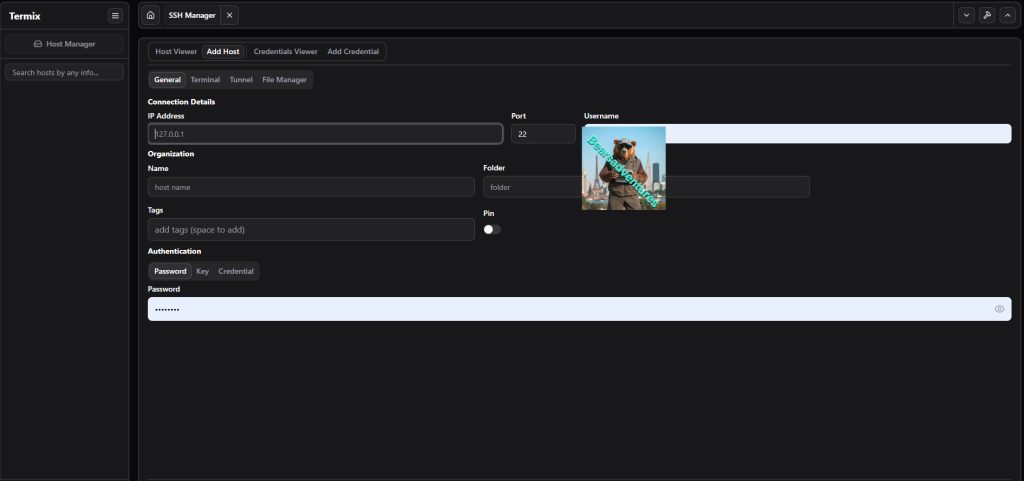
Step 16
Now you have added your host you will see it live on the left side

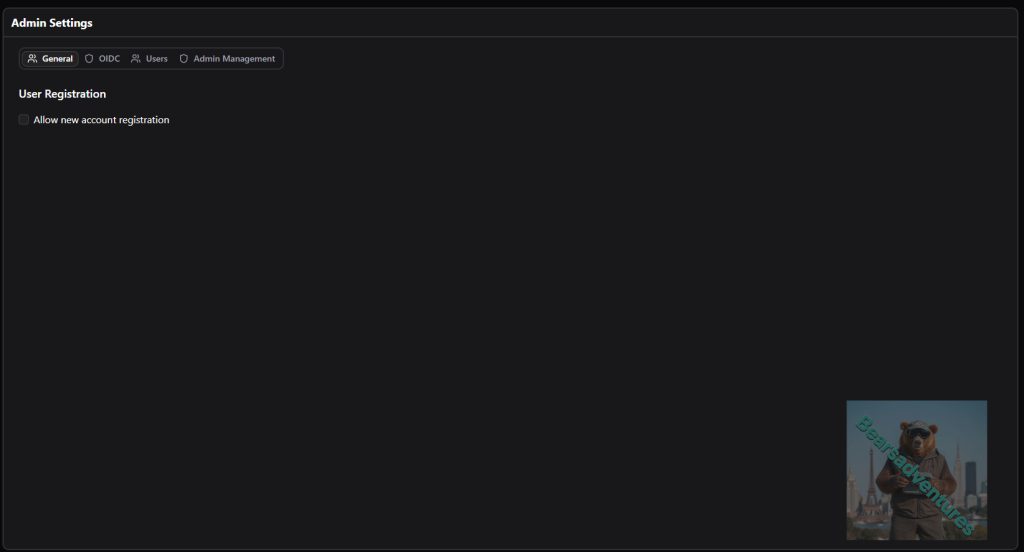
Step 17
Maksure you Disable add account when you are happy with the setup
Final Thoughts
I am really happy with this Container Termix Saves ,e alot of time and Problems. I love how you can added multiple tervers to the Terminal manager.
Share : https://13ear.uk/f70b