



Ungoogled Chromium is Google Chromium without dependency on Google web services. Ungoogled Chromium retains the default Chromium experience as closely as possible. Unlike other Chromium forks that have their own visions of a web browser, Ungoogled Chromium is essentially a drop-in replacement for Chromium. It features tweaks to enhance privacy, control, and transparency. However, almost all of these features must be manually activated or enabled. In this step by step guide I will show you how to install Ungoogled Chromium on your OMV NAS using Docker.
Step 1
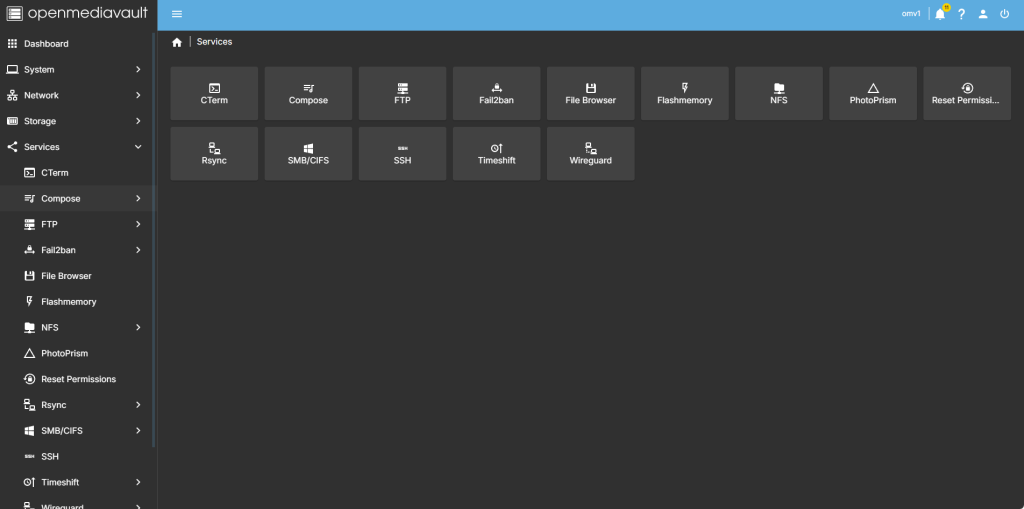
head over to services compose
step 2
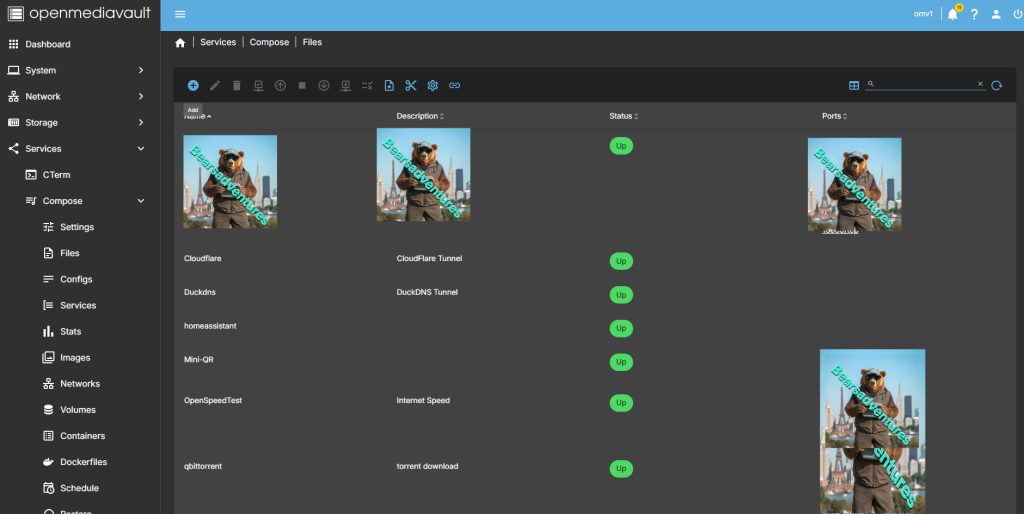
Now select file so we can create the compose file and deploy the container
step 3
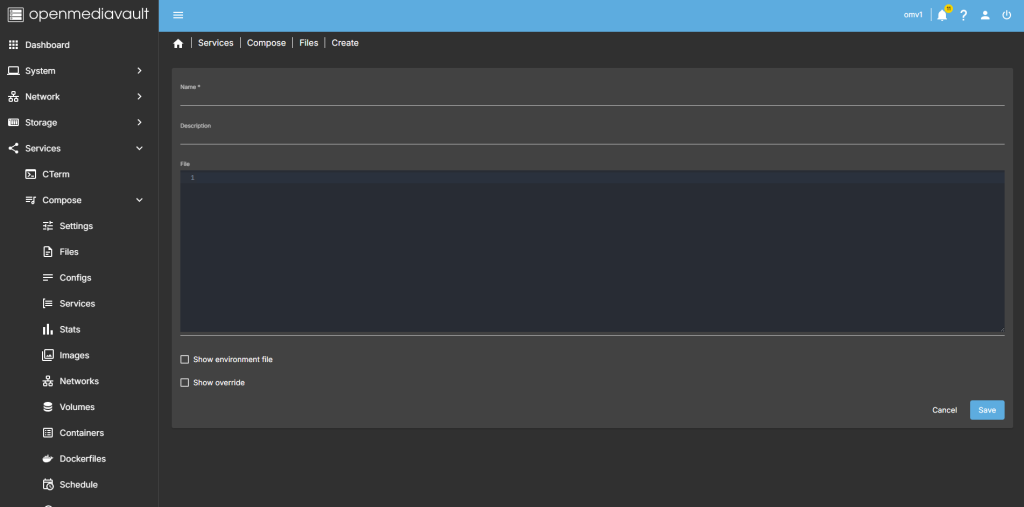
after you have selected the + symbel you will now see where you can add a name for the container and file details
step 4
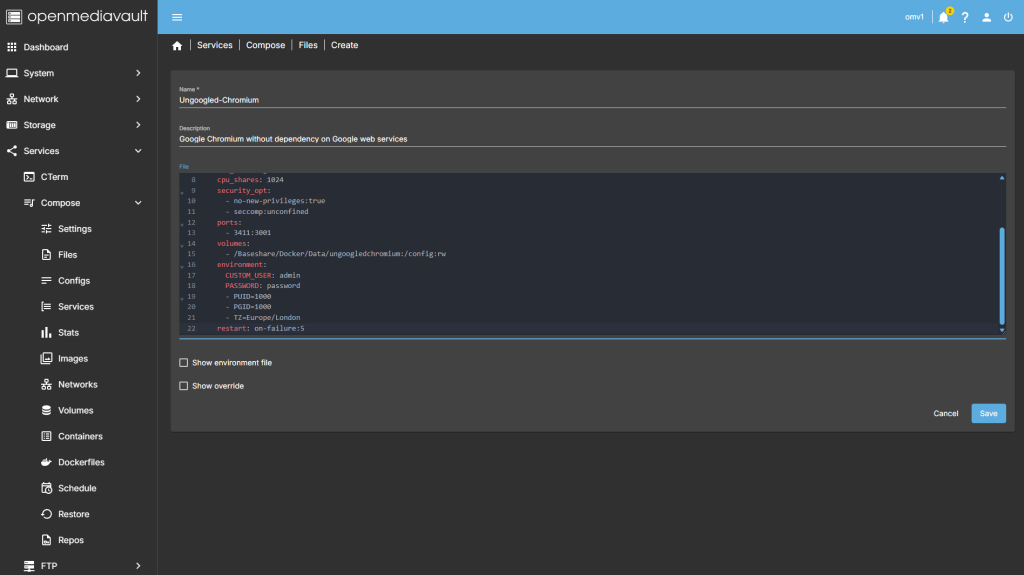
after filing in the details, you should have something like this
services:
  chromium:
    image: ghcr.io/linuxserver/ungoogled-chromium:latest
    container_name: Ungoogled-Chromium
    hostname: chromium
    mem_limit: 3g
    shm_size: 1g
    cpu_shares: 1024
    security_opt:
      - no-new-privileges:true
      - seccomp:unconfined
    ports:
      - 3411:3001
    volumes:
      - /Baseshare/Docker/Data/ungoogledchromium:/config:rw
    environment:
      TZ: Europe/London
      CUSTOM_USER: admin
      PASSWORD: password
      PUID: 1000
      PGID: 1000
    restart: on-failure:5
step 5
all there is left todo is run the container,

step 6
after pressing the up button on the dashboard, you should have the container now running
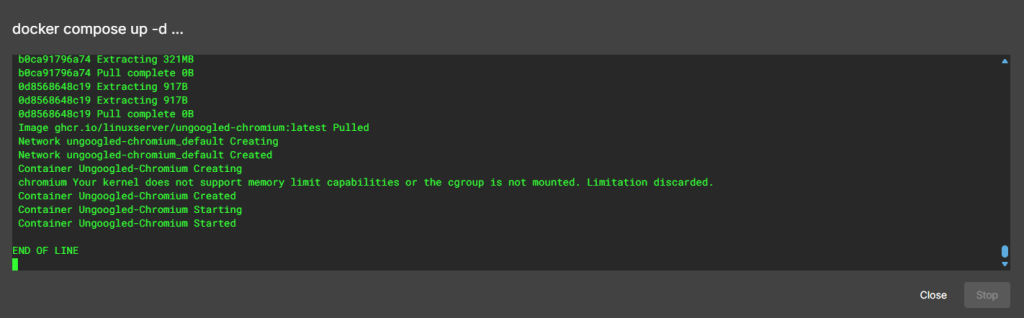
Running nicely port number is 1349

step 7
create a tunnel for the container
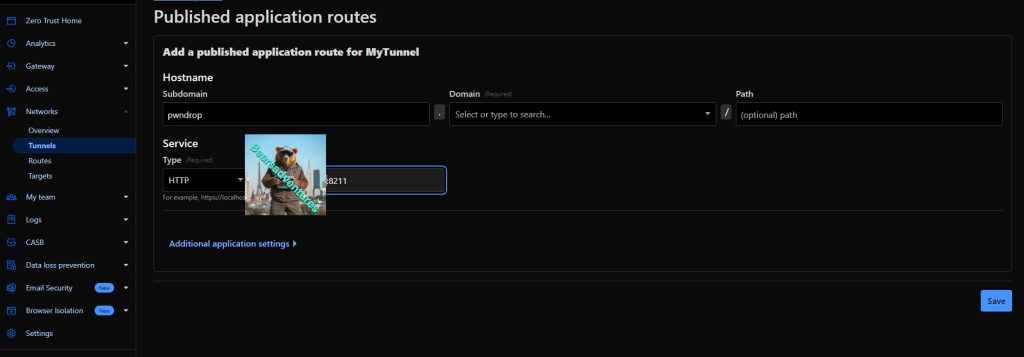
step 8
Now open your browser and type in http://Website:1349, The tunnel will now be working
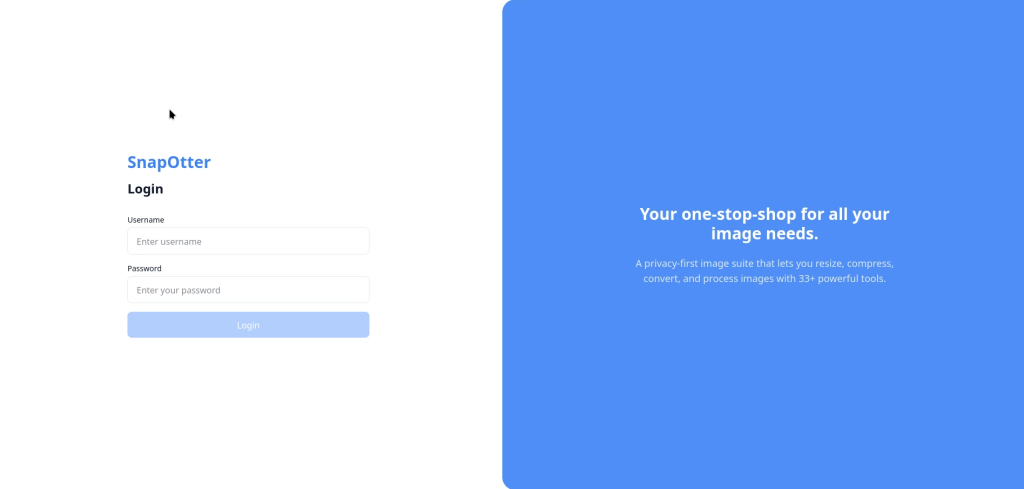
step 9
To login use the login details we Putin the container file.
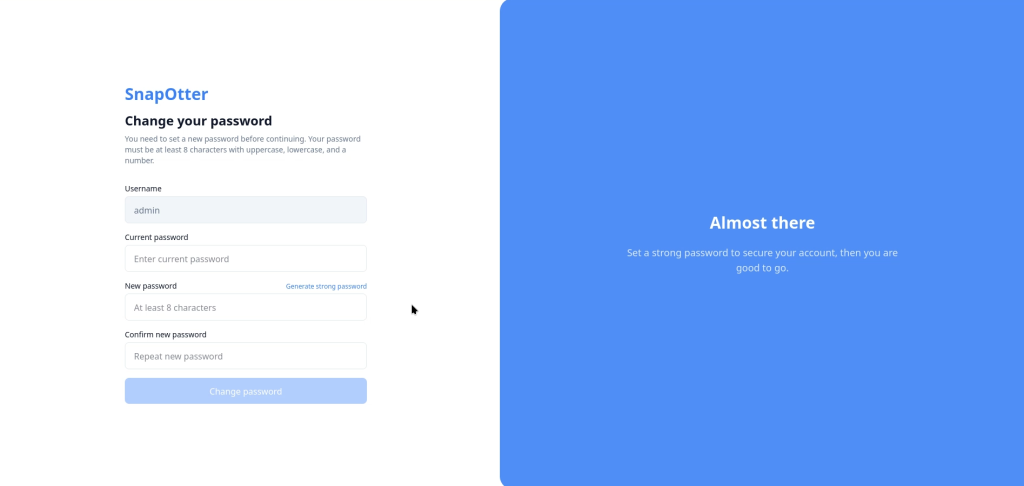
Now we are in, we will need to change the original password
step 10
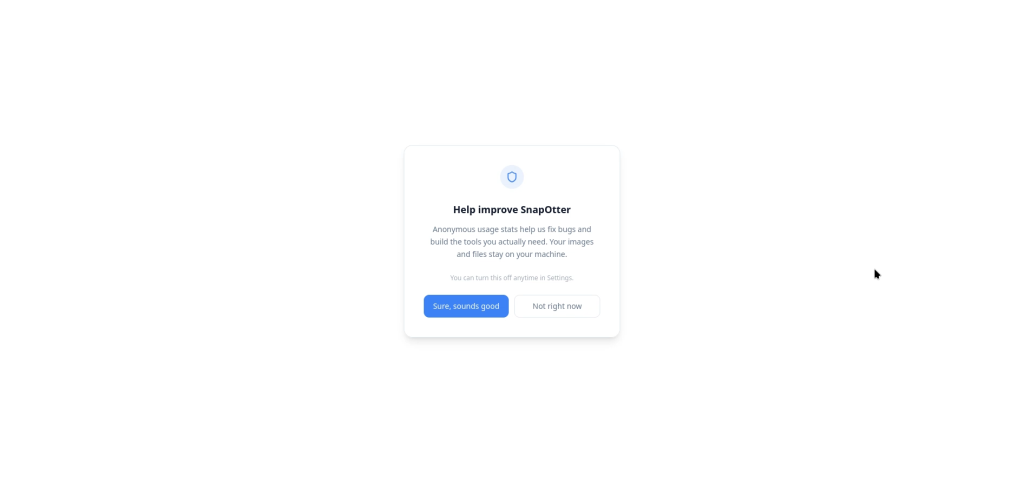
Now we have changed the password we are in and can now starting using SnapOtter.
Share : https://13b.uk/pnit