


Raspberry Pi Imager
Raspberry Pi Imager is the quick and easy way to install Raspberry Pi OS and other operating systems to a microSD card, ready to use with your Raspberry Pi.

Step 1
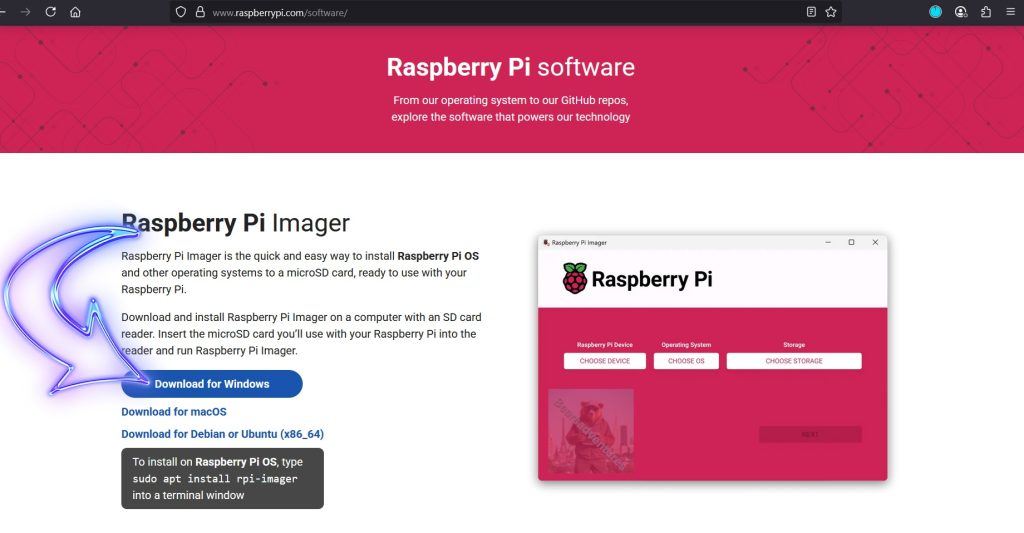
Insert you Micro sd card into your pc and download the Imager Here.
Step 2

Select you Pi Board.
Step 3
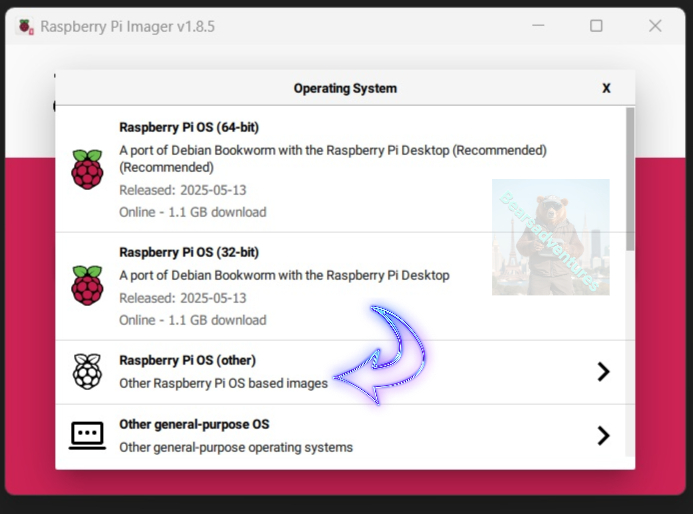
For server operations, I like to use Raspberry Pi Other for no desktop.
Step 4
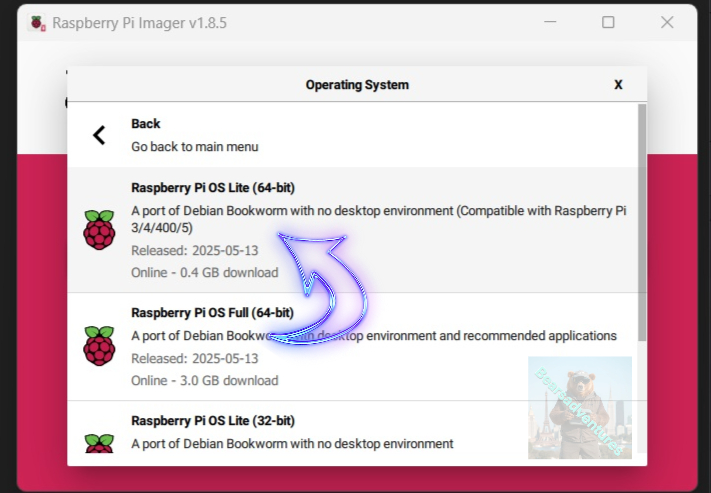
Like i Said in step 3, Select Raspberry Os Lite(64-Bit)
Step 5

Now this step is very important especially if you want to access this wirelessly. Select EDIT SETTINGS
Step 6
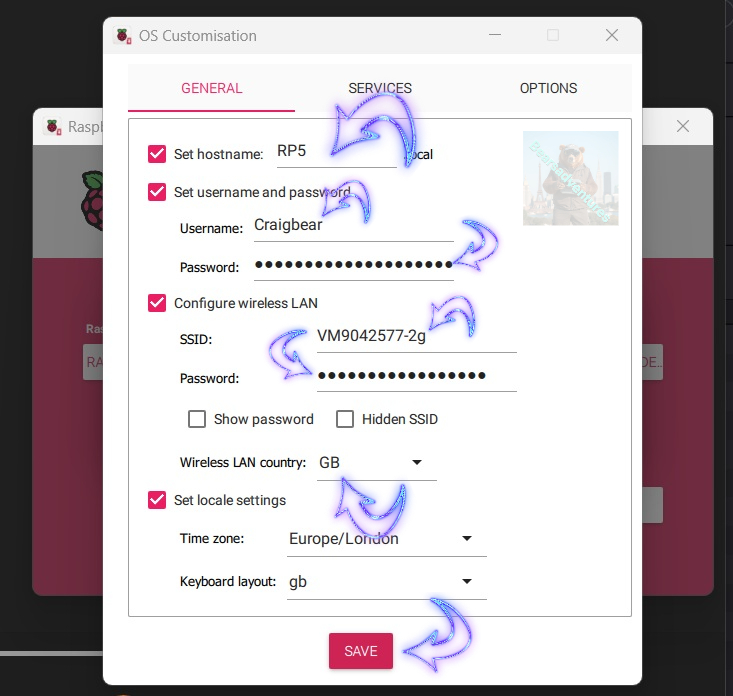
Now we Need todo the following. so we can access the project wirelessly and also have user information setup already for the project
- Set Host Name
- Username
- Password
- SSID
- SSID password
Make a Note of the User and pasword as you will need it to login to your project.
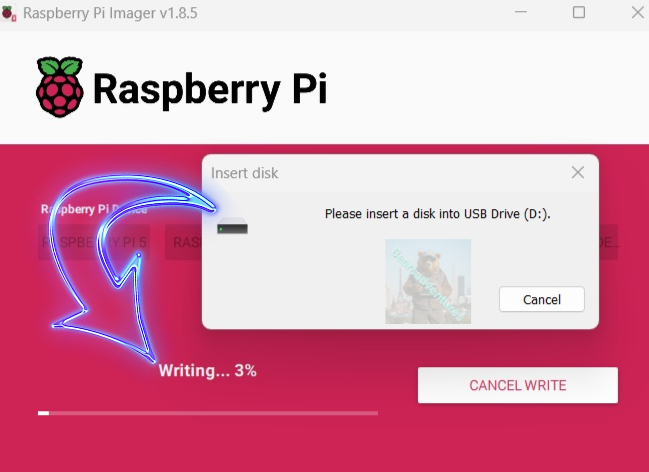
Step 7

Select Yes, Now when the writing to the sdcard start you will get a Insert Disk dialog come up. dont worry, you do not need todo anything just wait.
Step 8

Thats it your ready to start your project. Take the SDCard out of your pc and insert into your project.
share: https://13ear.uk/36qd