


How to Set Up FTP on the Raspberry Pi
So this is a My second Part to my project, now i have RaspAp setup, We are now going to setup SFTP and explore the benefits and Limitations. this Server is behind my router Security wise and will not be open to outside traffic so i am ok with having Port 22 open for this Server over my network.
For those who don’t know, FTP stands for File Transfer Protocol and is simply a method for transferring files between two devices over a network
There is also an additional method that you can be used instead. This method is called SFTP, it stands for Secure File Transfer Protocol. This version of the protocol works over SSH.
The biggest difference between these two methods comes down to their security. SFTP is considered to be much more secure thanks to its use of encryption for the transfer of data.
We should also note that it is possible to use both FTP and SFTP at the same time as they operate on difference ports. By default FTP operates on port 21, while SFTP operates on port 22.
Using FTP is a great way to move files on and off of the Raspberry Pi without needing any fancy setups or physical access to the device itself.
Setting up SFTP is a very straightforward process as it is part of the SSH standard.
Using FTP requires a few more steps but is also fairly simple to set up, mainly requiring us to install a separate server software such as vsftpd.
So, let’s get started with learning how to set up FTP and SFTP on the Raspberry Pi.
Setting up your Raspberry Pi to be able to use SFTP is a very straightforward process and requires no additional software to be installed.
All we need to do is make sure that SSH is enabled by using the Raspi-config tool.
If you have already got SSH enabled, then you can skip ahead to the “How to Connect” section further down in this tutorial.
Step 1.
On the Raspberry Pi open up the terminal. i have Setup Craigbear for this tutorial as the user, its only a Tep user when im happy i will be setting up a number of users for the Server.
You can find this in the task bar at the top of the screen by default.
Alternatively you can press CTRL + ALT + T to open the terminal.
Step 2.
Within the terminal you will need to enter the following command.
This command will launch the raspi-config tool that we can use to enable SFTP on your Raspberry Pi.
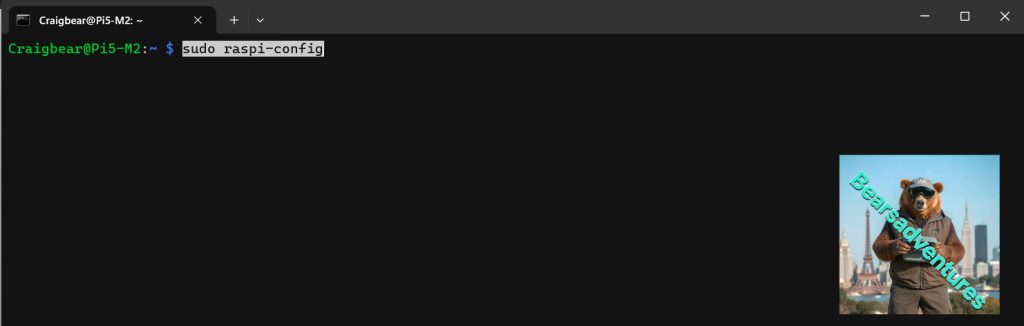
sudo raspi-config
Step 3.
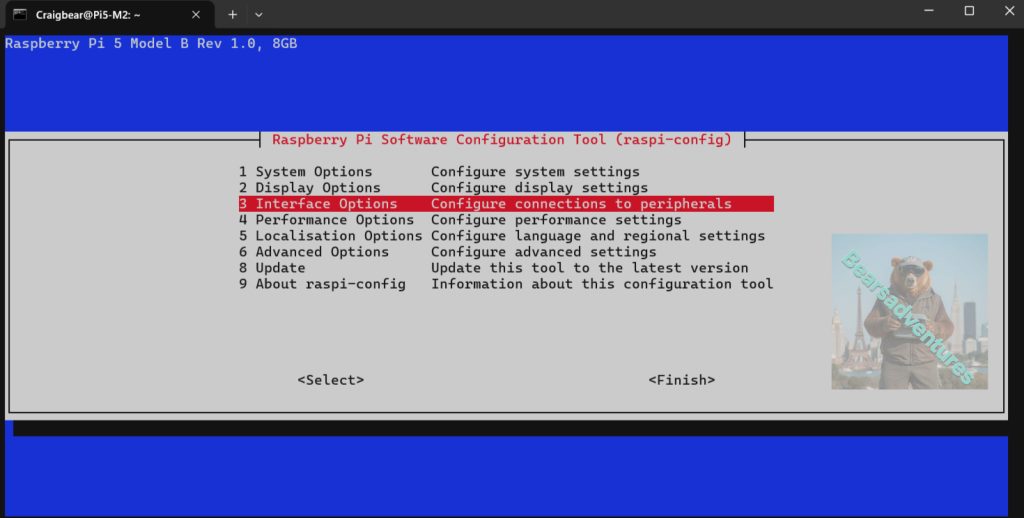
Within this tool you need to go to the “3 Interface Options” option.
You can navigate through the menu by using the ARROW keys to move up and down, then the ENTER key to select an option.
Step 4.
On the next screen find and select the “I1 SSH” option.
This option is what will allow us to enable the SSH service on our Raspberry Pi.

Step 5.
To actually enable SSH on your device, you need to select the <Yes> option.
Enabling SSH will give us access to the SFTP functionality of the protocol.

Step 6.
At this point you have now successfully enabled SSH on your Raspberry Pi.
You can quit out of this tool now by pressing the ESC key.

Step 7.
You can now proceed down to our “How to Connect to the FTP Server” section of this tutorial.
This section will walk you through connecting to your Raspberry Pi over the SFTP protocol.
You will be able to connect to the Raspberry Pi over SFTP by using port 22.

Setting up an FTP Server on the Raspberry Pi
In this section we are going to be walking you through the process of getting plain FTP working on your device.
To make all of this work we will be making use of a piece of software called vsftpd.
We chose to use vsftpd as it is regarded as one of the most secure and fastest FTP servers that you can run on the Raspberry Pi.
Step 1.
Before we proceed let us ensure that our Raspberry Pi OS is running the latest available packages.
To update all packages on the device you will need to run the following two commands on the terminal.

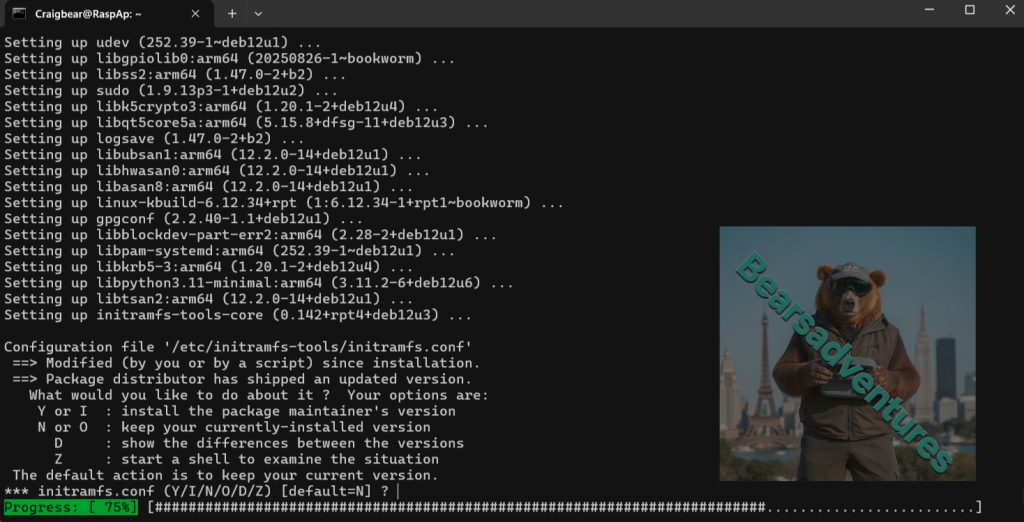
sudo apt updateand Upgrade
sudo apt upgrade After these are complete reboot your Pi.
Updating all packages ensures that we shouldn’t run in to any weird issues when installing vsftpd on to our Raspberry Pi.
Step 2.
Once the update process has completed we can now install the software we require.
Install vsftpd to your Raspberry Pi by using the command below.
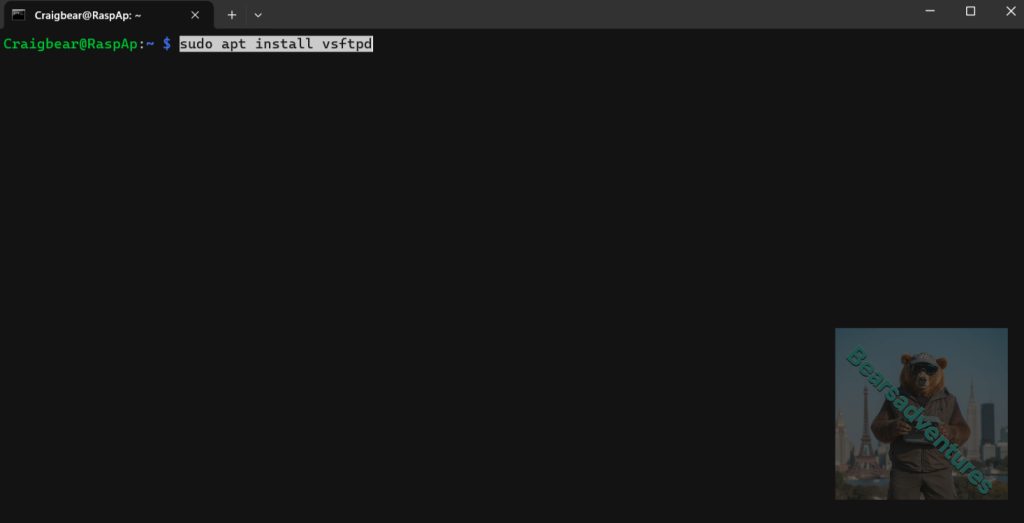
sudo apt install vsftpd
Step 3.
Before we can connect to our new Raspberry Pi FTP server we need to modify some settings.
Let us begin modifying the vsftpd configuration file by using the nano text editor with the following command.
Step 4.
Next type in this command, this is for editing the config files so FTP will work.
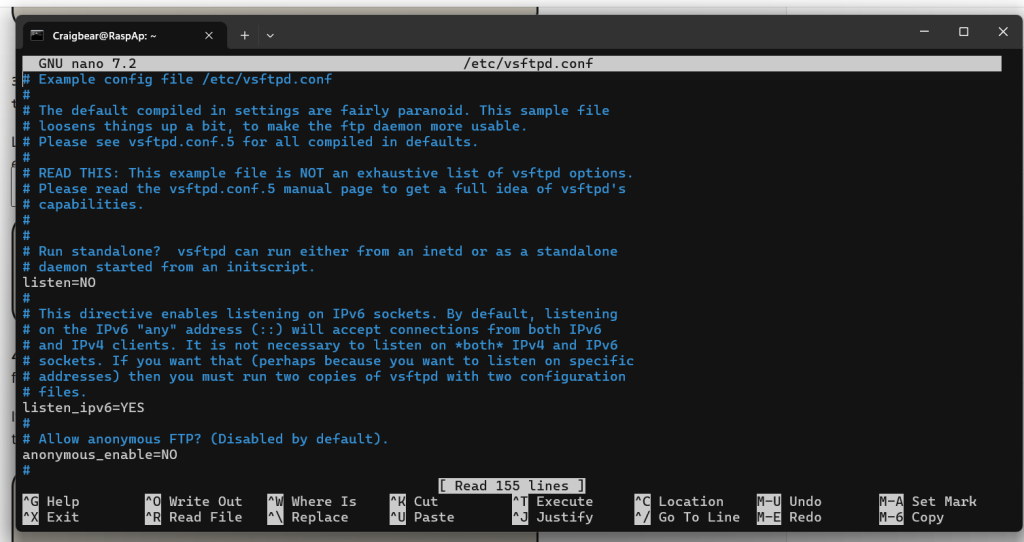
sudo nano /etc/vsftpd.confWithin this file you will need to add or uncomment (Remove the #) the following settings.
If you want to find options faster you can make use of the CTRL + W shortcut to search the file.
Now you can Search these or just copy and paste this at the bottom of the page
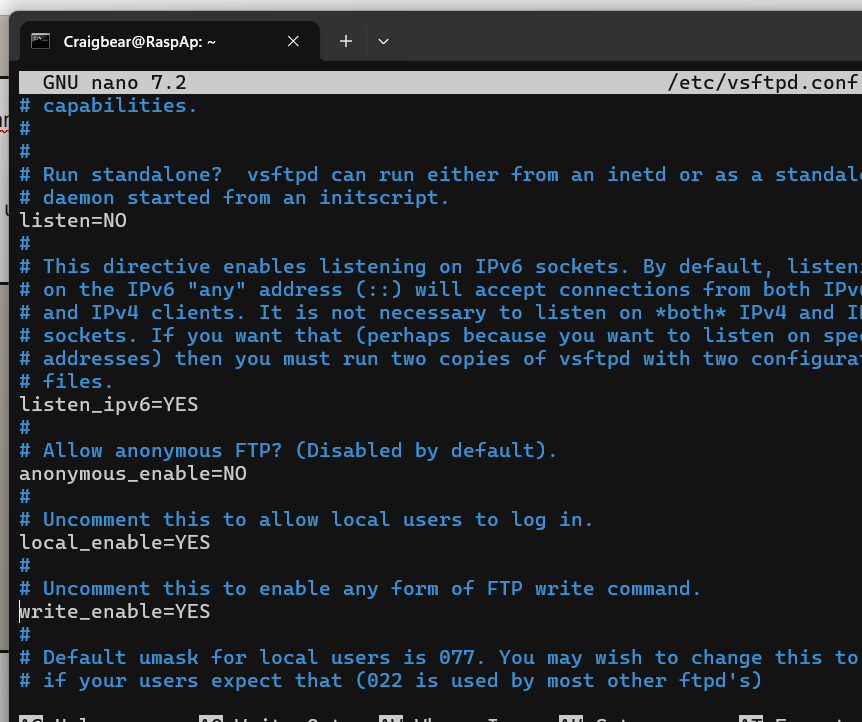
anonymous_enable=NO
local_enable=YES
write_enable=YES
local_umask=022
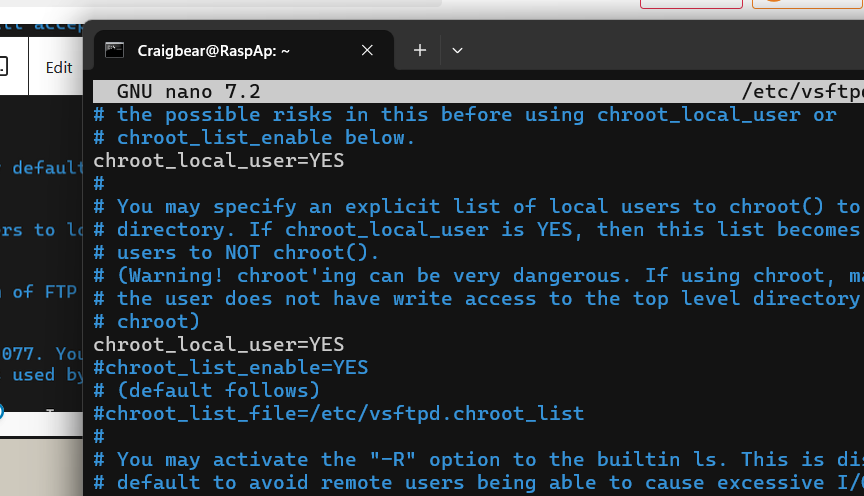
chroot_local_user=YES
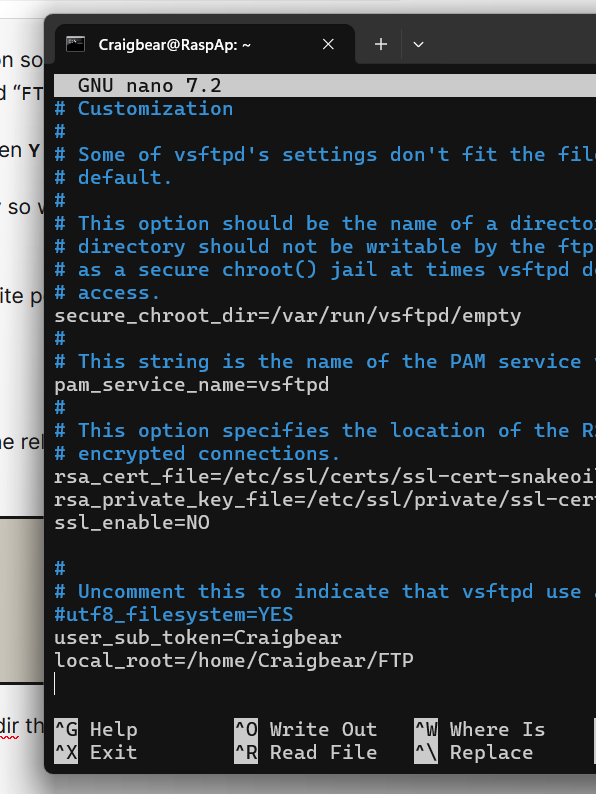
user_sub_token=$USER
local_root=/home/$USER/FTPUsing these options we set it so that the user logging in is locked in to there directory.
In our case we are using “local_root” option so that the user will be locked to their home directory within a folder called “FTP“.
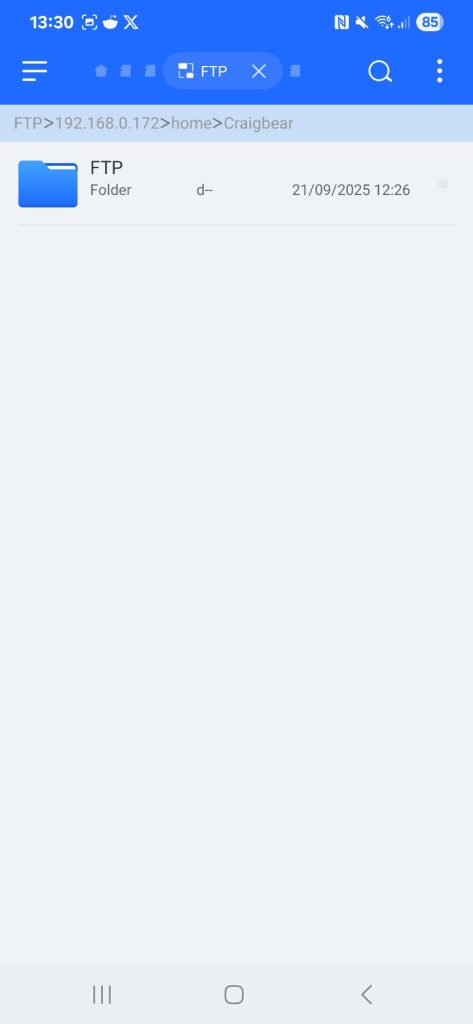
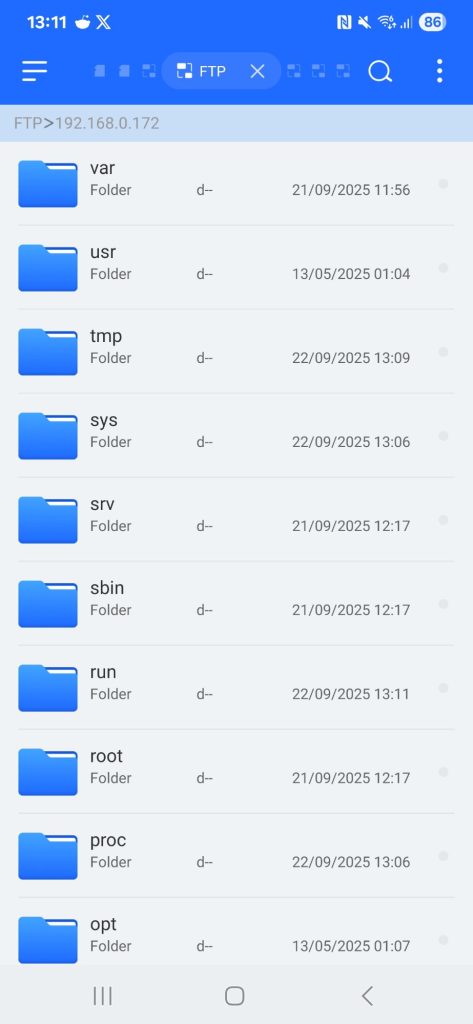
Because Craigbear is a super user on this pi i can navigate around other folder. normally i would not be able todo that with this setting. when i login the server points me to the above at its first imstance.
Step 5.
Once you are done press CTRL + X and then Y to save and exit.
Step 6.
Now we need to create the FTP directory so we can transfer files. To do this we need to use the mkdir command.
The root directory is not allowed to have write permissions so we will need a subfolder called files.
Replace <user> with the relevant user
Make sure that you replace “<user>” with the relevant user. For example, the default user on Raspberry Pi OS is “pi“.
mkdir -p /home/Craigbear/FTP/files
By using the -p argument we are telling mkdir that it needs to create the entire path tree.
So in our case it will create both our “FTP” and “files” directories.
Step 7.
With the directory added we need to modify its permissions so that we remove the write permission from the FTP directory. In order to do this, we will need to use the chmod command.
Doing this will ensure no one can add files into the FTP directory that they shouldn’t be.
Again make sure that you replace “<user>” with the user that you are using.
cd Step 8.
For our new settings to take effect we need to restart the vsftpd daemon on the Raspberry Pi.
We can now restart the service by using the following command.
sudo service vsftpd restartStep 9.
We should also ensure that the FTP server is set to start when our Raspberry Pi does by using the following command.
When your Pi turns on, so will the vsftpd daemon.
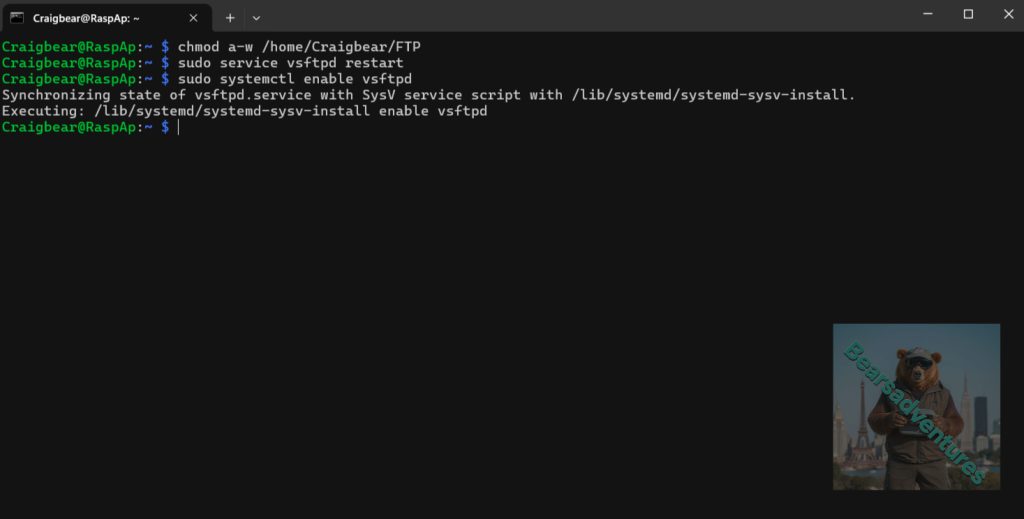
sudo systemctl enable vsftpdStep 10.
With the FTP server set up and running on our Raspberry Pi you can now connect to it.
You should now be able to connect to the FTP server on your Raspberry Pi over Port 21.
this Server is closed to my internal network only. i mounted the server as a FTP folder on my windows pc

How to Connect to your Raspberry Pi’s FTP Server
You can now connect to your Raspberry Pi by using either FTP or SFTP, depending on which protocol you decided to go with.
For this tutorial we are going to by using the FileZilla FTP client as it has support for both FTP and SFTP while also working on numerous operating systems.
There are plenty more FTP clients that you can check out. Another solid alternative is WinSCP, however, that is Windows only.
Any FTP client should be able to connect to the server with little to no issues.
1. On your PC head over to the FileZilla download page and download the relevant client for your operating system.
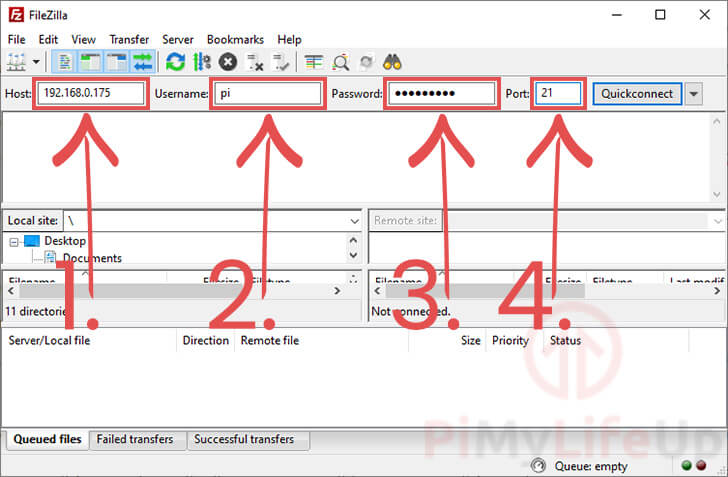
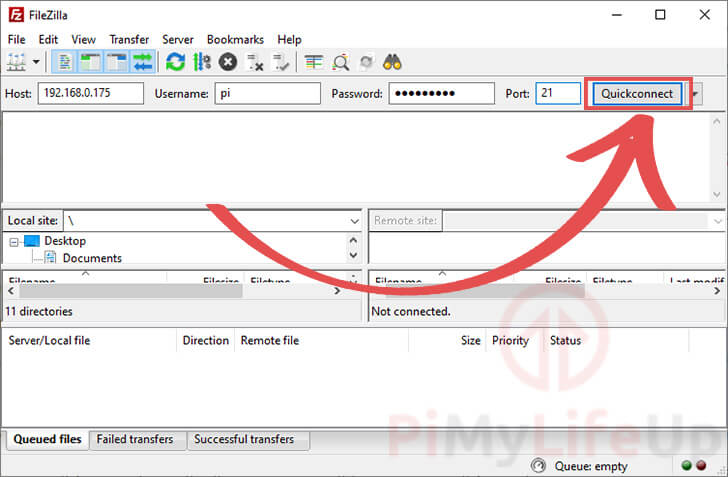
2. Upon opening up the FileZilla software you will be able to login to your FTP server.
1 – First you need to enter in the IP address of your Raspberry Pi. (1.)
2 – Next, you need to enter the username for the user we are trying to connect with. If you are sticking with the default user this will be “pi” (2.).
3 – After that, you will need to enter the password for that user. Again if you are using the default user you will need to use the password “raspberry” (3.).
4 – The final option that needs filling out is the port. The port differs slightly depending if you are using SFTP or FTP on your Raspberry Pi.
If you are using plain FTP enter the port 21 in to the textbox. Alternatively if you are using SFTP, you will need to enter the port 22. (4.)
3. At this point, you should enter in all the connection details for your Raspberry Pi FTP server.
Once you are happy everything is correct, connect by clicking the Quickconnect button.
4. If everything is working as it should be you should now be successfully connected over FTP or SFTP.
5. To make sure everything is working you should now test the connection by transferring a couple of files.
Troubleshooting
Permission denied: This means you’re trying copy files to or from a place where your current user doesn’t have the correct permissions.
To fix this issue, you will need to change the permission of that particular location to allow your current user or login with a different user.
You might find that FTP isn’t enough for what you require. If you’re looking for something a little more advanced, then the network attached storage tutorial might take your fancy.
Using the tutorial you can set your Pi up to act as a NAS by using protocols such as SAMBA.
I hope this guide has provided you with enough information to get your Raspberry Pi up and running with either FTP or SFTP.
If you do come across some issues or you notice a mistake then please don’t hesitate to leave a comment below.
share : https://13b.uk/7ner