Plex is a client-server media player system, plus an ancillary software suite. The Plex Media Server desktop application runs on Windows, macOS, and Linux. Plex gives you one place to find and access all the media that matters to you. From personal media on your own server, to podcasts, web shows, and news, to streaming music, you can enjoy it all in one app, on any device. In this step by step guide I will show you how to install Plex on your Synology NAS using Docker & Portainer.
Step 1
Install container manager, If you have already installed the manager jump to step 3
Select Main menu or the Package Center shortcut

Step 2
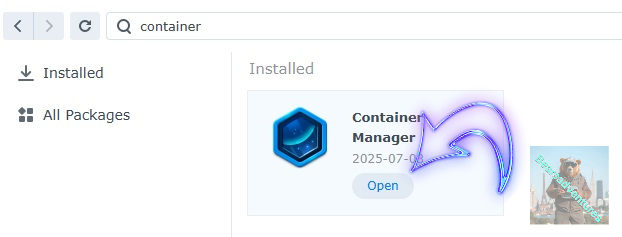
Type in Container in the Search bar and Press enter on your keyboard. Then you will See Container manager like below. in my case i have installed the Container manager already. Select install, wait a few second and then select open.
Step 3
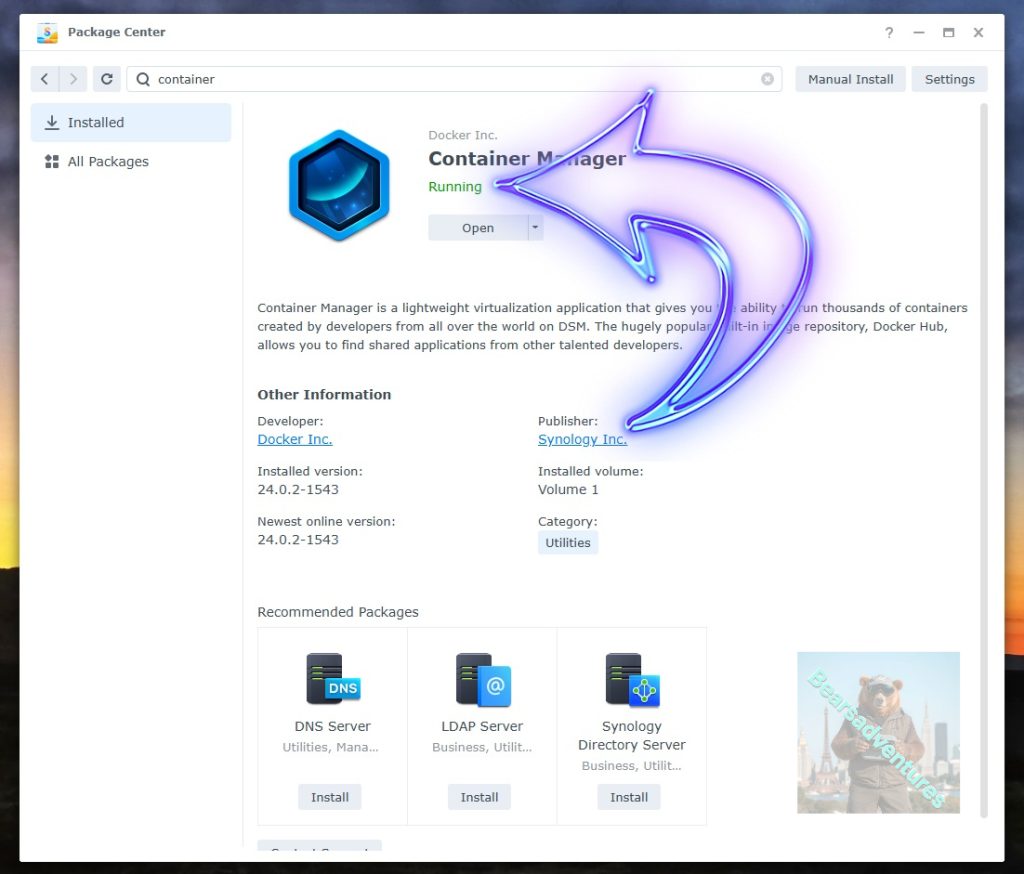
Now you have selected open you should see a screen like below and The Manager will say Running in green. Select open and move on to the next step.
Step 4
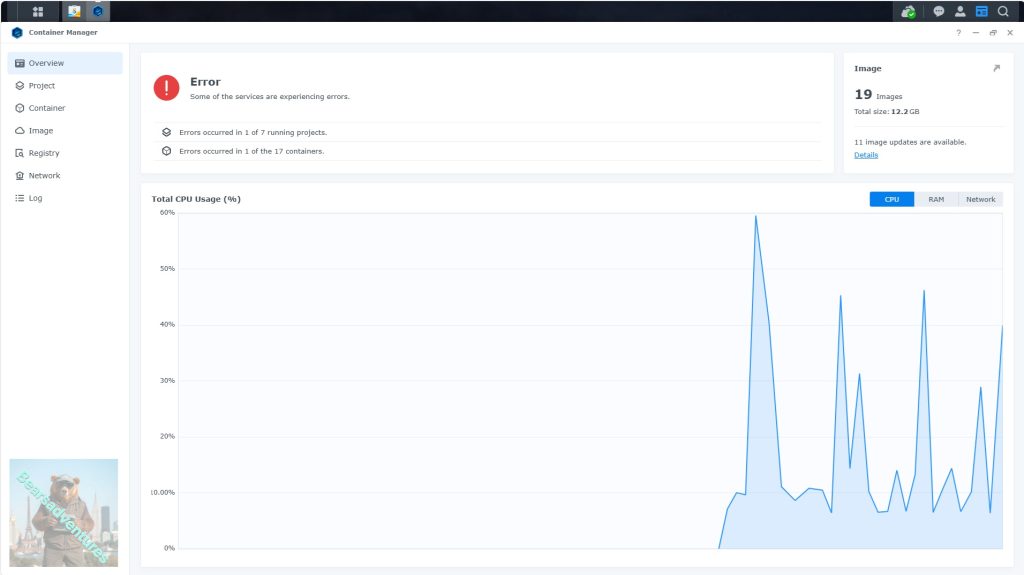
Now you will be Presented with the below. This is the Container manager over view of all your Containers and what’s happening in real time.
Step 5
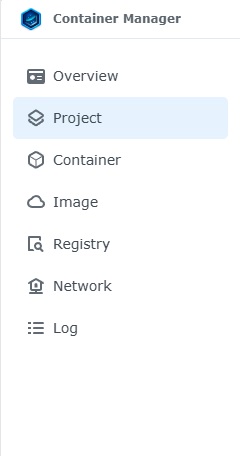
Now We need to Create a Project for Plexserver.
This project will do a number of things. download the image and setup the Project to Run all in one go.
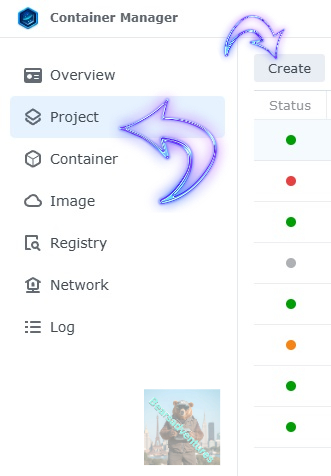
Select project from the menu down the side and then select Create button
Step 6
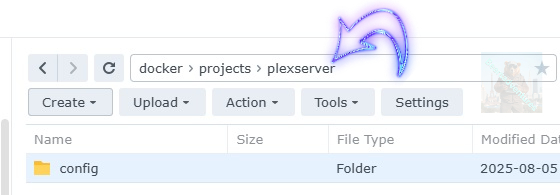
before we go any thurther we need to ensure we have our folders setup ready for the project.
I have a main folder on the Synology system just for docker projects. create the following folders using filestation so my path for qbttorrent will look like this
- config
Step 7
now we have created the folders needed for the project we can go ahead and create the project in Container manager
Give the project a name, change source to Create docker-compose.yml and add the path. Project name is all lower case.
See below for before and after the code you will need is below also.
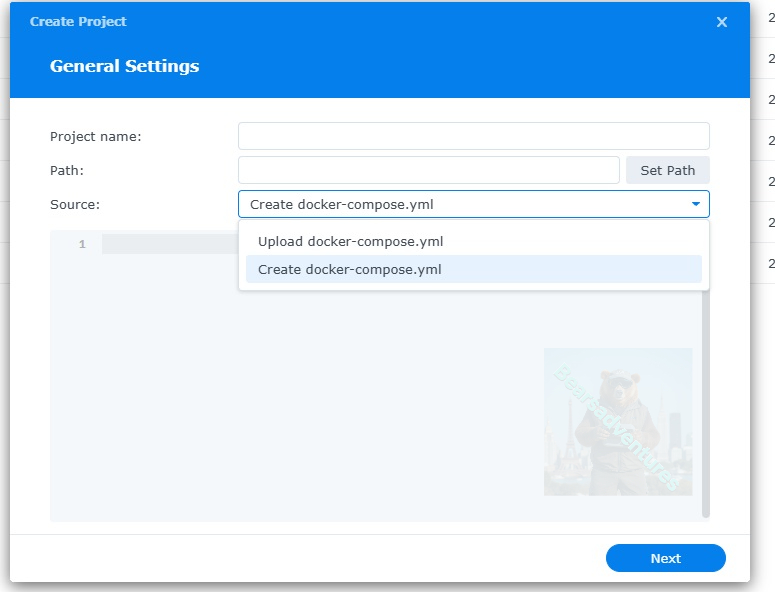
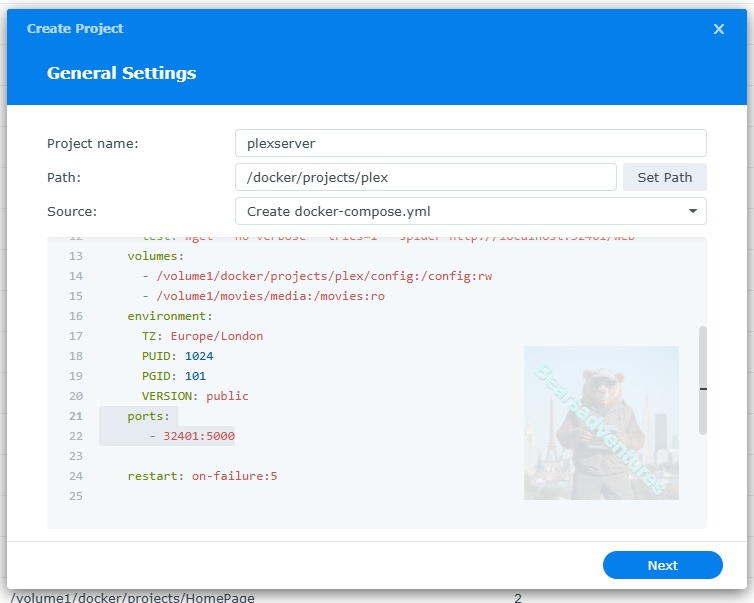
the volume path needs tobe exact or the project will return a fail. like above i missed out projects folder so i got a error and had to trouble shoot.
services:
  plex:
    image: linuxserver/plex:latest
    container_name: plex
    network_mode: host
    environment:
      - PUID=1024 #CHANGE_TO_YOUR_UID
      - PGID=100 #CHANGE_TO_YOUR_GID
      - TZ=Europe/London #CHANGE_TO_YOUR_TZ
      - UMASK=022
      - VERSION=docker
      #- PLEX_CLAIM= #Your Plex Claim Code
    volumes:
      - /volume1/docker/projects/plexserver/config:/config
      #- /volume1/data/media:/data/media
    devices:
      - /dev/dri:/dev/dri
    security_opt:
      - no-new-privileges:true
    restart: always

  tautulli:
    image: linuxserver/tautulli:latest
    container_name: tautulli
    environment:
      - PUID=1234 #CHANGE_TO_YOUR_UID
      - PGID=65432 #CHANGE_TO_YOUR_GID
      - TZ=Europe/London #CHANGE_TO_YOUR_TZ
      - UMASK=022
    volumes:
      - /volume1/docker/projects/tautulli:/config
    ports:
      - 8181:8181/tcp
    network_mode: bridge
    security_opt:
      - no-new-privileges:true
    restart: always
press next when you are happy with the code
Step 8
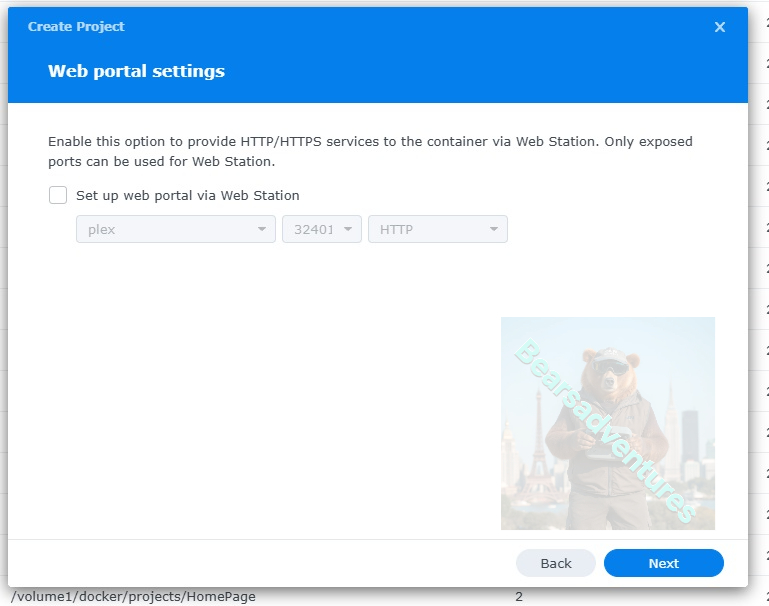
setup a web portal if you like . I would not advise it. and press next
Step 9
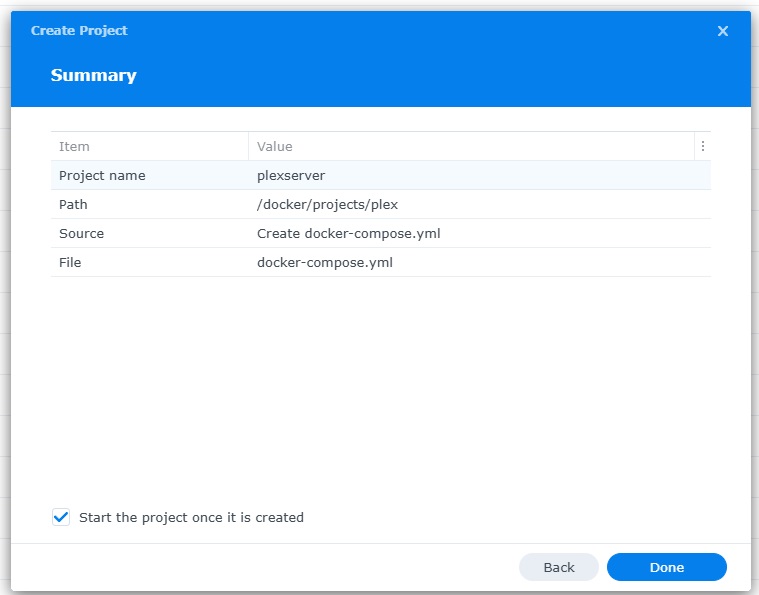
Thats it for this section, time to create the project.
Select Done
Step 10
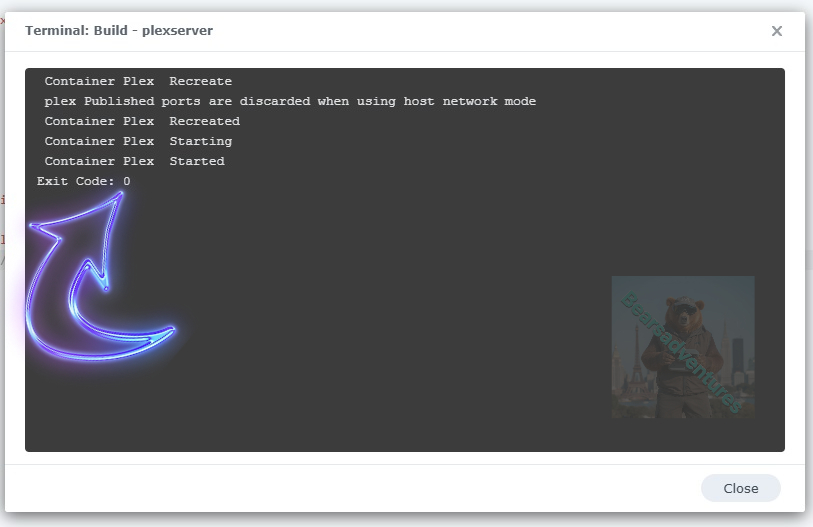
If you have a Exit Code of 0 like i have below then you are done. project created. if you have a Exit code 1 you have a error and need to visit the code again and trouble shoot.
Step 11
One last thing you can check to see if the docker is Green and showing no Errors, todo that just goto Container manager and on the left select Projects and ntop will be there Status Colum should be green if not you will need to trouble shoot.

Step 12
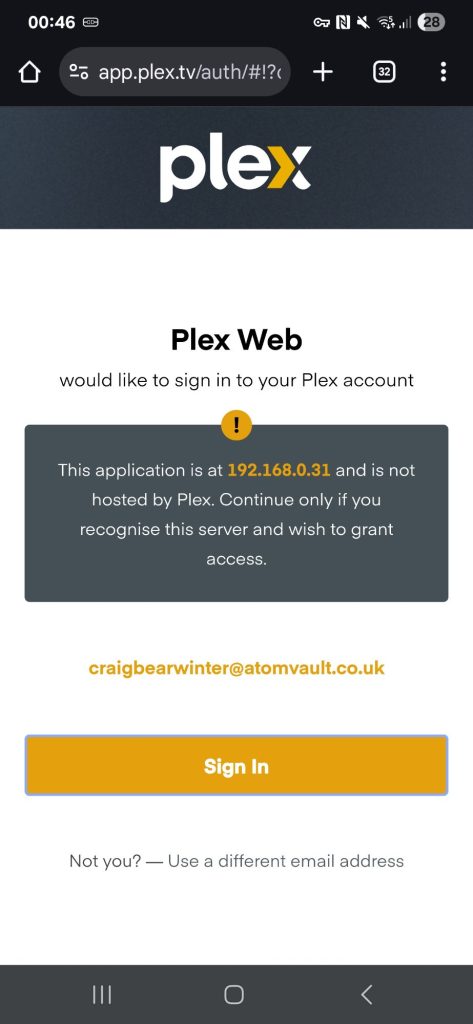
Your Server is now running
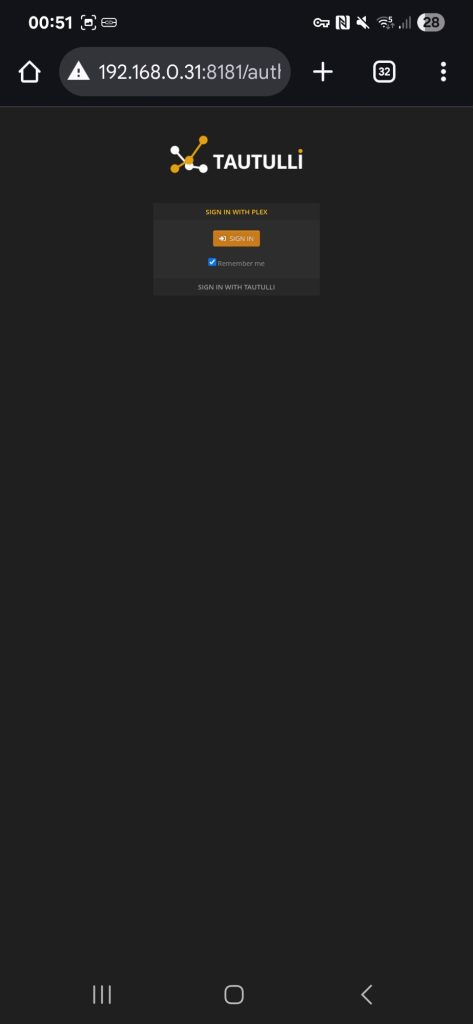
i added tautulli to my project
