




Termix on your Synology Container manager
Termix is an open-source, forever-free, self-hosted, all-in-one server management platform. It provides a web-based solution for managing your servers and infrastructure through a single, intuitive interface. Termix offers SSH terminal access, SSH tunneling capabilities, and remote file editing, with many more tools. In this step by step guide I will show you how to install Termix on your Synology NAS using Container manager.
Step 1
Install container manager, If you have already installed the manager jump to step 3
Select Main menu or the Package Center shortcut
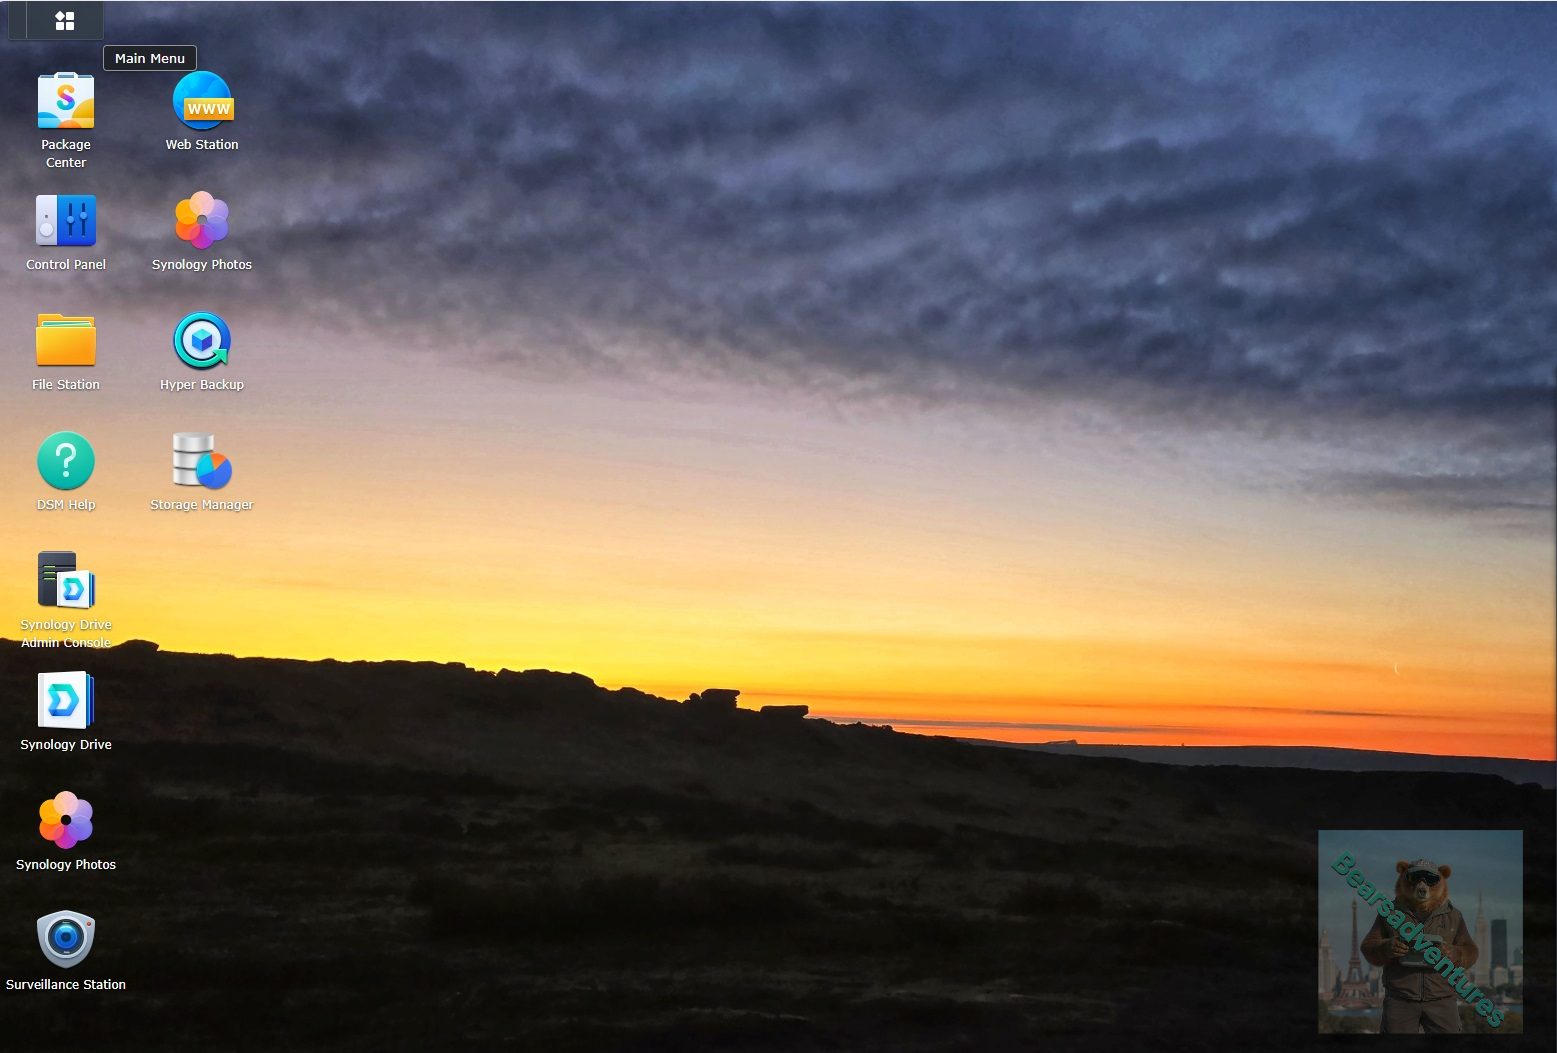
Step 2
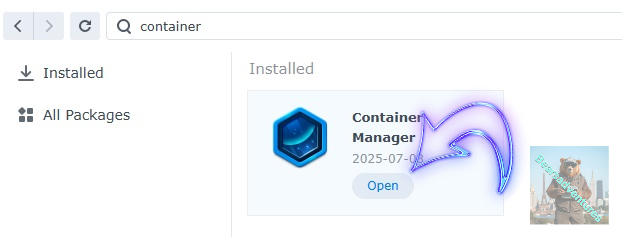
Type in Container in the Search bar and Press enter on your keyboard. Then you will See Container manager like below. in my case i have installed the Container manager already. Select install, wait a few second and then select open.
Step 3
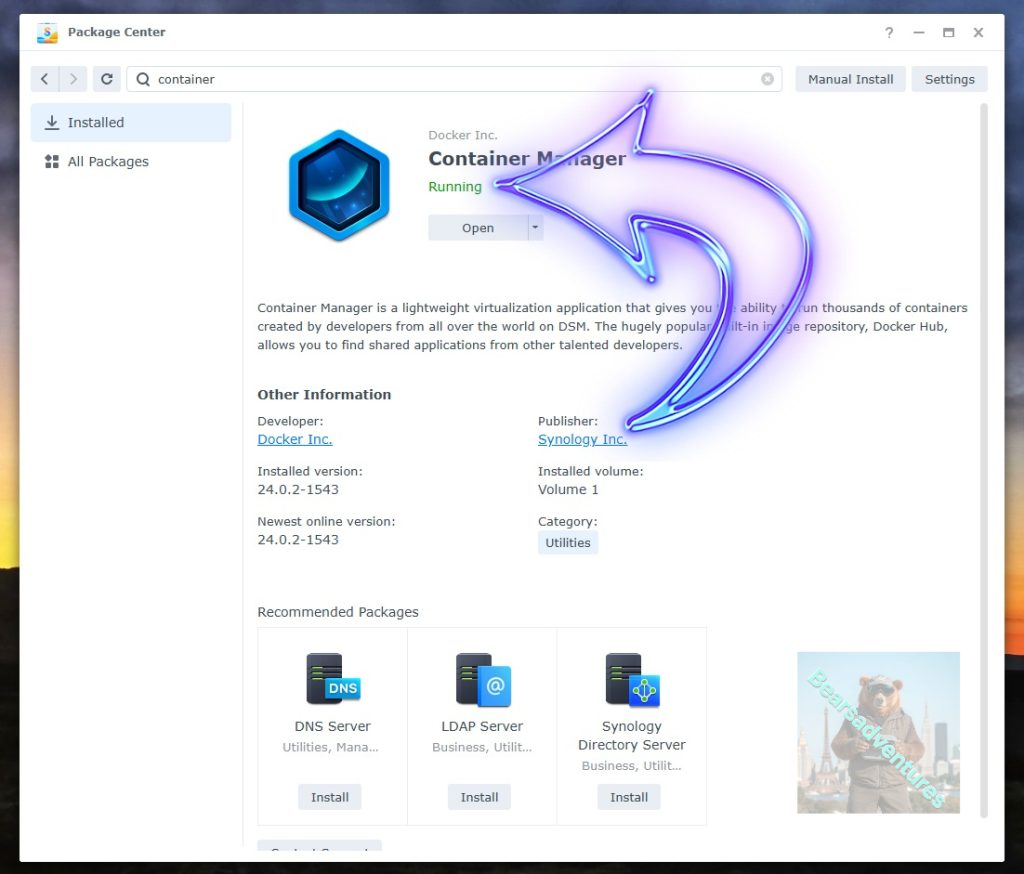
Now you have selected open you should see a screen like below and The Manager will say Running in green. Select open and move on to the next step.
Step 4
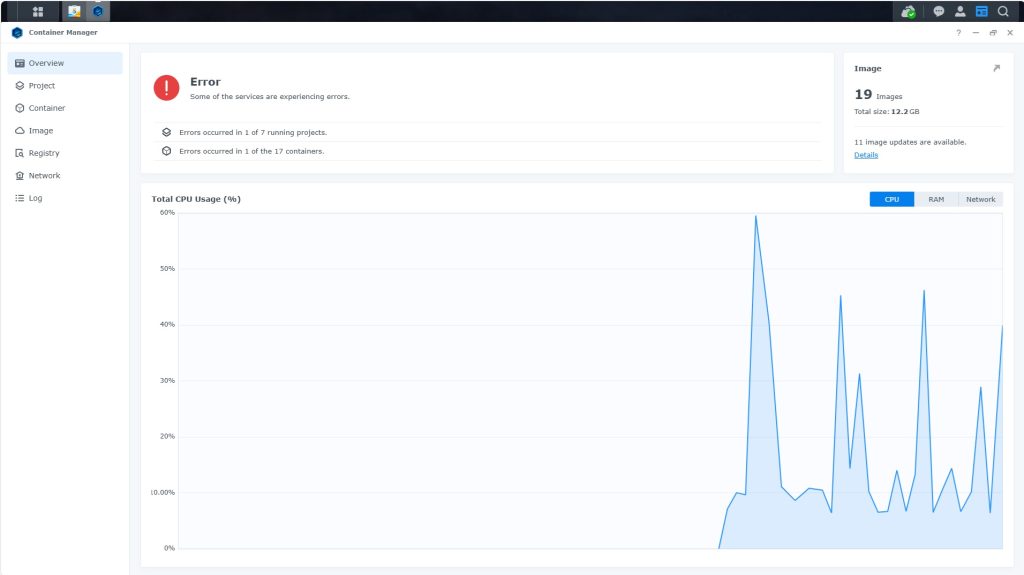
Now you will be Presented with the below. This is the Container manager over view of all your Containers and what’s happening in real time.
Step 5
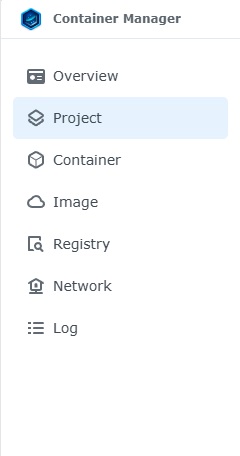
Now We need to Create a Project for Termix.
This project will do a number of things. download the image and setup the Project to Run all in one go.
Select project from the menu down the side and then select Create button
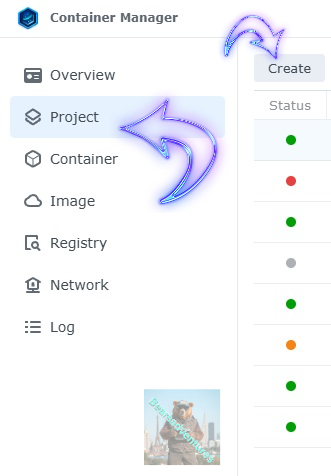
Step 6
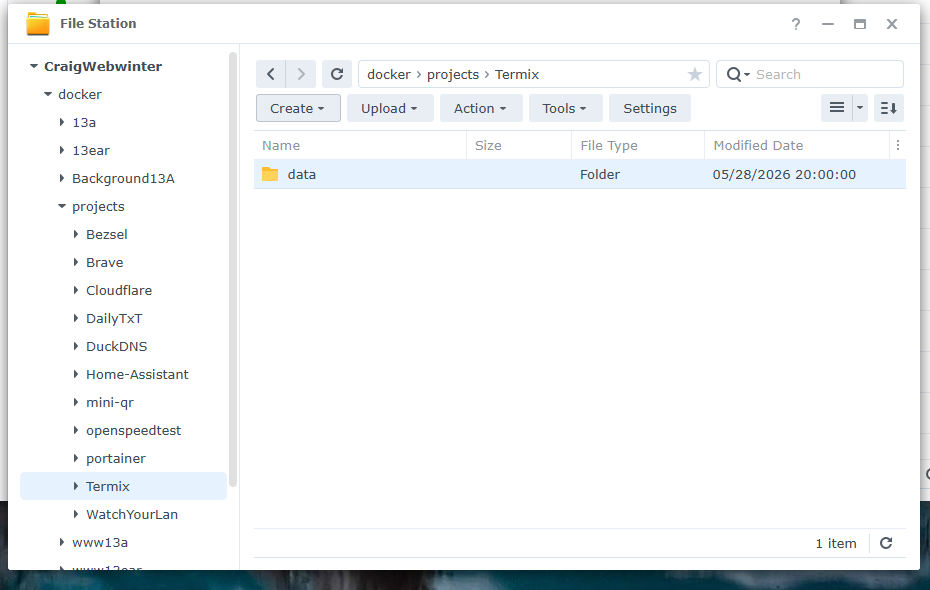
before we go any thurther we need to ensure we have our folders setup ready for the project.
I have a main folder on the Synology system just for docker projects. create the following folders using filestation so my path for Termix will look like this
Termix
Termix/data
Step 7
now we have created the folders needed for the project we can go ahead and create the project in Container manager
Give the project a name, change source to Create docker-compose.yml and add the path. Project name is all lower case.
See below for before and after the code you will need is below also.
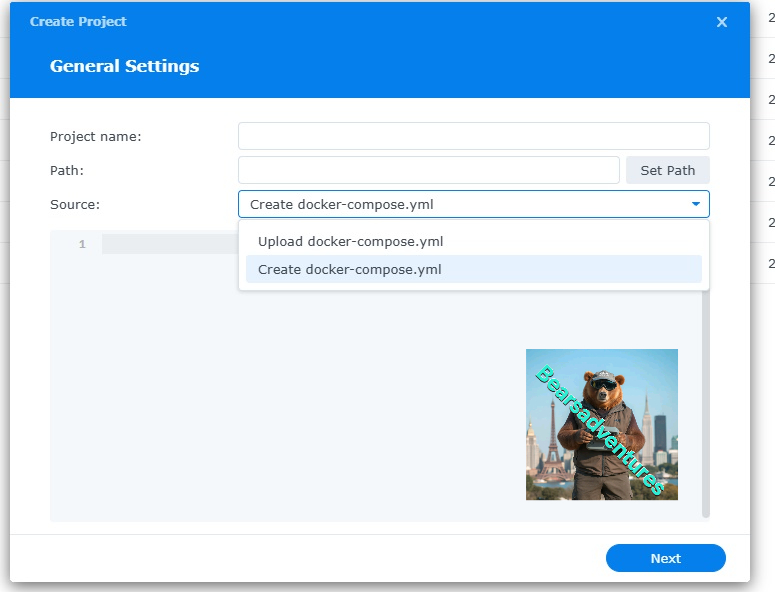
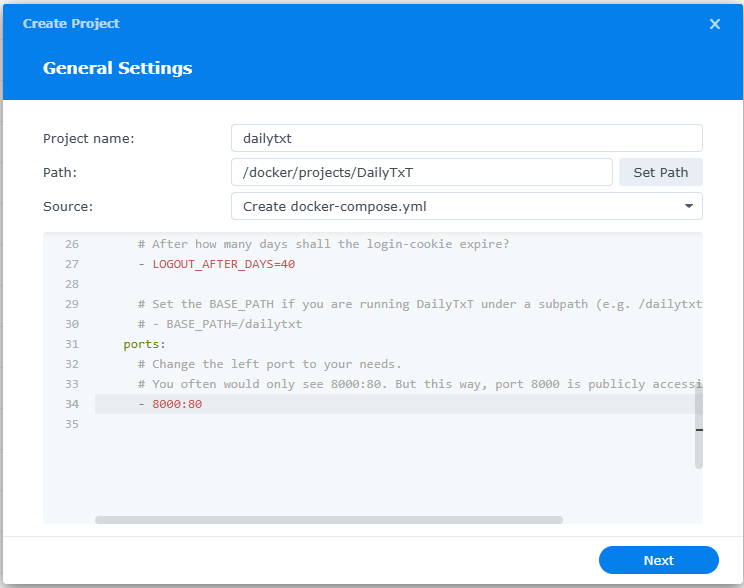
the volume path needs tobe exact or the project will return a fail. like above i missed out projects folder so i got a error and had to trouble shoot.
services:
  termix:
    image: ghcr.io/lukegus/termix:latest
    container_name: Termix
    healthcheck:
      test: timeout 10s bash -c ':> /dev/tcp/127.0.0.1/5674' || exit 1
      interval: 10s
      timeout: 5s
      retries: 3
      start_period: 90s
    ports:
      - 5674:5674
    volumes:
      - /volume1/docker/projects/Termix/data:/data:rw
    environment:
      PORT: 5674
      TZ: Europe/London
      PUID: 1024
      PGID: 100
    depends_on:
      - guacd
    restart: on-failure:5

  guacd:
    image: guacamole/guacd:latest
    container_name: Guacd
    ports:
      - 4822:4822
    restart: on-failure:5
press next when you are happy with the code
Step 8
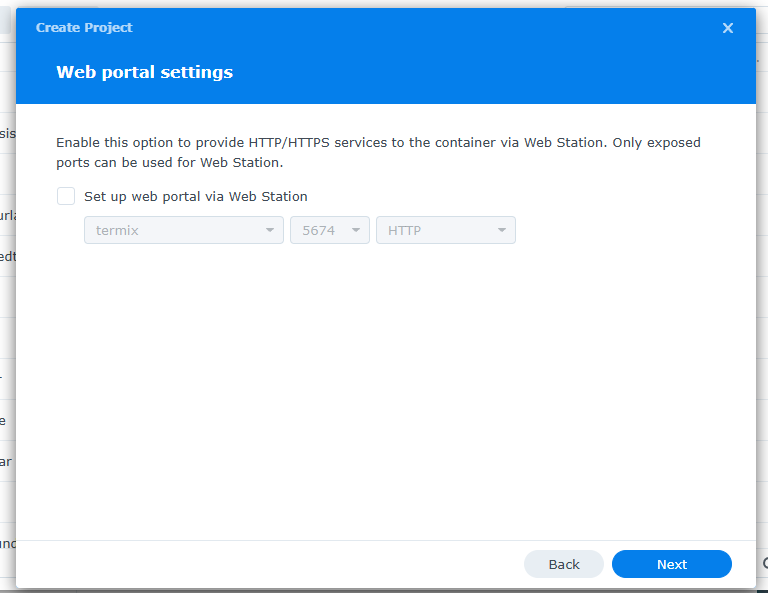
setup a web portal if you like . I would not advise it. and press next
Step 9
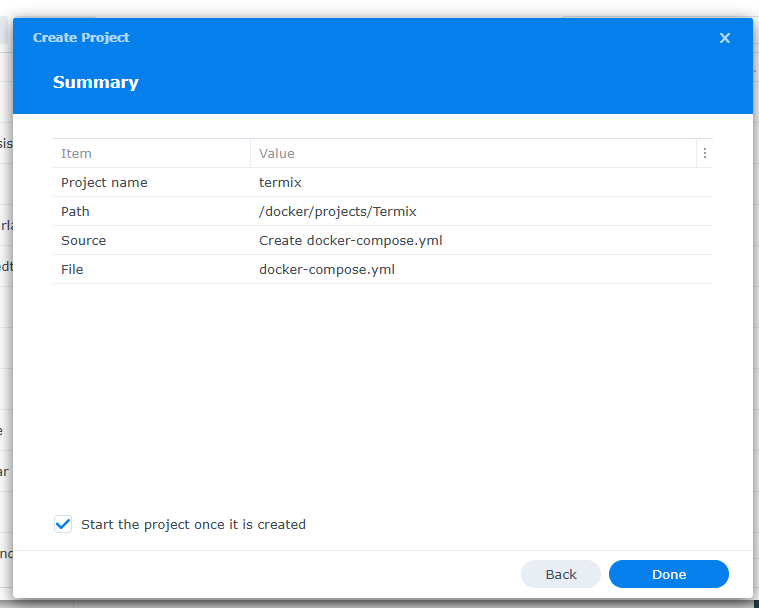
Thats it for this section, time to create the project.
Select Done
Step 10
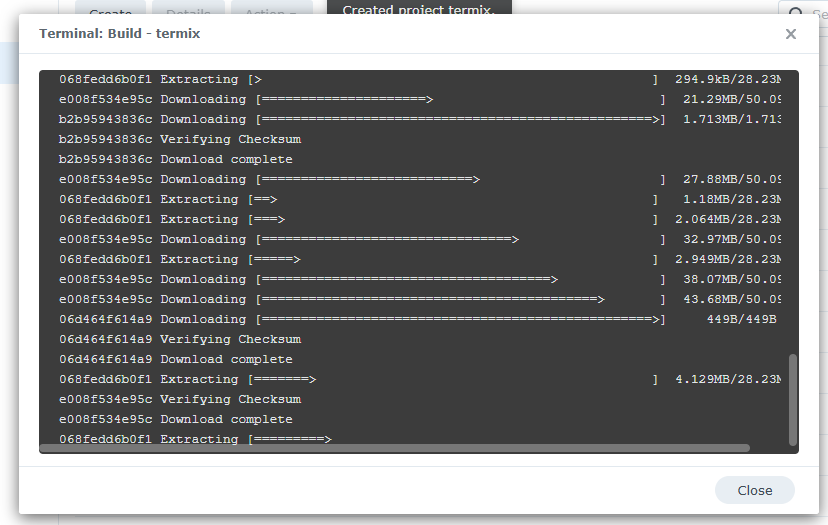
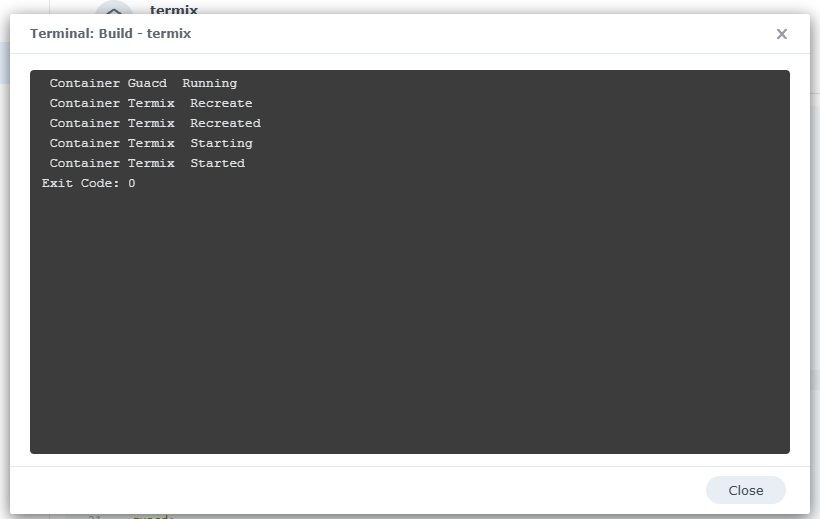
If you have a Exit Code of 0 like i have below then you are done. project created. if you have a Exit code 1 you have a error and need to visit the code again and trouble shoot.
Step 11
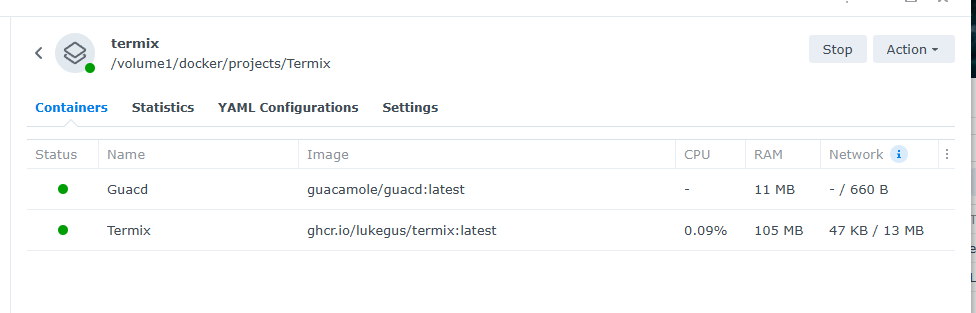
One last thing you can check to see if the docker is Green and showing no Errors, todo that just goto Container manager and on the left select Projects. There’s a Status Colum there the project should be green if not you will need to trouble shoot.
Note : Don’t forget to edit the path of the container.
Step 12
Now lets create a tunnel for the container so we can use this outside the network. I use Cloudflare for my hosting portal.
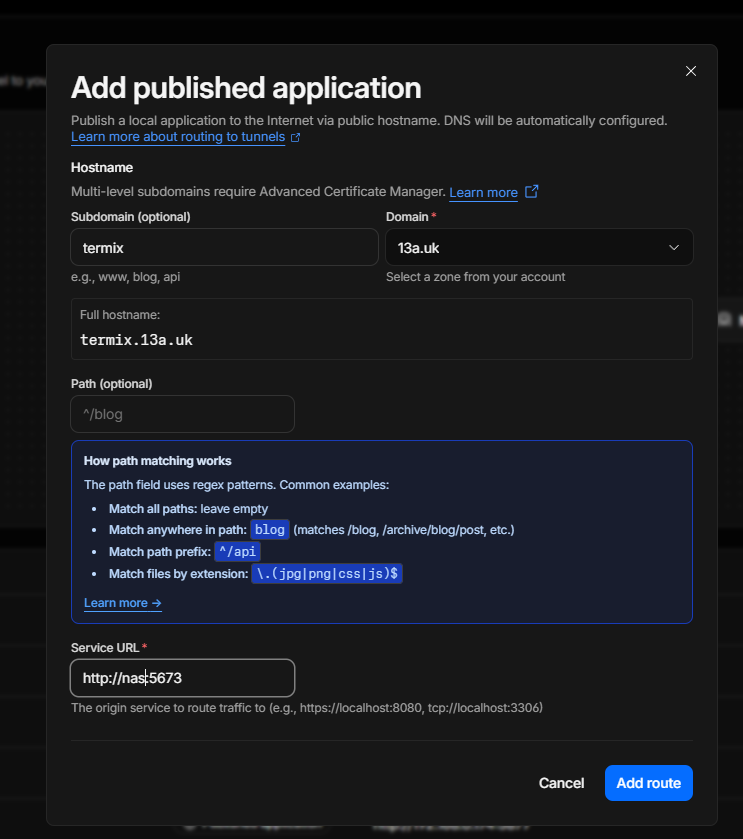
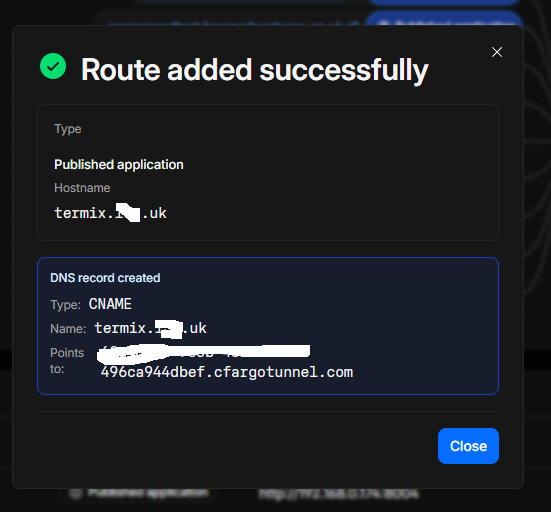
Step 13
Try the tunnel to see if the container is working outside our network.
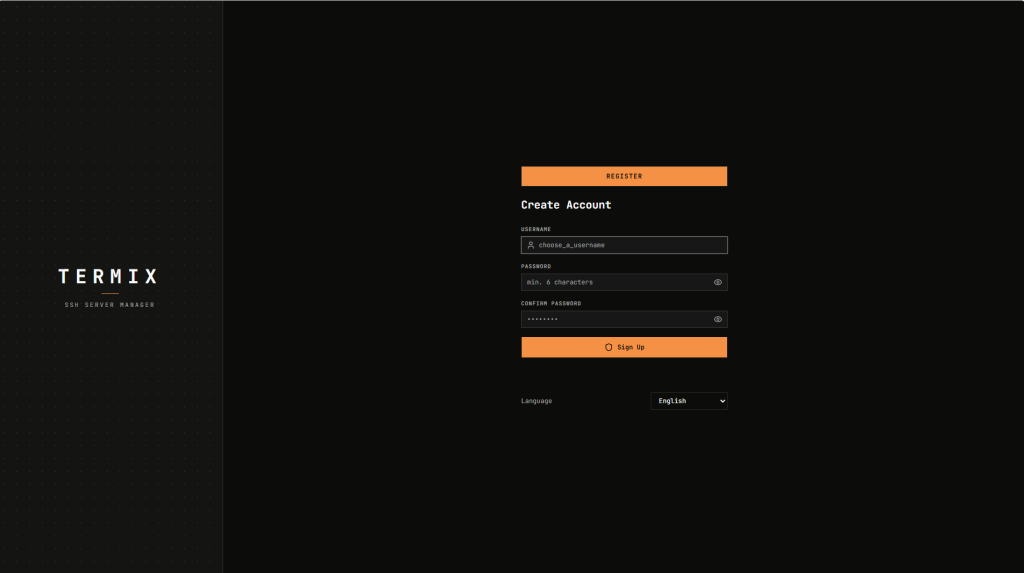
We have access outside our home network.
Step 14
Now lets create a account . Press on the button Create Account. Then you will be in.
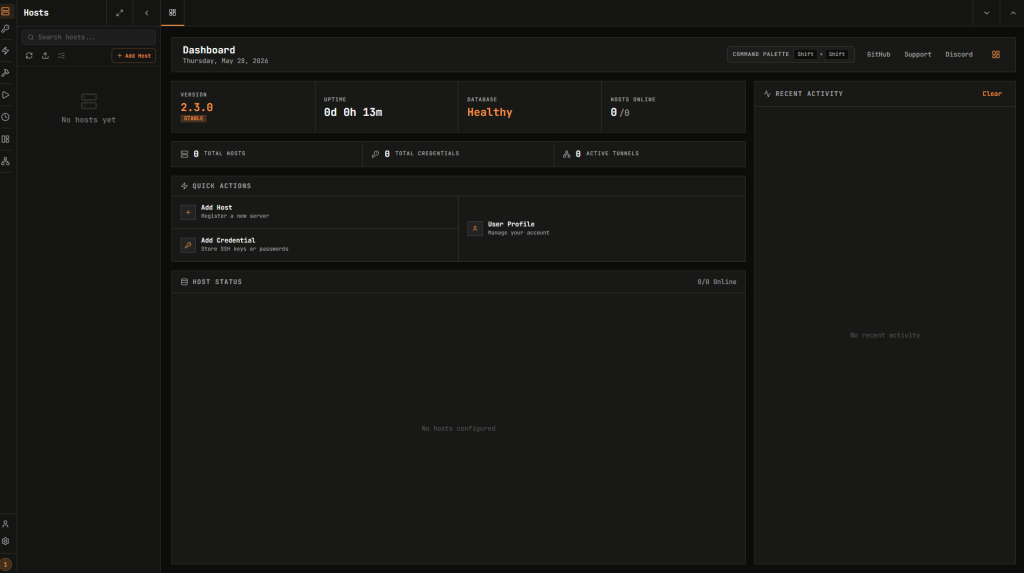
Step 15
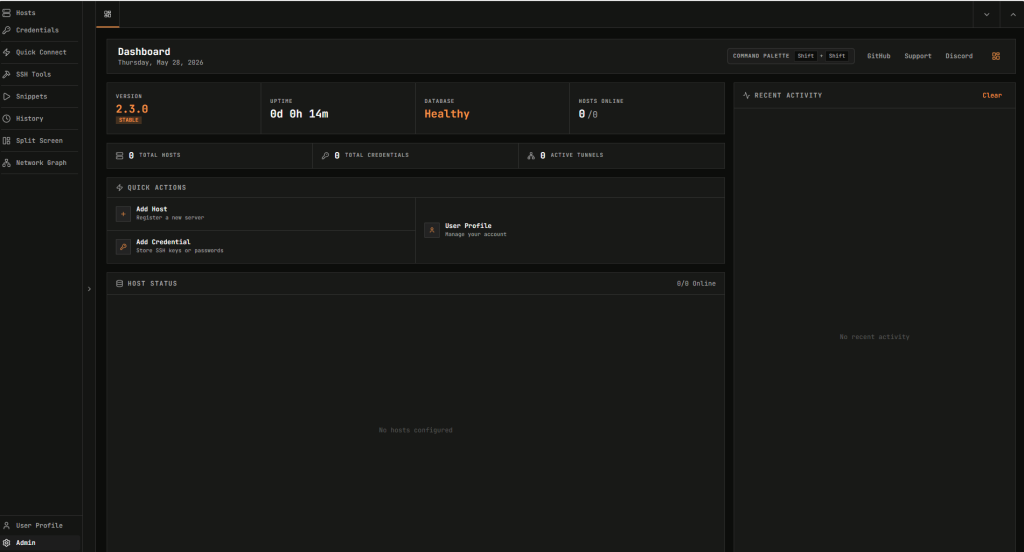
Now we have created a account. we need to Login and Head over to Admin.
Step 16
Disable allow user registration.

Step 17
This will auto safe this settings change

Step 18
To see if this has worked log out. Now you should only be greeted with login only.
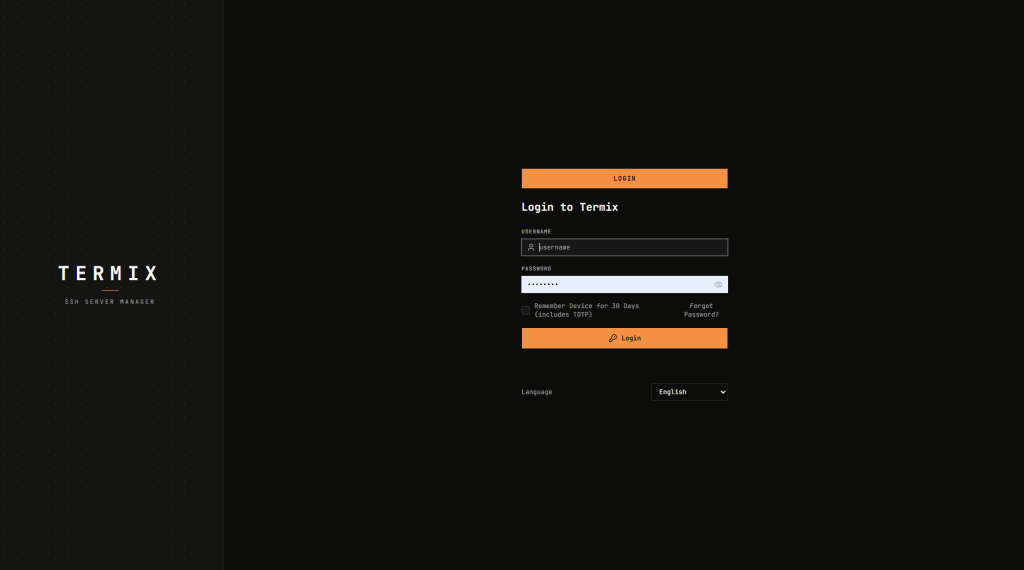
Step 19
I have only been using this for 5 minutes and already love how easy it is, the layout flow really well, i have already set this up to use it more on a daily bases local network only.
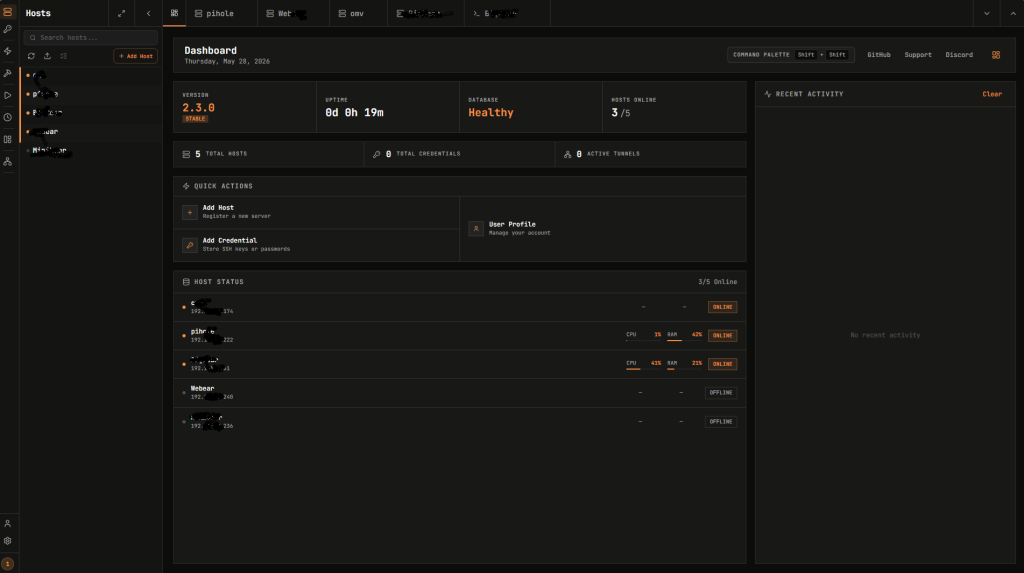
Happy managing hosts.
Share : https://13a.uk/yo6