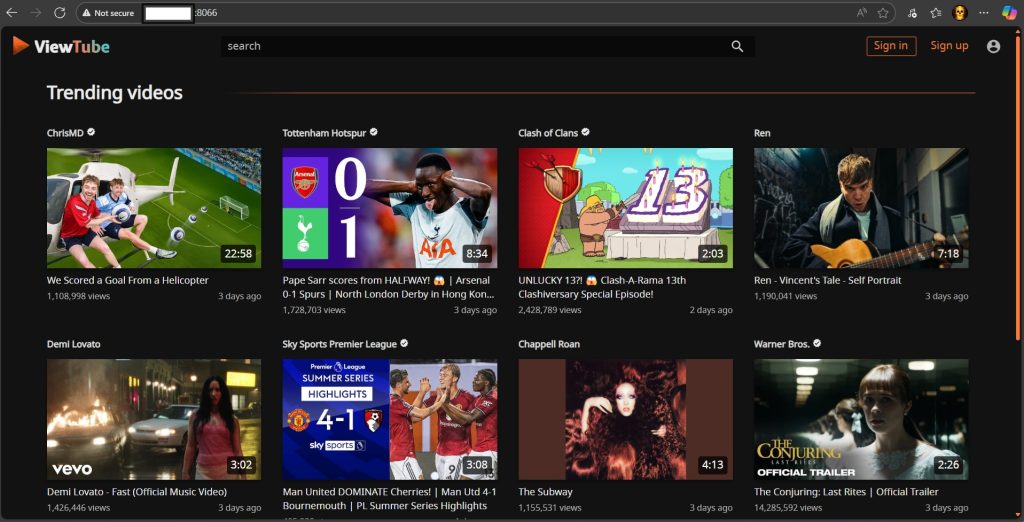
ViewTube
ViewTube is an alternative YouTube frontend that lets you watch, search and discover YouTube videos without ads or tracking.
Step 1
Install container manager, If you have already installed the manager jump to step 3
Select Main menu or the Package Center shortcut

Step 2
Type in Container in the Search bar and Press enter on your keyboard. Then you will See Container manager like below. in my case i have installed the Container manager already. Select install, wait a few second and then select open.
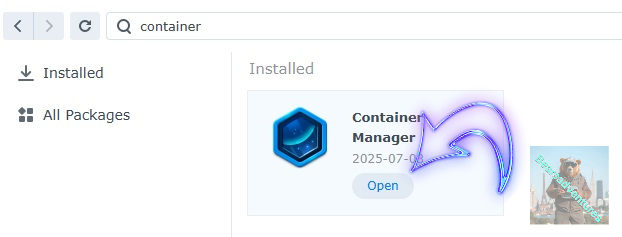
Step 3
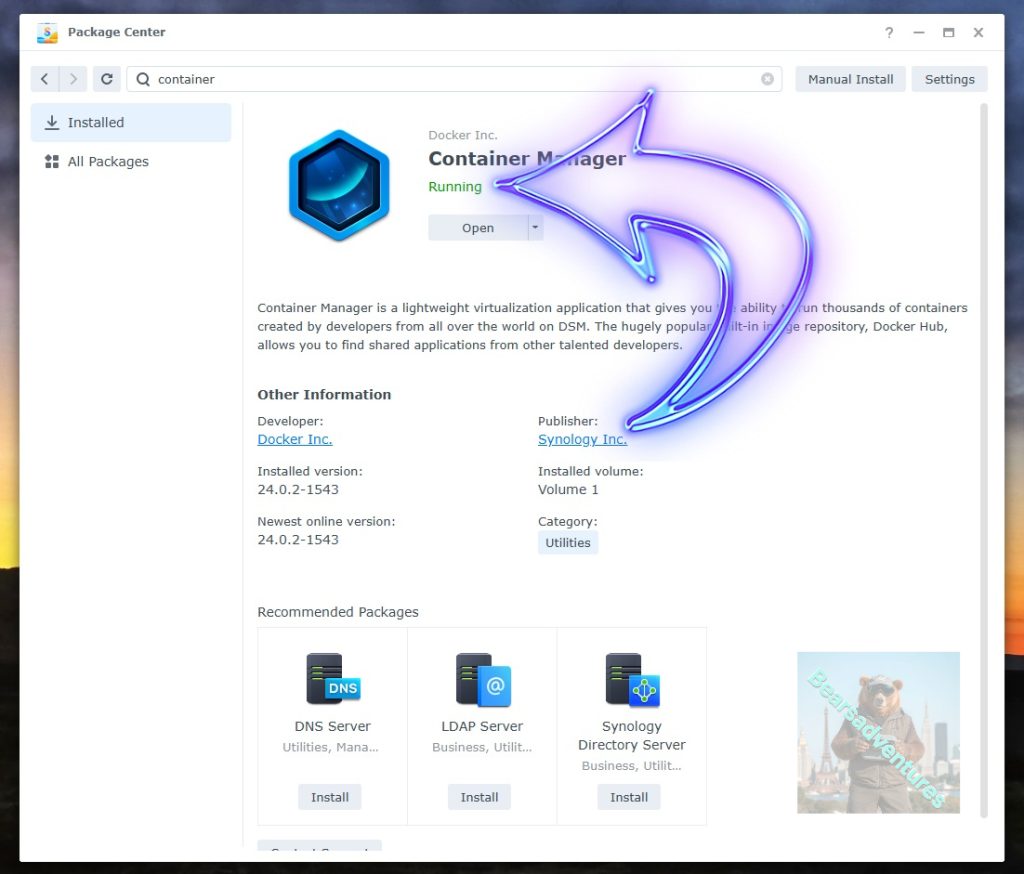
Now you have selected open you should see a screen like below and The Manager will say Running in green. Select open and move on to the next step.
Step 4
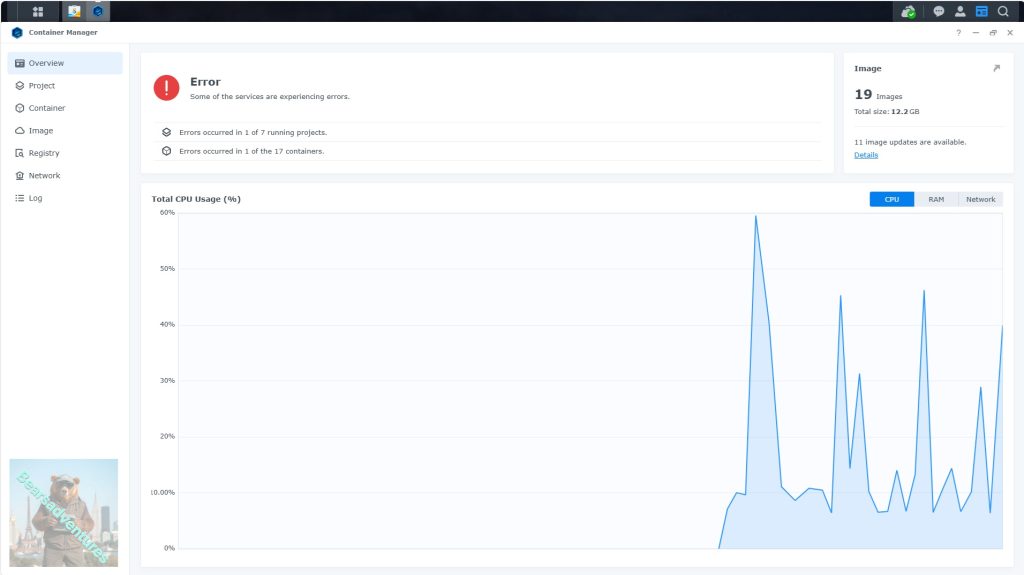
Now you will be Presented with the below. This is the Container manager over view of all your Containers and what’s happening in real time.
Step 5
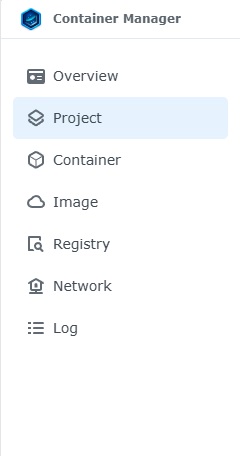
Now We need to Create a Project for ViewTube.
This project will do a number of things. download the image and setup the Project to Run all in one go.
Select project from the menu down the side and then select Create button
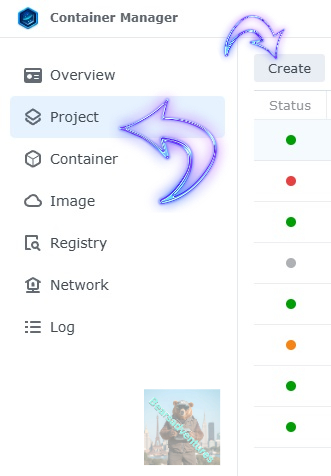
Step 6
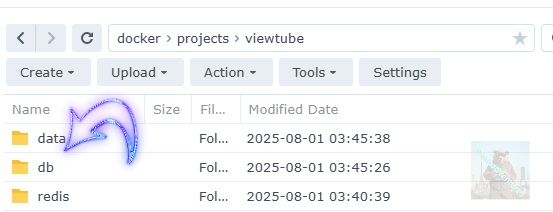
before we go any thurther we need to ensure we have our folders setup ready for the project.
I have a main folder on the Synology system just for docker projects. create the following using filestation
- viewtube folder and Config folder within the viewtube folder like below
Step 7
now we have created the folders needed for the project we can go ahead and create the project in Container manager
Give the project a name, change source to Create docker-compose.yml and add the path.
See below for before and after the code you will need is below also.
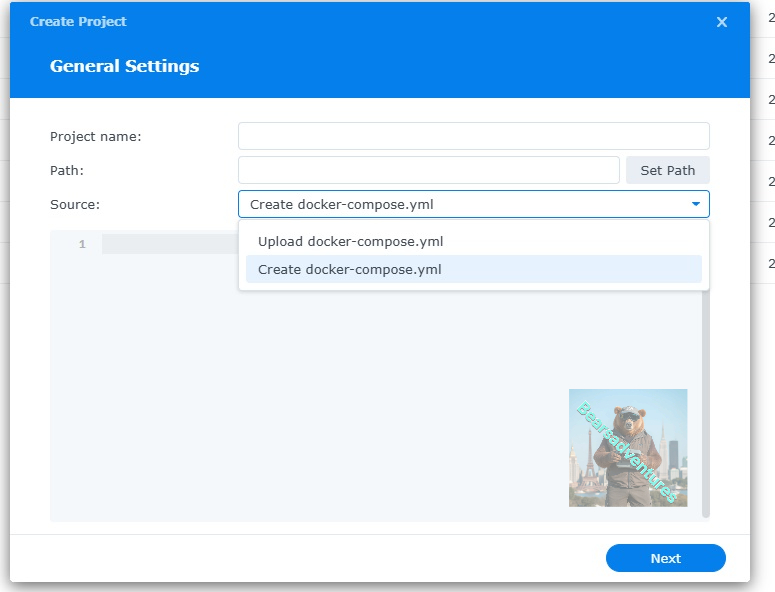
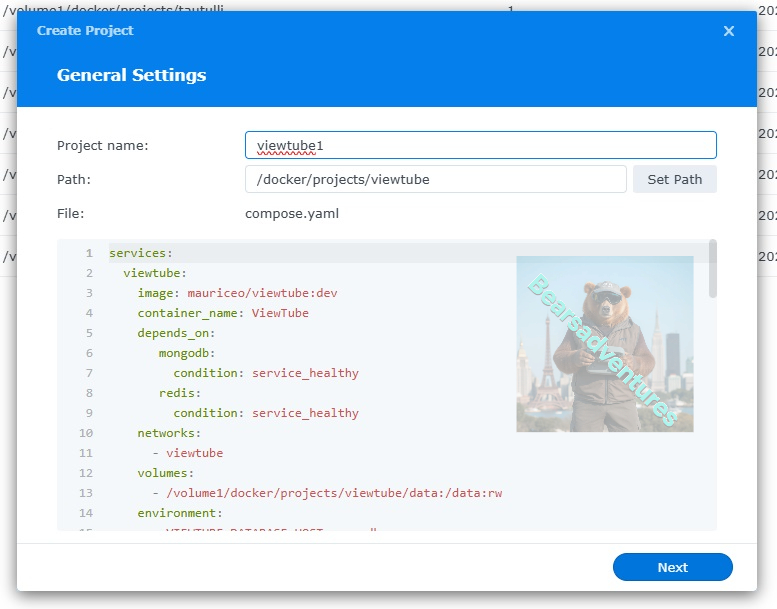
the volume path needs tobe exact or the project will return a fail.
services:
  viewtube:
    image: mauriceo/viewtube:dev
    container_name: ViewTube
    depends_on:
       mongodb:
         condition: service_healthy
       redis:
         condition: service_healthy
    networks:
      - viewtube
    volumes:
      - /volume1/docker/projects/viewtube/data:/data:rw
    environment:
      - VIEWTUBE_DATABASE_HOST=mongodb
      - VIEWTUBE_REDIS_HOST=redis
      - VIEWTUBE_CLUSTERED=false
      - YTDL_NO_UPDATE=true
    ports:
      - 8066:8066
    restart: on-failure:5

  mongodb:
     restart: on-failure:5
     image: mongo:4.4
     container_name: ViewTube-DB
     networks:
        - viewtube
     volumes:
        - /volume1/docker/projects/viewtube/db:/data/db:rw
        - /volume1/docker/projects/viewtube/db:/data/configdb:rw
     healthcheck:
       test: echo 'db.stats().ok' | mongo localhost:27017/test --quiet
       interval: 10s
       timeout: 10s
       retries: 5

  redis:
    image: redis
    container_name: ViewTube-REDIS
    mem_limit: 256m
    mem_reservation: 50m
    cpu_shares: 768
    networks:
      - viewtube
    security_opt:
      - no-new-privileges:true
    read_only: true
    user: 1024:100
    healthcheck:
      test: ["CMD-SHELL", "redis-cli ping || exit 1"]
    volumes:
      - /volume1/docker/projects/viewtube/redis:/data:rw
    environment:
      TZ: Europe/london
    restart: on-failure:5
networks:
  viewtube:
press next when you are happy with the code
Step 8
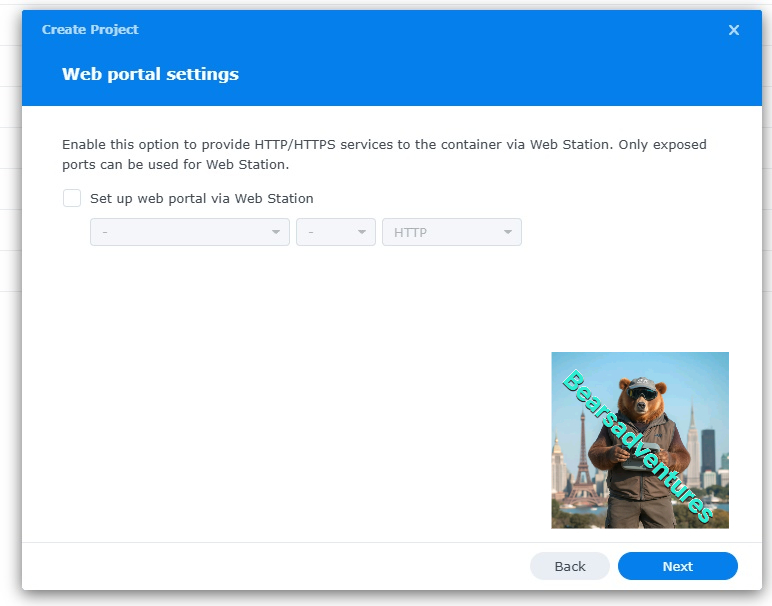
setup a web portal if you like . I would not advise it. and press next
Step 9
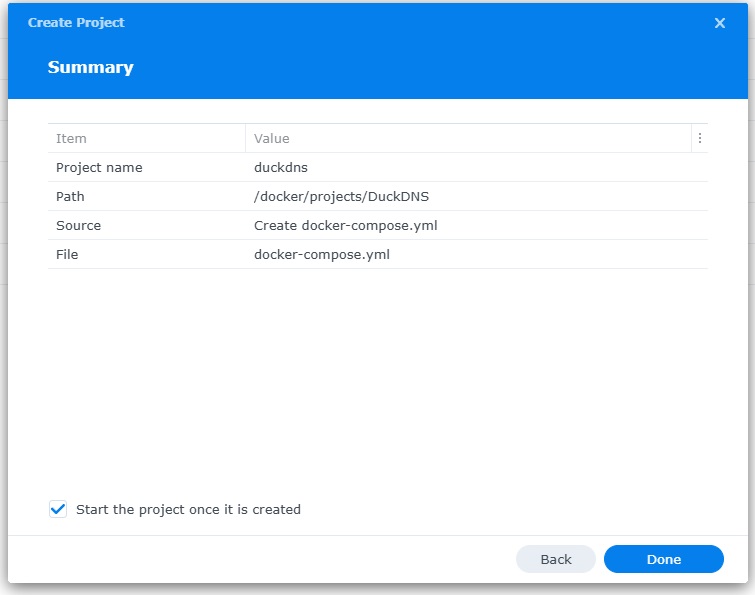
Thats it for this section, time to create the project.
Select Done
Step 10
If you have a Exit Code of 0 like i have below then you are done. project created. if you have a Exit code 1 you have a error and need to visit the code again and trouble shoot.
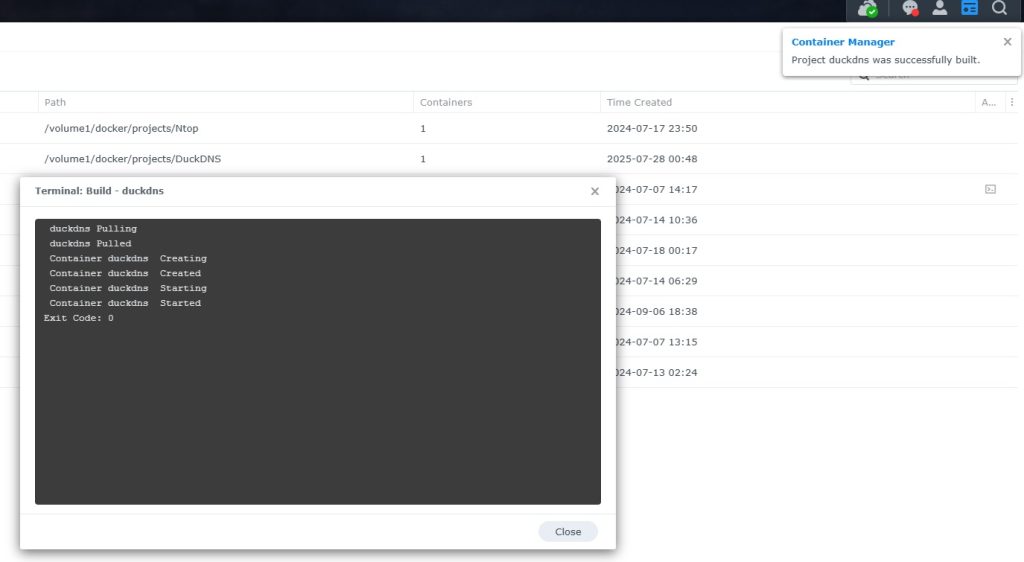
Thats it you are done and updating your IP number to DuckDNS. See below on how to check if its working
One last thing you can check to see if the docker is Green and showing no Errors, todo that just goto Container manager and on the left select Projects and duckdns will be there Status Colum should be green if not you will need to trouble shoot.

