


Setup VPN Server on your Synology System
A VPN allows you to privately access online activities no matter where you are by encrypting your connection to the Internet. This article guides you on setting up your Synology NAS as a VPN server.
What is a VPN Server you ask?
A VPN server is a remote computer that acts as a secure middleman, creating an encrypted “tunnel” for your internet traffic, hiding your real IP address and location, and routing your data through itself to the internet, making your online activity private, secure, and anonymous from your ISP or others on public Wi-Fi. It masks your identity by assigning you the server’s IP address and secures your data with encryption, essential for privacy on untrusted networks.
Step 1
Install VPN Server, If you have already installed the VPN Server jump to step 3.
Select Main menu or the Package Center shortcut, Top Left.

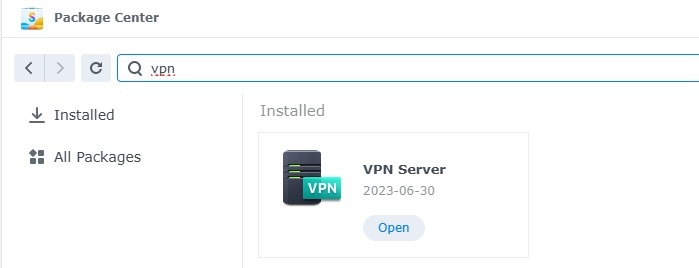
Step 2
Type in VPN in the Search bar and Press enter on your keyboard. Then you will See VPN Server like below. in my case i have installed the VPN Server already. Select install, wait a few second and then select open.
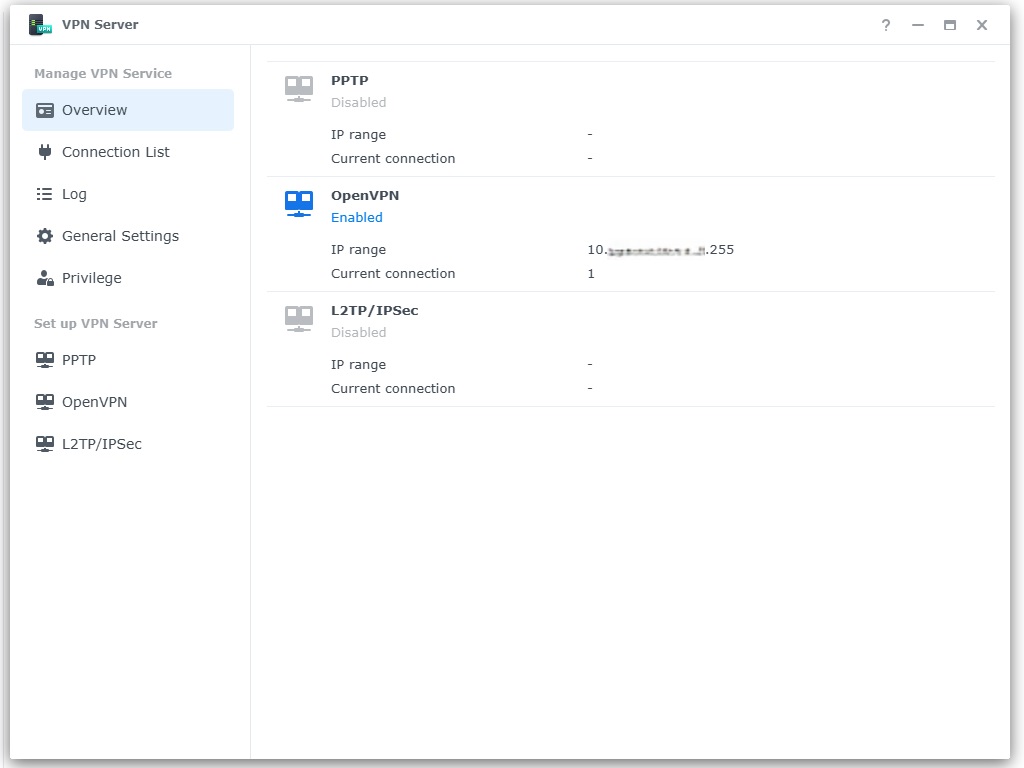
Step 3
I already have this setup. and do not want to delete this as i have one active connection to my other server for backups. So i will talk you though on how todo this using my current setup. See below my setup.
Step 4
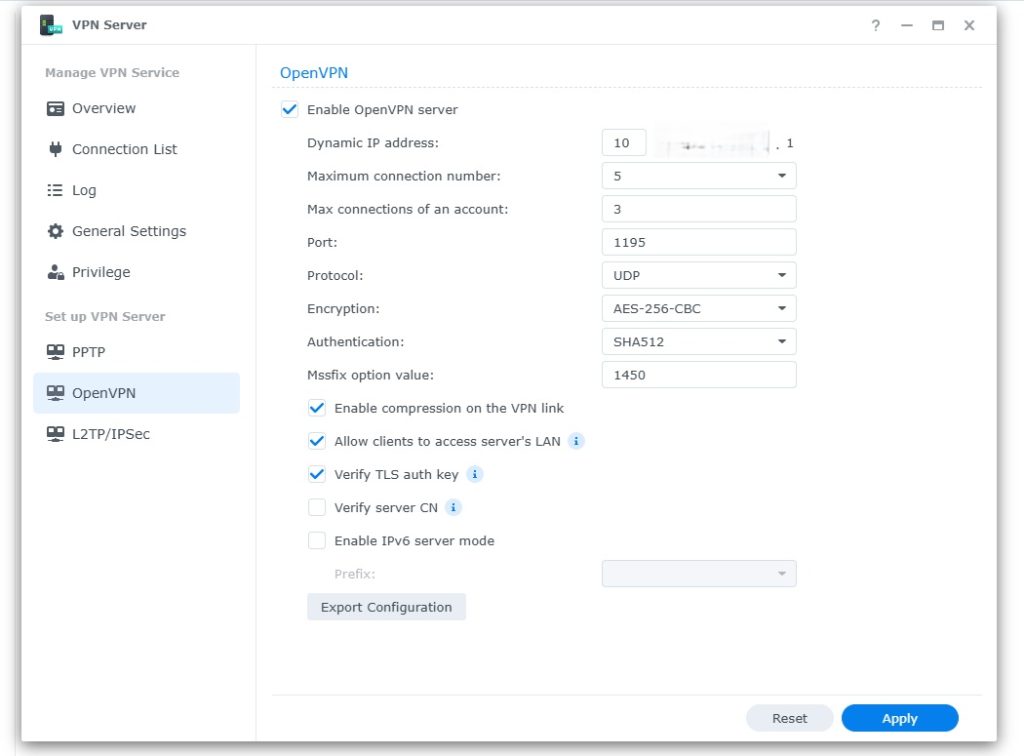
We are going to OpenVPN from the Set up VPN server now you will see the below but nothing will be selected in your case.
Enable the following
A, Enable the Open VPN Server and there will be now a Dynamic IP.
I like to Assign a IP number to a Service / Server and keep it to that IP Number until i change the Server / Service out for another one.
B, Enable compression on the VPN
Enabling this will help with traffic flow. think of it as a motorway with 4 lanes. This will reduce the traffic two 2 lanes and still allow traffic down the other 2 laves for other resources like Websites, streaming services.
C, Allow Clients to access Servers LAN.
This is brilliant for many reason, Accessing other servers and Routers, But bare in mind this also opens up issues if you get Hacked.
D, Verify STL auth Key (Very important)
The key will give access to the devices you give the key to only. keeping hackers out and unwanted traffic.
E, Maximum connections to a minimum
I like to keep my maximum connections to 5, but you can change this to what ever you like.
Step 5
Before Applying you need to Export Configuration so you are able to connect the the server, The File is the key to connecting to the VPN.. After you have Exported the file Select Apply. Remember to Upload the file to your Phone ready for the next steps.
Thats it for the DSM Server side of things. Download the file to your phone. We are going to use it to connect to the VPN on our Phone.
Step 6
We are going to install Open VPN Connect on my Android phone, I do not have a Apple phone, But i have been told this also works for the app on Apple phones.
Step 7
After downloading the app, Select and open the app. There will be a + Symbol in the bottom right corner select it. Onto the Step step.

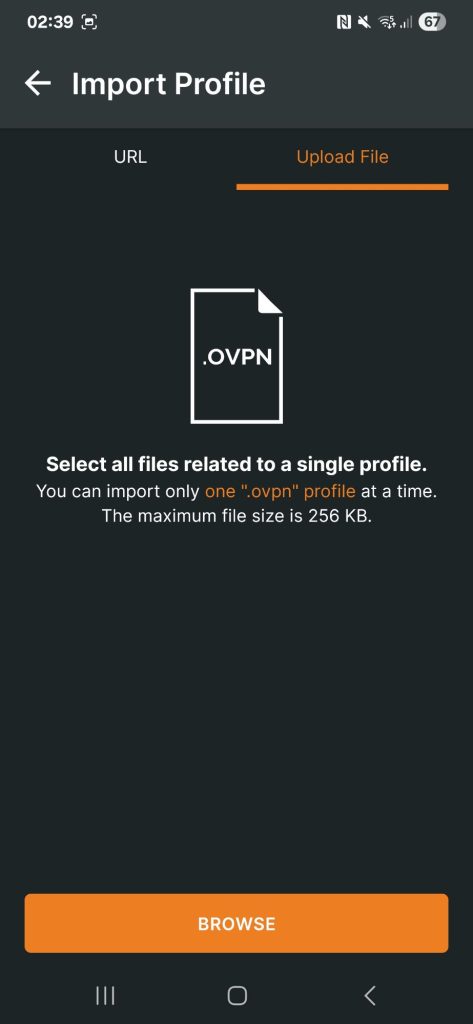
Step 8
Upload the file you downloaded after setting up VPN Server to your phone and now select Upload file. Top right hand side as shown in below picture.
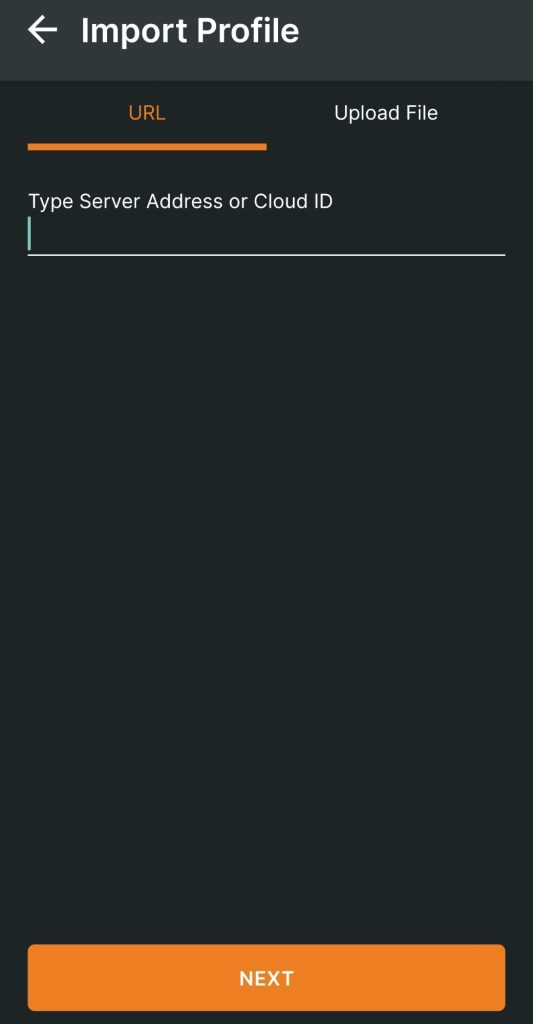
Step 9
The file you upload will only work if the Extension is .OVPN this file has the Encryption key in it so do not loose it.
Step 10
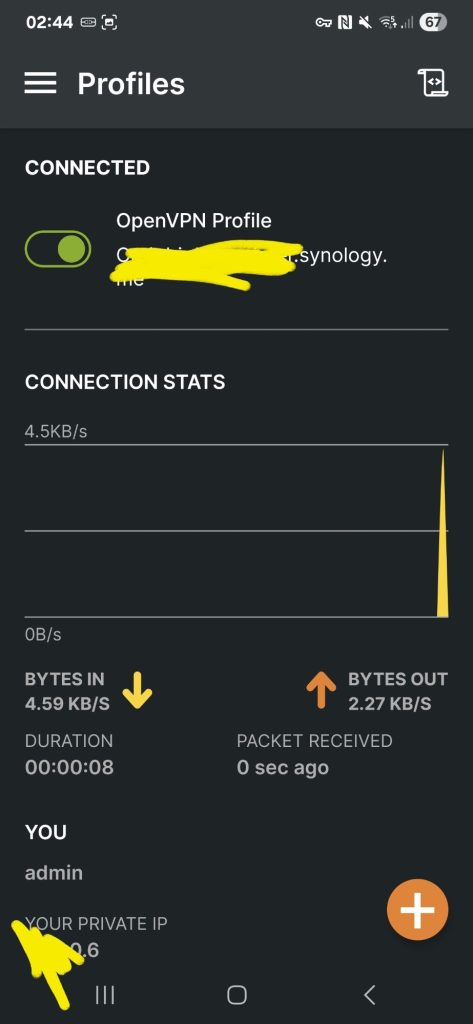
If successful your OpenVPN Profile will be created. like below.
If for whatever reason this step fails you will need to export your configuration file again from the DSM OPEN VPN Server. Step 4
Step 11
Time to try it out, Just select to toggle button on the left to try. If successful connection you will see something like the below. its not super fast but will do the job you need it for. i have even streamed through the connection when testing.
Thats it Happy VPN.
Summary and my thoughts
How it works
- Connection: Instead of connecting directly to the internet via your ISP, your device connects to the VPN server.
- Encryption: All data traveling between your device and the VPN server is encrypted, forming a secure tunnel.
- IP Masking: The VPN server replaces your real IP address with its own, making it appear as if you’re browsing from the server’s location.
- Data Forwarding: The VPN server then sends your requests to the internet and sends the responses back to you through the same encrypted tunnel.
Key functions
- Privacy: Hides your browsing activity and identity from your Internet Service Provider (ISP).
- Security: Protects your data from snooping, especially on unsecured public Wi-Fi.
- Anonymity: Masks your real IP address, making it harder to track you online.
- Bypassing restrictions: Can help circumvent censorship or geo-blocking by making it seem like you’re in another country.