




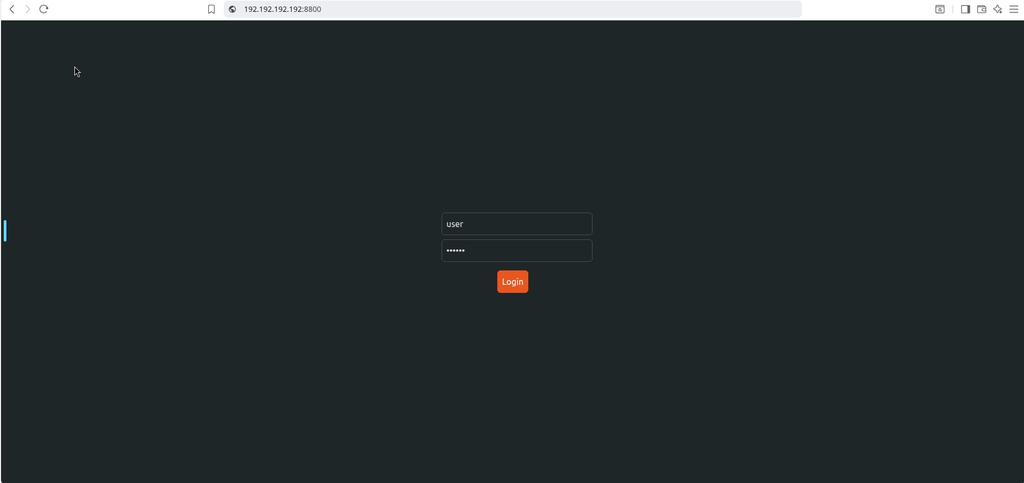
I like to use Watchyourlan outside of my network to see what is happening when im not home, The problem is i want Watchyourlan password protected so i ask if this can be done on Github. and i was informed on how todo this.
If you are interested in the project Yaml you can find it here. So lets jump into this.
Step 1
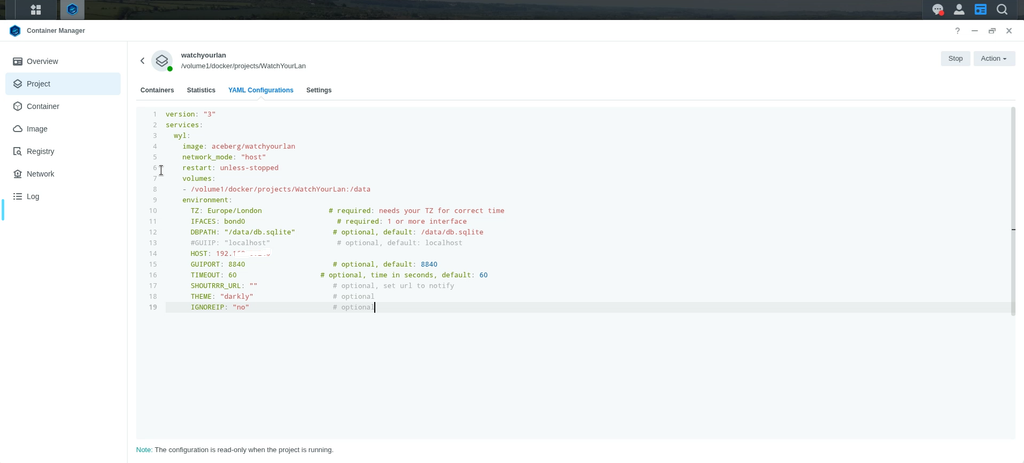
Load up your WatchyourLan project, Mine is in Container manager on my Synology Server and Head over to the YAML configuration
Step 2
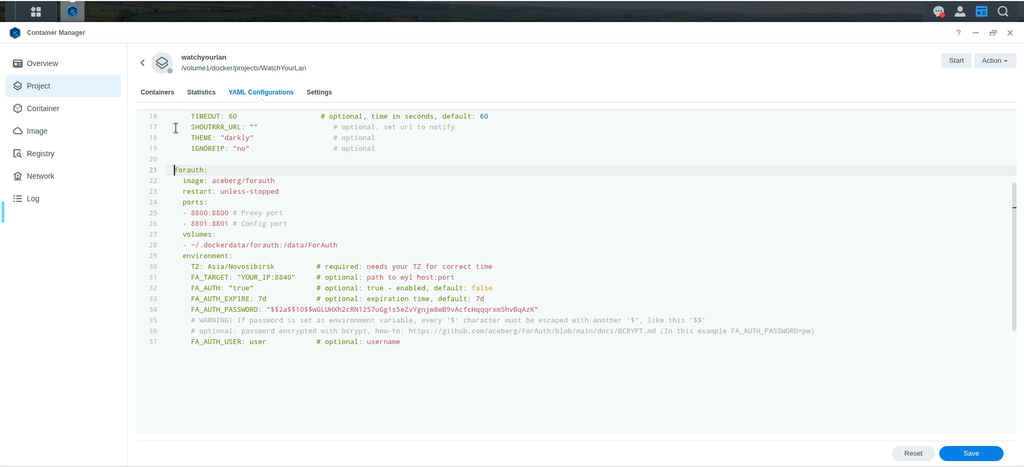
We need to add a new container to the project and edit the below container so it will work with our Watchyourlan Project. We need to edit the following
- Volumes
- TZ
- FA_TARGET
- FA_AUTH_PASSWORD
- FA_AUTH_USER
forauth:
    image: aceberg/forauth
    restart: unless-stopped
    ports:
    - 8800:8800 # Proxy port
    - 8801:8801 # Config port
    volumes:
    - ~/.dockerdata/forauth:/data/ForAuth
    environment:
      TZ: Asia/Novosibirsk          # required: needs your TZ for correct time
      FA_TARGET: "YOUR_IP:8840"     # optional: path to wyl host:port
      FA_AUTH: "true"               # optional: true - enabled, default: false
      FA_AUTH_EXPIRE: 7d            # optional: expiration time, default: 7d
      FA_AUTH_PASSWORD: "$$2a$$10$$wGLUHXh2cRN1257uGg1s5eZvYgnjw8wB9vAcfcHqqqrxm5hvBqAzK"
      # WARNING! If password is set as environment variable, every '$' character must be escaped with another '$', like this '$$'
      # optional: password encrypted with bcrypt, how-to: https://github.com/aceberg/ForAuth/blob/main/docs/BCRYPT.md (In this example FA_AUTH_PASSWORD=pw)
      FA_AUTH_USER: user            # optional: username
Step 3
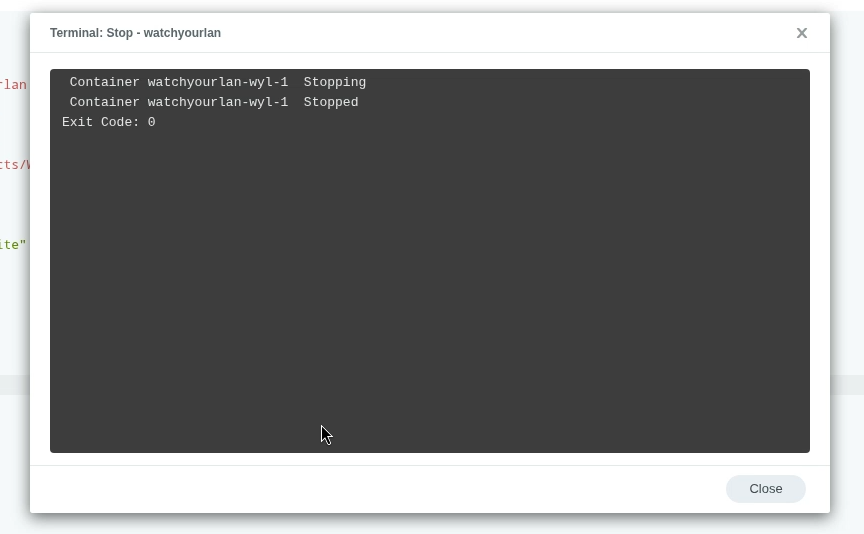
If your Project is running like mine, you will need to stop it
Step 4
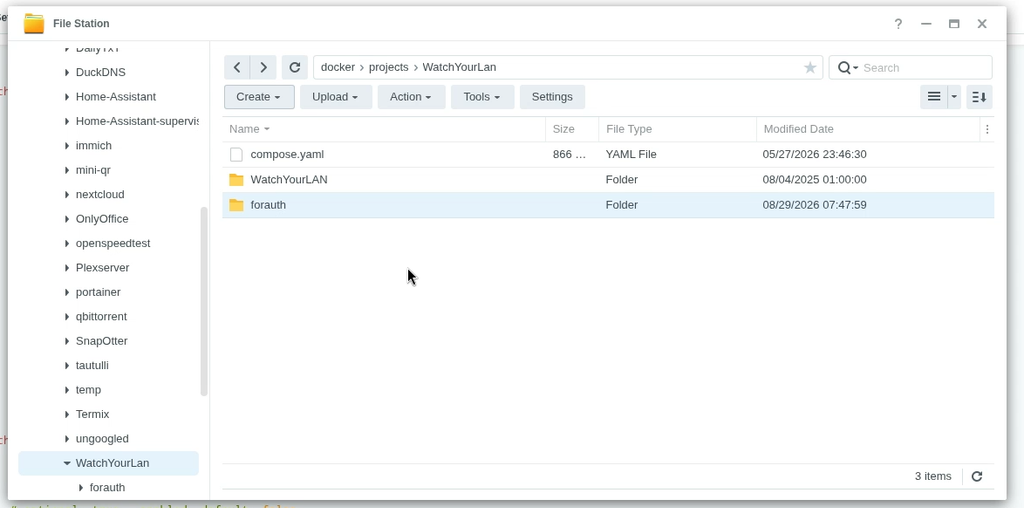
We need to add a folder to the Watchyourlan project folder and add folder forauth. just like below
Step 5
Now Add the code from Gethub to your project.
Step 6
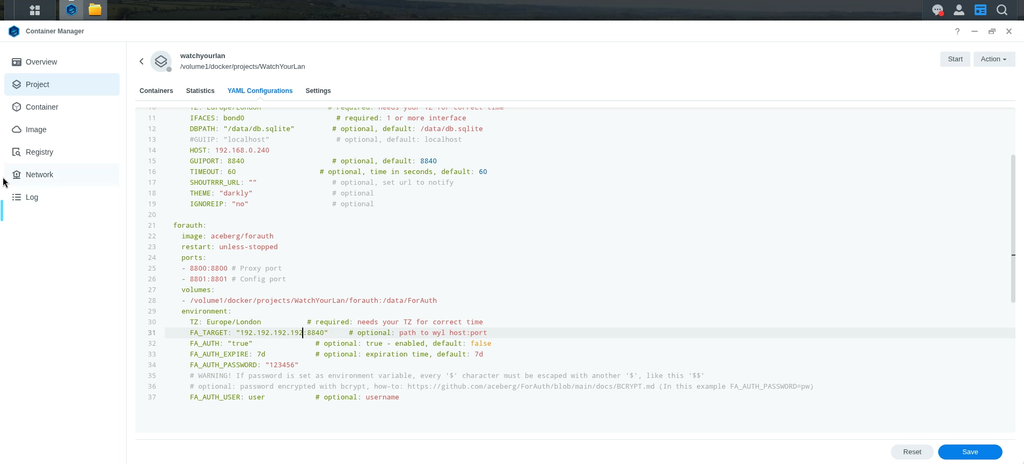
Change the following in the code. im going to leave the ports as is just for testing. you can change as you need.
- Volumes : /volume1/docker/projects/WatchYourLan/forauth:/data/ForAuth
- TZ : Europe/London
- FA_TARGET : “192.192.192.192:8840”
- FA_AUTH_PASSWORD : “123456”
- FA_AUTH_USER: user
Step 7
Double check your code before building the project backup.
forauth:
    image: aceberg/forauth
    restart: unless-stopped
    ports:
    - 8800:8800 # Proxy port
    - 8801:8801 # Config port
    volumes:
    - /volume1/docker/projects/WatchYourLan/forauth:/data/ForAuth
    environment:
      TZ: Europe/London           # required: needs your TZ for correct time
      FA_TARGET: "192.192.192.192:8840"     # optional: path to wyl host:port
      FA_AUTH: "true"               # optional: true - enabled, default: false
      FA_AUTH_EXPIRE: 7d            # optional: expiration time, default: 7d
      FA_AUTH_PASSWORD: "123456"
      # WARNING! If password is set as environment variable, every '$' character must be escaped with another '$', like this '$$'
      # optional: password encrypted with bcrypt, how-to: https://github.com/aceberg/ForAuth/blob/main/docs/BCRYPT.md (In this example FA_AUTH_PASSWORD=pw)
      FA_AUTH_USER: user            # optional: username
Step 8
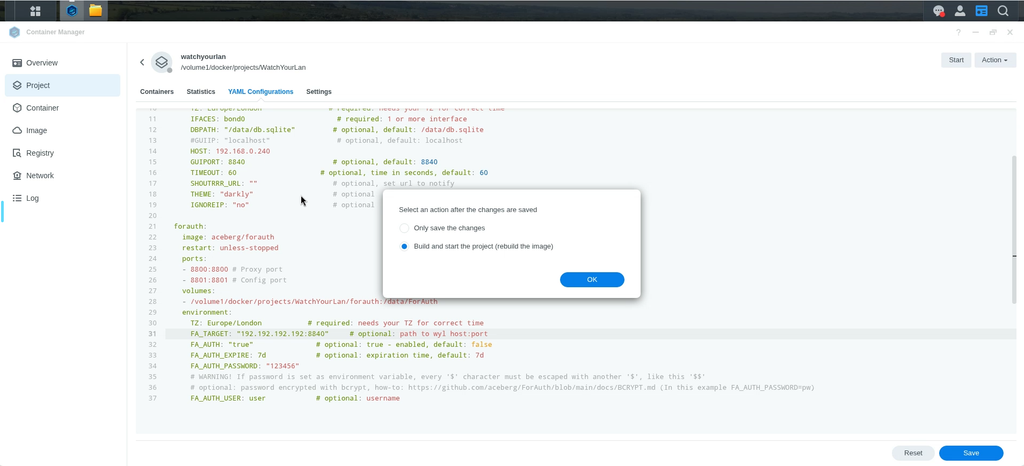
Save Project, This will also ask to build after saving.
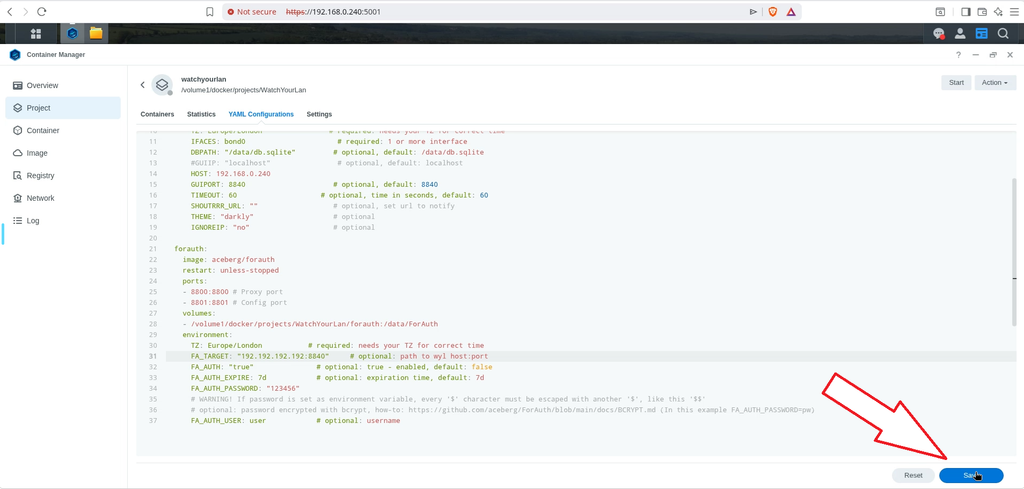
Step 9
After selecting save in previous step, now time to Build the project , Select ok and Have your fingers crossed.
Step 10
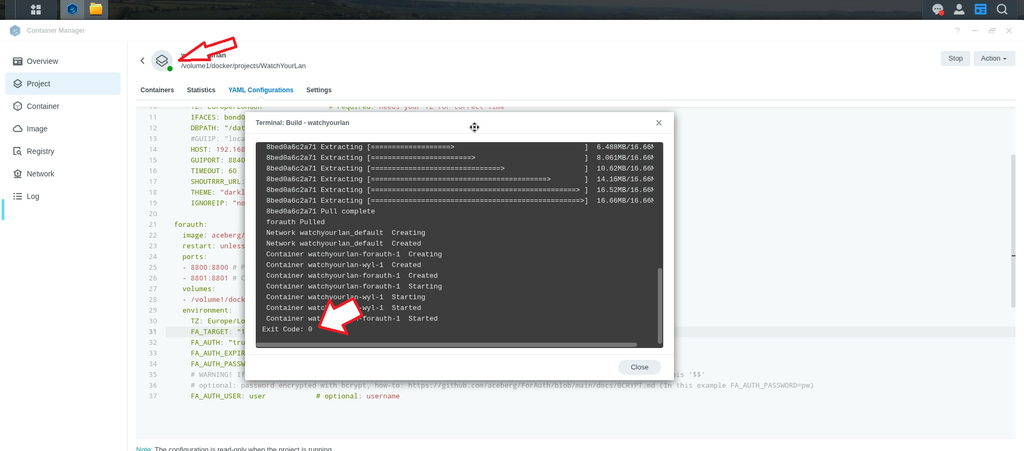
After the build you should have Exit code 0. this is for no errors while building to no trouble shooting is needed but also you will see a green dot next to your project.
Step 11
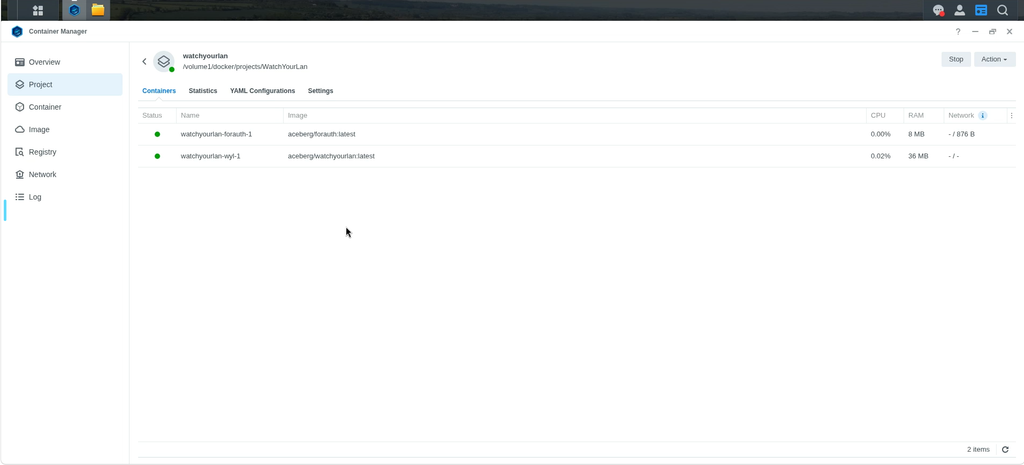
I also like to check my project list to ensure the project has no errors.

Selecting the project will also show your conditioner list and show there state, I find this useful for trouble shooting.
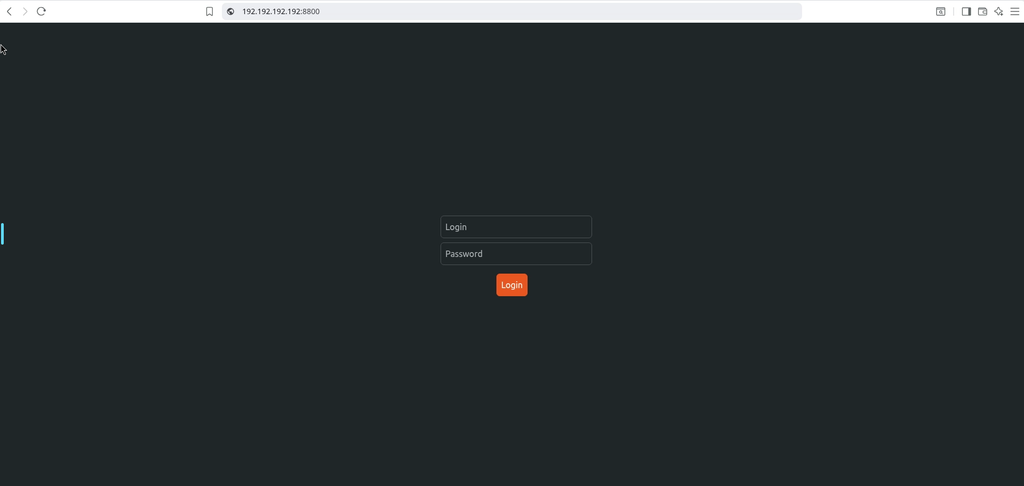
Now enter the ip number and port number in the internet explorer tab “192.192.192.192:8840” and you should have access to the login screen.
Step 13
Now enter your user and password we entered in the project
- FA_AUTH_USER: user
- FA_AUTH_PASSWORD: “123456”