Enabling Wi-Fi for your OpenMediaVault Installation
1. While the OpenMediaVault team recommends that you stick with using ethernet with your Raspberry Pi it is still possible to set up a Wi-Fi connection.
If you really want to enable Wi-Fi on OpenMediaVault, you will want to follow the next few steps.
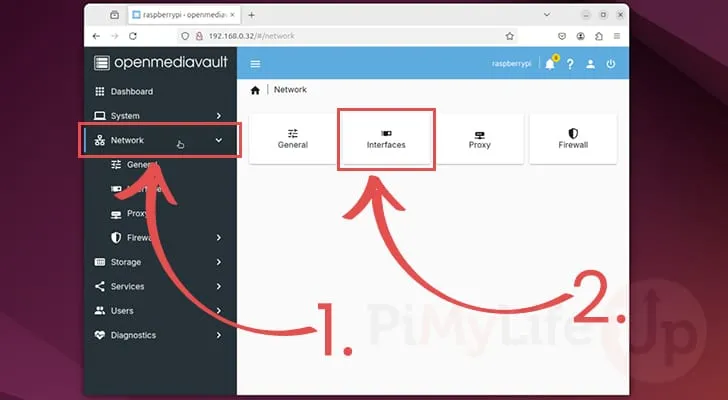
To start this process, change to the “Network” screen using the sidebar (1.). Next, click the “Interfaces” option (2.)
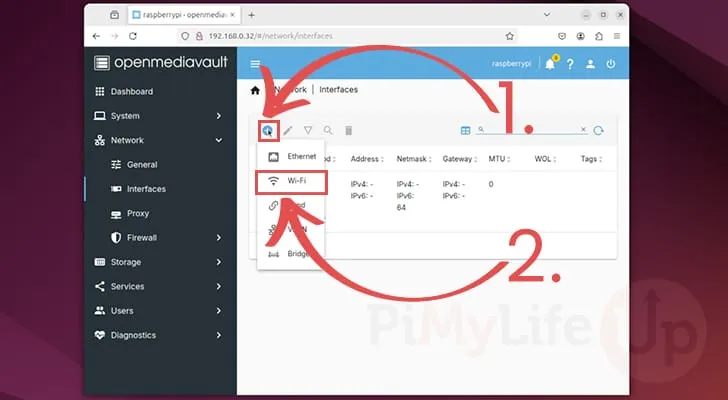
2. On this page, you should see your existing Ethernet connection. To add a new network interface, click the plus button symbol (1.).
Next, click the option labeled “Wi-Fi” (2.).
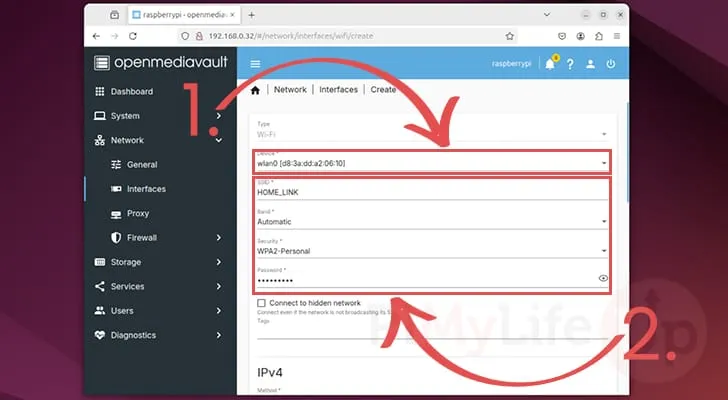
3. On this screen, use the “Device” select box to choose your wireless network interface (1.). On our Raspberry Pi, this interface had the name “wlan0“.
Next, fill out the information for your Wi-Fi network (2.). The key two pieces of information you will need to set here is the SSID for your network and the password to connect to it.
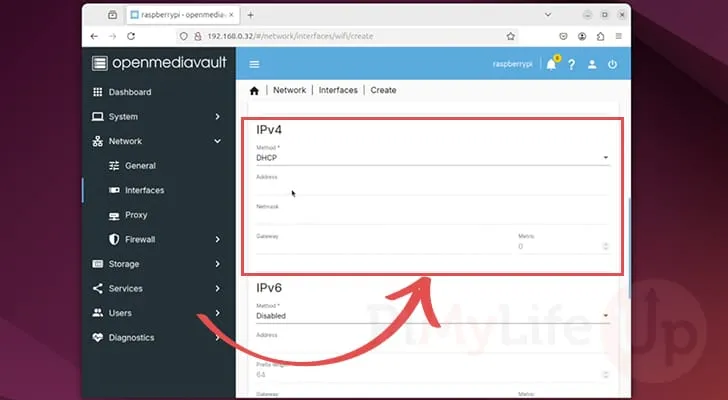
4. Once you have the Wi-Fi details set, you will need to choose how OpenMediaVault will use this network on your Raspberry Pi to get an IP Address.
The easiest option is “DHCP“, but “Static” allows you to specify a particular IP Address to use, but you will need to set both the netmask and gateway alongside the IP.
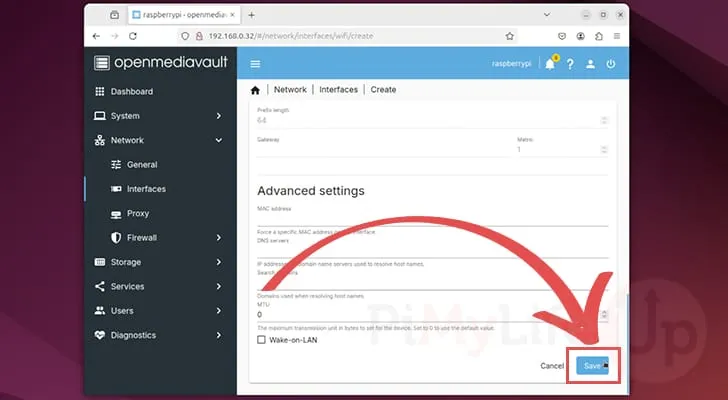
5. You can now confirm all of these changes by clicking the “Save” button at the bottom of your screen.
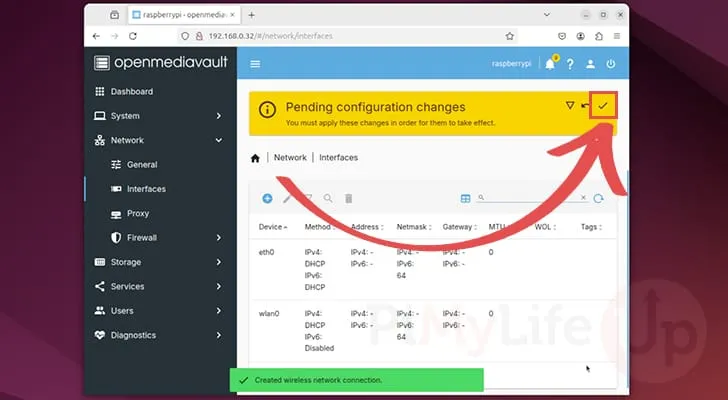
6. Before this Wi-Fi network will be set up by OpenMediaVault you will need to confirm the pending changes.
To begin confirming this change, click the arrow icon in the top-right corner
7. Now confirm the addition of this Wi-Fi connection by clicking the “Yes” button.

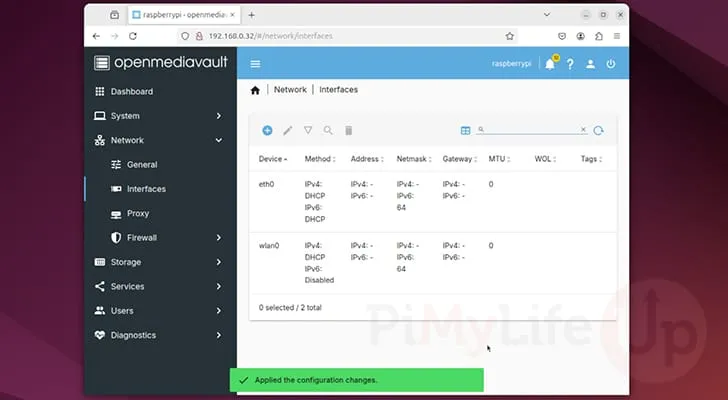
8. If everything has worked correctly, you should now see two network interfaces listed on this page.