





WordPress Container Manager 2026
Step 1
Install container manager, If you have already installed the manager jump to step 3
Click Here to install container manager
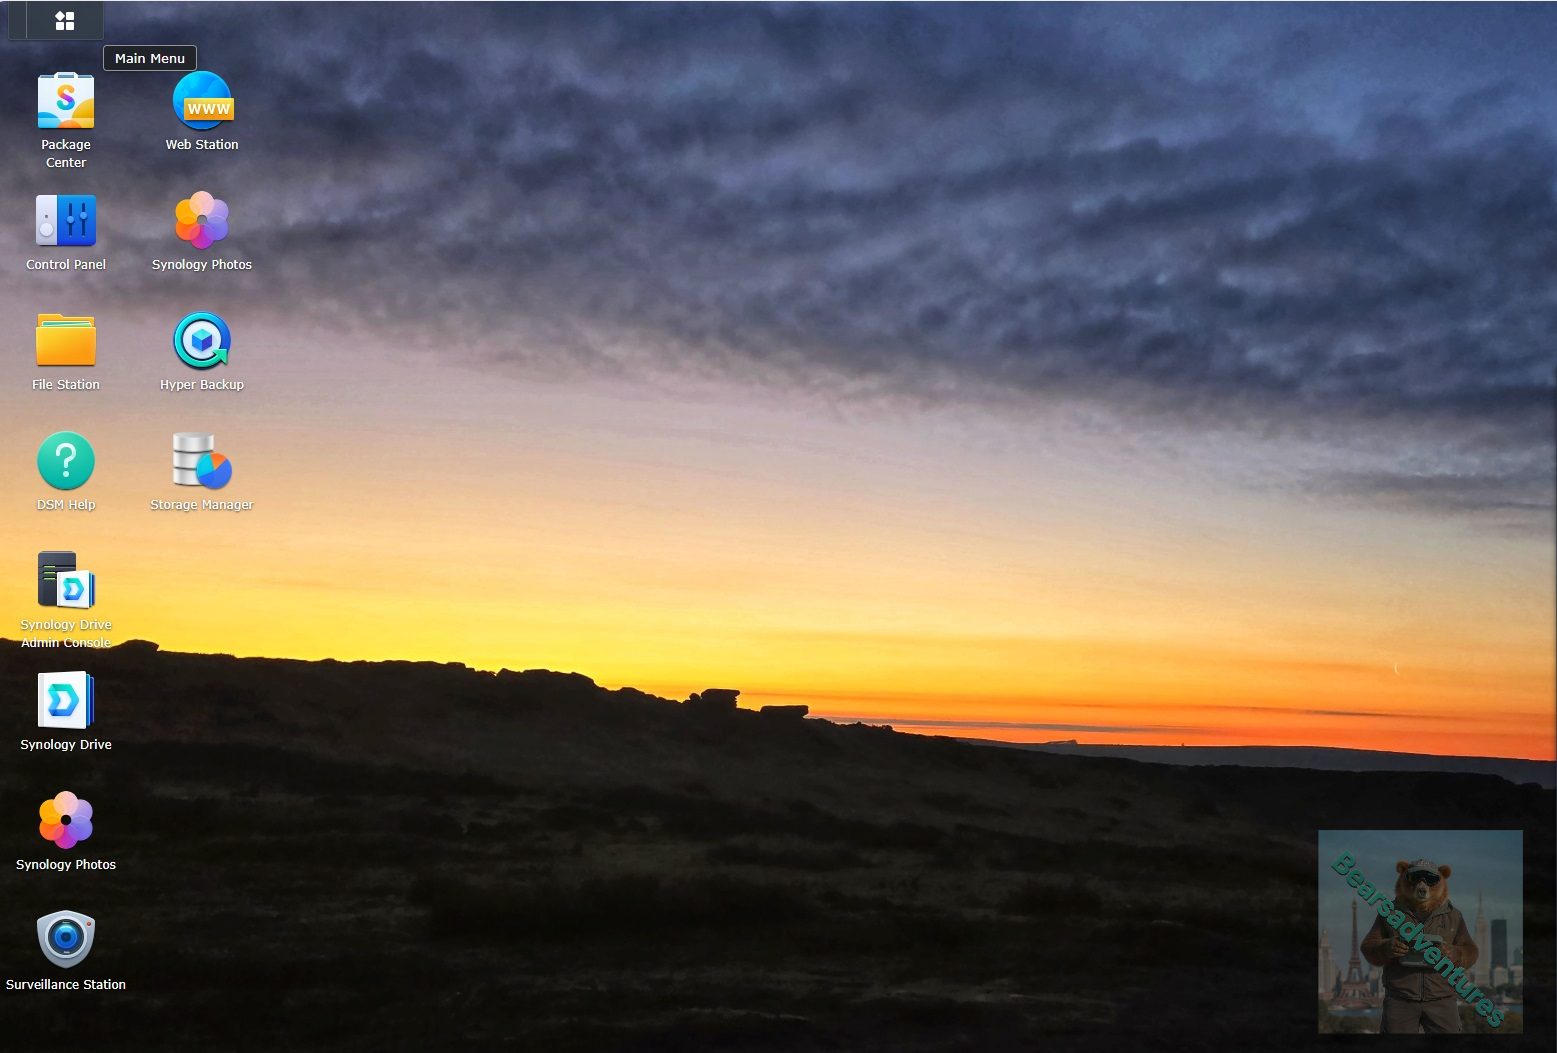
Select Main menu or the Package Center shortcut
Step 2
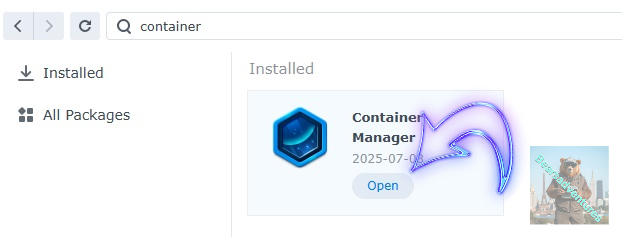
Type in Container in the Search bar and Press enter on your keyboard. Then you will See Container manager like below. in my case i have installed the Container manager already. Select install, wait a few second and then select open.
Step 3
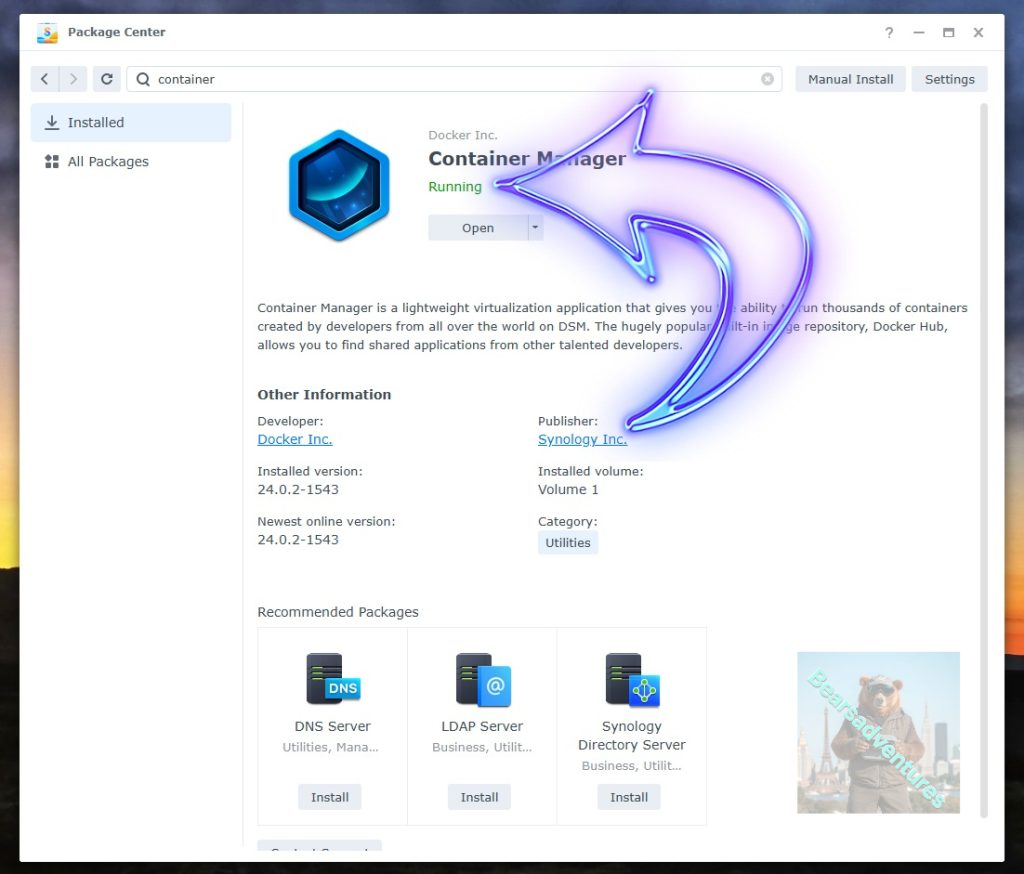
Now you have selected open you should see a screen like below and The Manager will say Running in green. Select open and move on to the next step.
Step 4
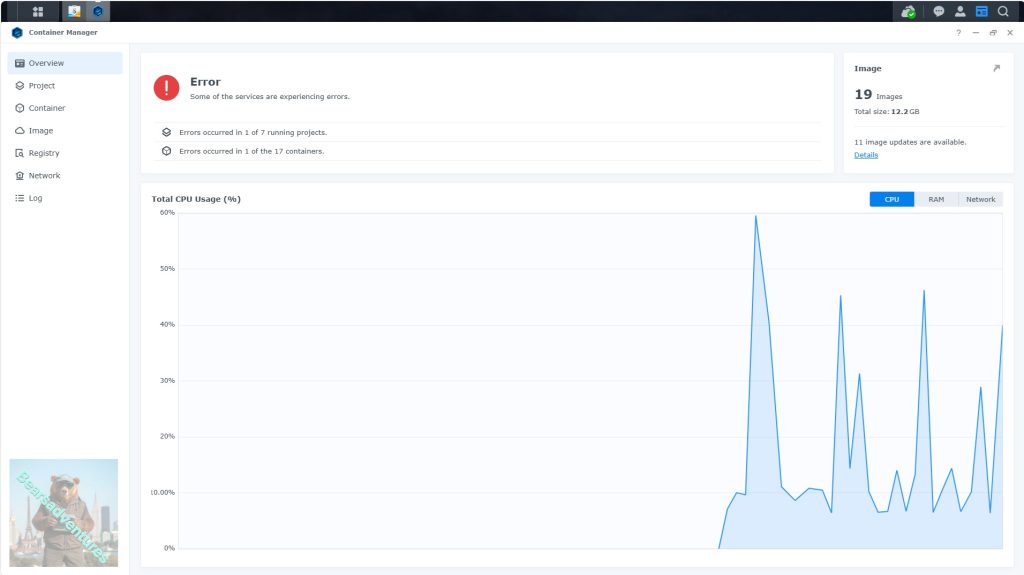
Now you will be Presented with the below. This is the Container manager over view of all your Containers and what’s happening in real time.
Step 5
Now We need to Create a Project for wordpress.
This project will do a number of things. download the image and setup the Project to Run all in one go.
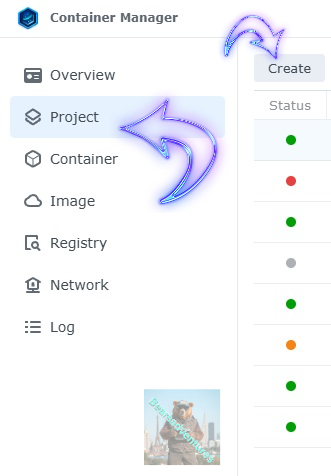
Select project from the menu down the side and then select Create button
Step 6
before we go any thurther we need to ensure we have our folders setup ready for the project.
I have a main folder on the Synology system just for docker projects. create the following folders using filestation in the wordpress / web folder
- webaddress
- db
- redis
- web
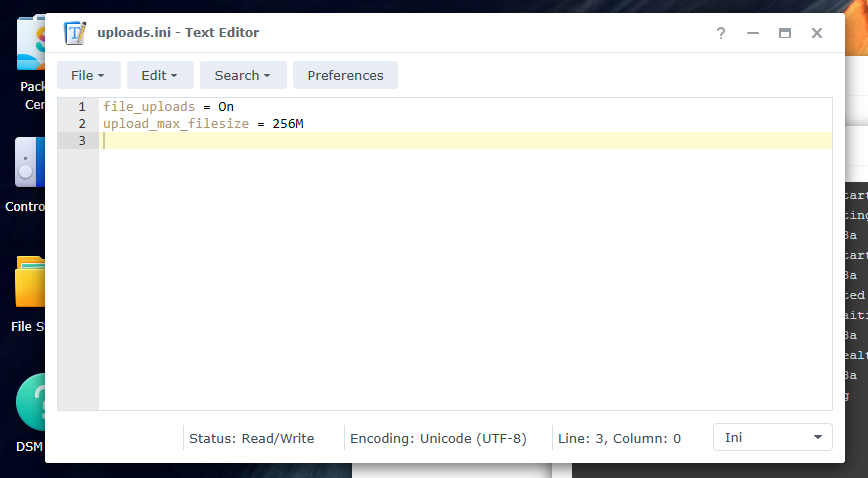
- webupload file folder if you choose to use it
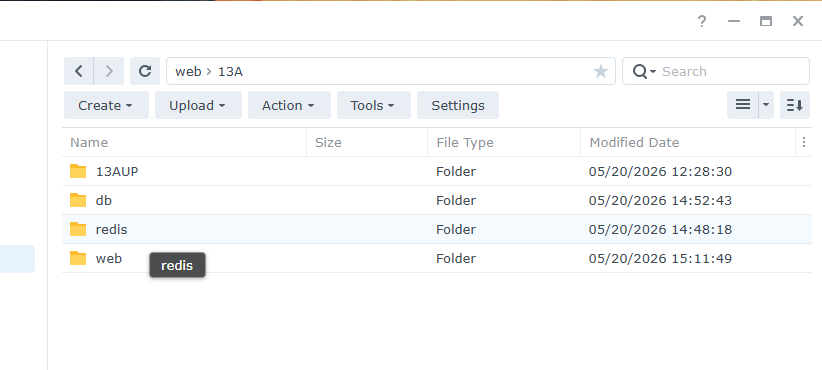
webaddress is where we are going to use our wordpress website.
Install WordPress in a Docker Container with Docker Compose
Docker is a powerful containerization platform that packages applications and their dependencies into containers. These containers can then be deployed across different environments, ensuring consistency and simplifying the deployment process.
In this article, we are going to cover everything you need to do to have WordPress running in a docker container with the help of docker-compose. Here is what you will get by following the WordPress Docker Installation in this article:
- WordPress Container: we are going to install the latest WordPress version with volums for WordPress installation and php.ini file that will allow you to modify the PHP settings like
memory_limit,upload_max_filesize,max_execution_time, etc - Database Container: MYSQL latest version will be used with a volume to mysql data that will allow you to backup WordPress if needed.
- phpMyAdmin: container with phpMyAdmin app that will allow you to connect to the database and do various things in there directly,
UPLOAD_LIMITcan be set to accommodate big databases, access to phpMyAdmin config files to modify parameters in case you have custom things or databases are too big and you need custom PHP parameters - Database Backups: a container that will use
sqldumpto create periodic backups to your WordPress database and do a cleanup of older backups in case something goes wrong to restore the backup. Backups will be stored in a local volume. - SSL/Reverse Proxy: CloudFlare Tunels will be used to set up a domain to the container and have SSL certificates + protection through CloudFlare free plan with WAF.
- Dockge for Manage Docker: Dockge will be used to add our docker compose files and manage the containers, this can be done also with docker-compose commands but Dockge offers a better way to work with the containers thru a UI.
- Redis: you can cache requests to your Database via Redis, you will see the configs needed to add Redis with WordPress to take advantage of Redis.
Steps to Install WordPress in Docker with Docker Compose
1. Docker Compose File
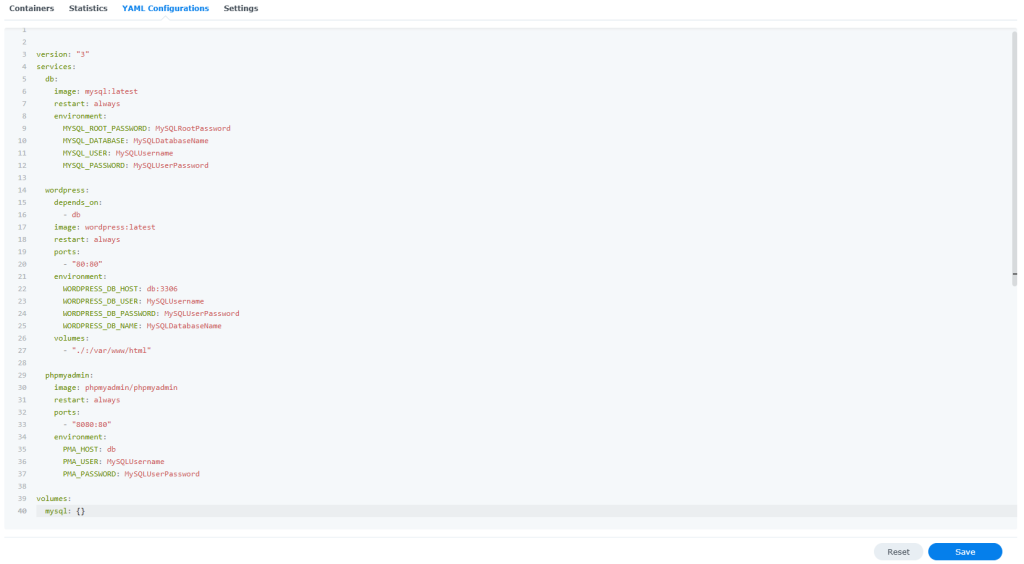
The first thing is to have a docker-compose file with all the services we need: WordPress, Database, phpMyAdmin.
services:
  wordpress-www13a:
    image: wordpress:php8.5
    container_name: WordPress-www13a
    hostname: wordpress-www13a
    healthcheck:
     test: curl -f http://localhost:80/ || exit 1
    ports:
      - 8787:80
    depends_on:
      db-www13a:
        condition: service_started
      redis-www13a:
        condition: service_healthy
      phpmyadmin-www13a:
        condition: service_healthy
    volumes:
      - /volume1/web/www13A/web:/var/www/html:rw
      #- /volume1/web/13A/13AUp/uploads.ini:/usr/local/etc/php/conf.d/uploads.ini:rw
    environment:
      WORDPRESS_DB_HOST: db-host
      WORDPRESS_DB_USER: user
      WORDPRESS_DB_PASSWORD: password
      WORDPRESS_DB_NAME: name
    restart: on-failure:5

  db-www13a:
    image: mariadb:11.8-noble #LTS Long Time Support Until October 15, 2033..
    container_name: WordPress-DB-www13a
    user: 1026:100
    security_opt:
      - no-new-privileges:true
    hostname: wordpress-db-www13a
    environment:
      MYSQL_DATABASE: dbname
      MYSQL_USER: sqluser
      MYSQL_PASSWORD: password
      MYSQL_ROOT_PASSWORD: password
      TZ: Europe/London
    volumes:
      - /volume1/web/www13A/db:/var/lib/mysql
    restart: on-failure:5

  redis-www13a:
    image: redis
    hostname: wordpress-redis-www13a
    container_name: WordPress-REDIS-www13a
    user: 1026:100
    healthcheck:
     test: ["CMD-SHELL", "redis-cli ping || exit 1"]
    volumes:
      - /volume1/web/www13A/redis:/data
    environment:
      TZ: Europe/London
    restart: on-failure:5

  phpmyadmin-www13a:
    image: phpmyadmin
    hostname: wordpress-phpmyadmin-www13a
    healthcheck:
     test: curl -f http://localhost:80/ || exit 1
    container_name: WordPress-phpMyAdmin-www13a
    ports:
      - 2501:80
    environment:
     PMA_HOST: wordpress-db-www13a
     PMA_PORT: 3307  # port change to work
    restart: on-failure:5
Summary
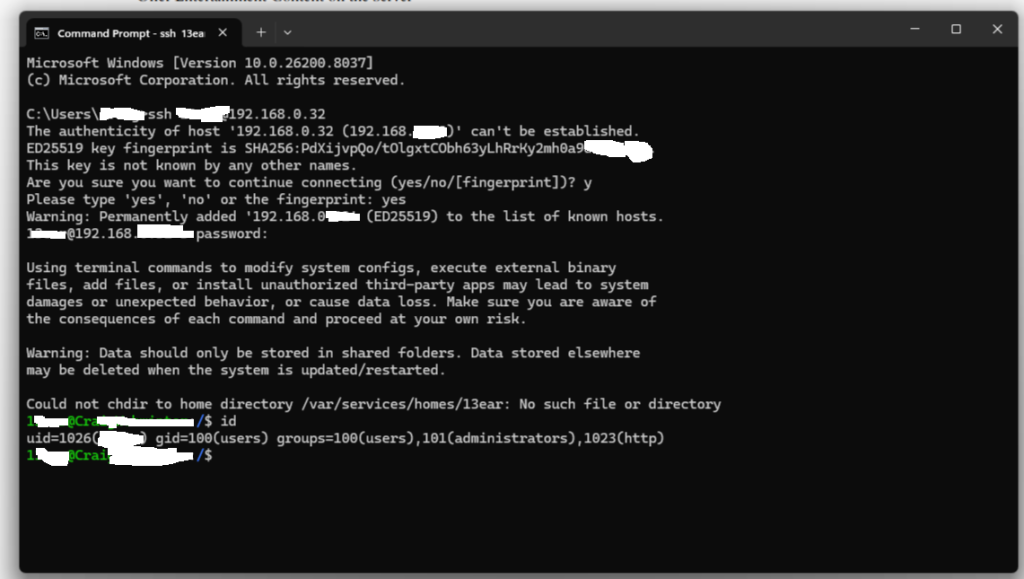
This took some investigating to get working but over all i am happy with the result. somethings to pay attention to UID and GID. Also folders that have been created. i found i was having access issues. the way i got around this was delete the folder in question(db this time) and then create a new folder. i played around with files sizes aswell but opted to take this out of the YML file.