


bearsadventures.co.uk/setting-up-nfs/
Installing the NFS Client
1. Your first step is to ensure that your Linux device is up to date.
If you are using a Debian based operating system you can upgrade out-of-date packages by running the following command.
sudo apt update
sudo apt upgrade
2. Once your device is up to date, you will want to install the “nfs-common” package. This package includes both the NFS server and client.
sudo apt install nfs-common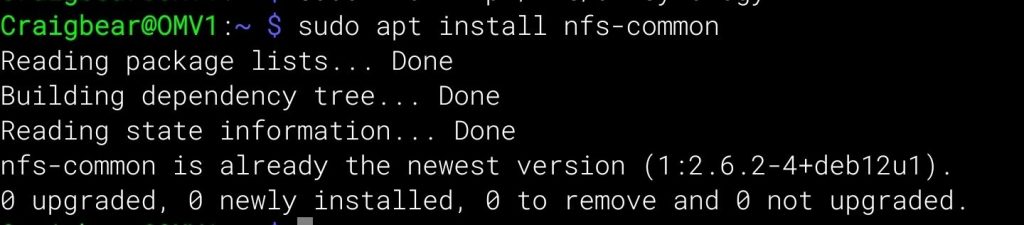
Creating a Mount Path
3. Now that your device is ready, let us create a directory to which we will mount our NFS share.
For our example, we will create this directory at “/mnt/movies” using the mkdir command.
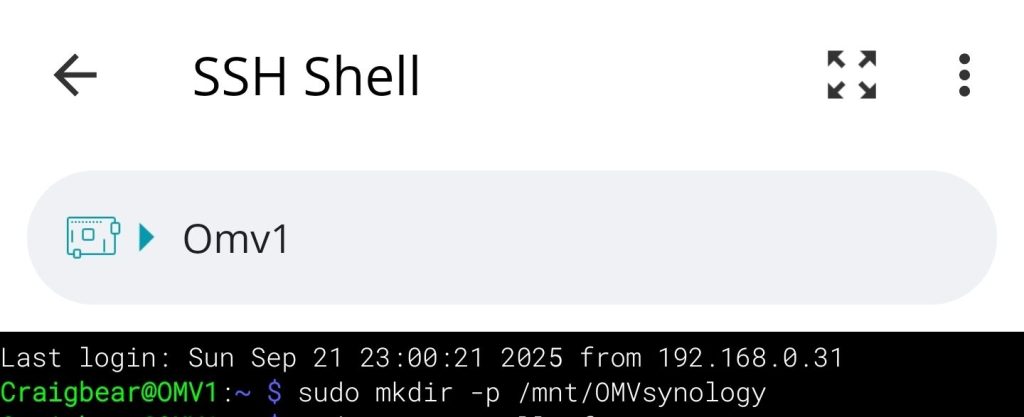
sudo mkdir -p /mnt/OMVsynology
Mounting the Synology NFS Share
4. With the directory created, our next step is to mount our Synology NFS share to our Linux device.
Below, you can see the syntax for mounting this share to our device. You require a few key pieces of information.
[IPADDRESS]: Replace this with the IP address of your Synology NAS that you are attempting to connect to over the NFS protocol.[REMOTEVOLUME]: You are required to specify the remote volume path. You will have seen the required directory within DSM. Typically, this starts with “/volume1/” followed by the shared folder name.[MOUNTPATH]: Finally, specify where this share will be mounted on your local machine.
sudo mount -t nfs [IPADDRESS]:[REMOTEVOLUME] [MOUNTPATH]Copysudo mount -t nfs [IPADDRESS]:[REMOTEVOLUME] [MOUNTPATH]
sudo mount -t nfs 192.168.0.31:/volume1/OMV /mnt/OMVsynologyFor this example, we will connect to our Synology NAS that sits on the local IP “192.168.0.48“.
On that Synology NAS, we want to mount the volume where we set the NFS permissions, which in our example is “/volume1/Movies“.
Finally, we want to mount that NFS share to the “/mnt/movies” directory on our Linux machine.
sudo mount -t nfs 192.168.0.31:/volume1/OMV /mnt/OMVsynology
Mount Shares
sudo mount -aTesting out the new NFS Connection
5. To test out our new mounted NFS drive, let’s first change to our root user by using the following command.
sudo su6. After swapping to the super user, let us change to the directory where we mounted our Synology NAS’s NFS share on our Linux device.
To swap to this directory, we will use the cd command.
cd /mnt/OMVsynology
view content of folder
ls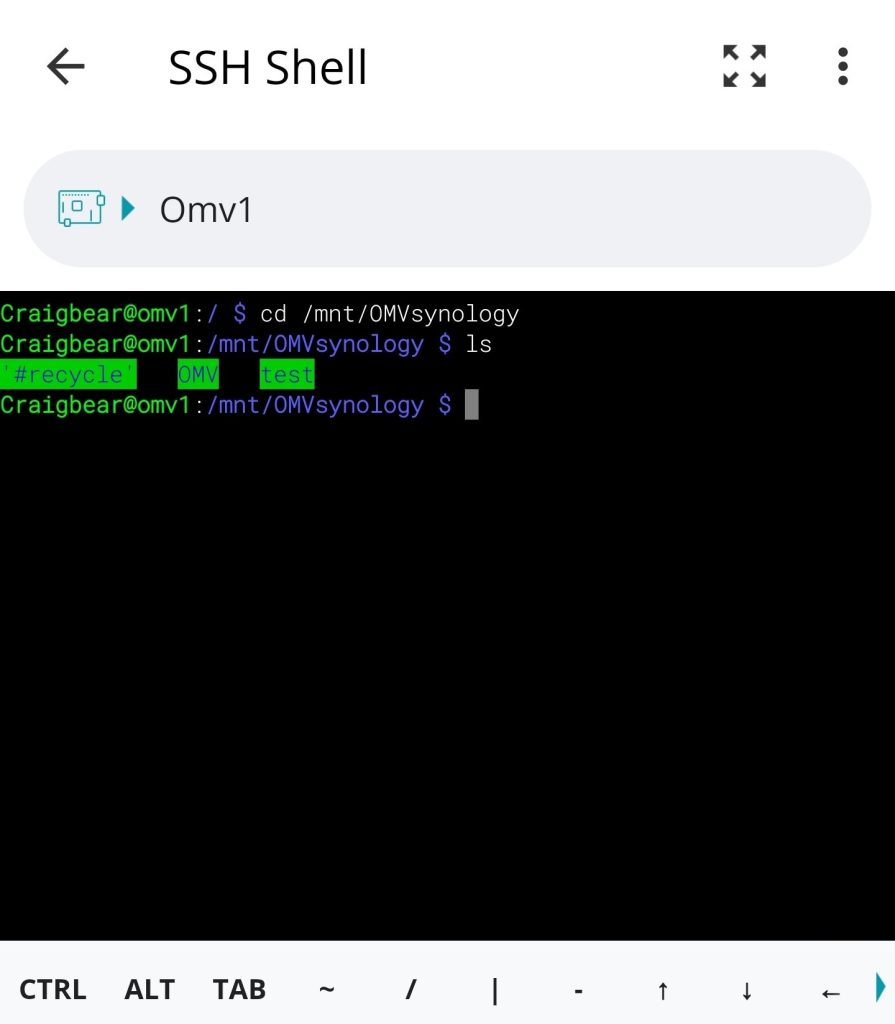
7. Now that we are on the NFS share, let us test it by creating a simple blank file.
Using the command below, we will create a file called test.txt” on our NAS.

omv mount

auto mount nfs folder
makesure your in /etc folder first
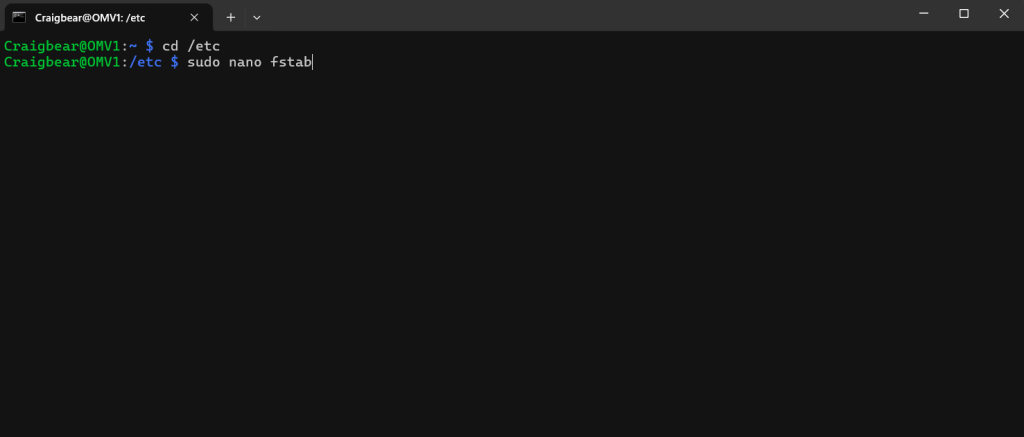
sudo nano fstab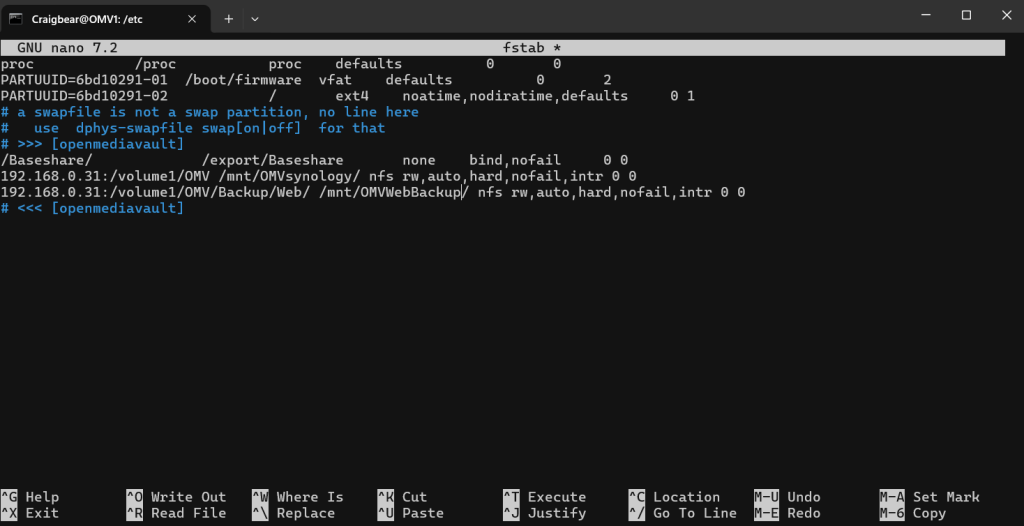
mount without rebooting
sudo mount -a